Connecting and Setting Up Facebook Messenger
Last updated on November 13, 2025
You can connect your Facebook Messenger account to WPChat so customers can reach you through this platform. Follow the steps below to enable and configure Facebook Messenger for your agents.
Step 1: Enable Facebook Messenger in WPChat
- From your WordPress dashboard, go to WPChat > Agents.
- Click the Agent Settings button in the top right corner.
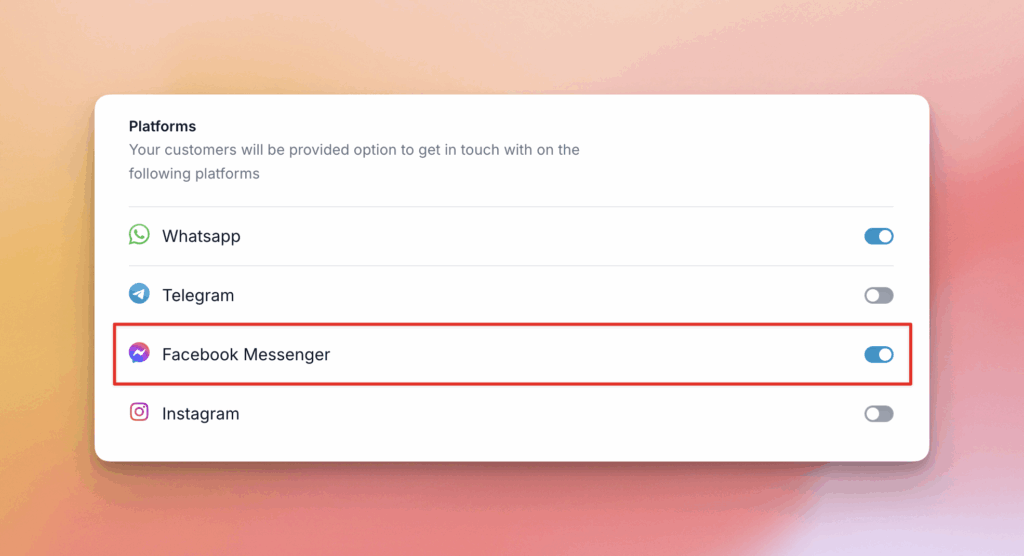
- Under the Platforms section, make sure the Facebook Messenger option is turned on.

Step 2: Add Facebook Messenger Details to an Agent
- On the Agents page, click Edit for an existing agent, or click Add New Agent to create one.
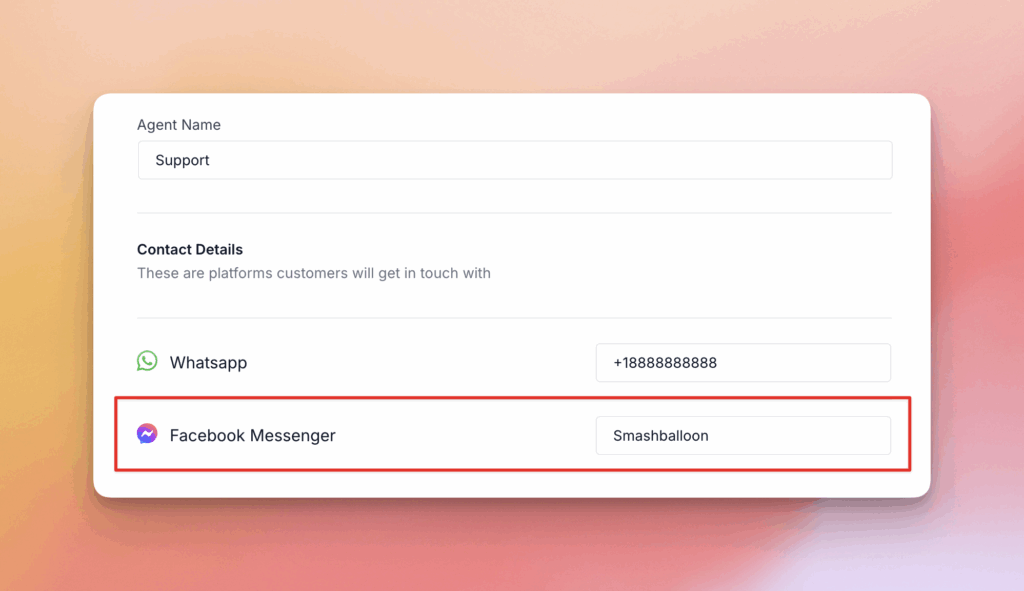
- In the Contact Details section, find the Facebook Messenger field.
- Enter the agent’s Facebook Messenger username.
- Click Save Changes to apply your updates.
Note
If you’re not sure what your Facebook Messenger contact details are, open the Facebook Messenger app on your phone, or visit messenger.com, your username will appear under the preference section.


