Customizing Your Chat Widget: Appearance & Behavior
Last updated on October 03, 2025
Would you like to change how your WPChat chat widget looks and where it appears on the page?
In this guide, we’ll walk you through the Customizer settings for the widget’s theme, colors, header, chat button, assistant avatar and sections. All you need is WPChat on your WordPress site.
Before you get started, make sure WPChat is installed and activated on your WordPress site.
Once you finish installing WPChat and the initial guided setup, your first chat agent and widget are created for you. You can customize the appearance and behavior of the widget with the settings in the Customizer.
Here is what we will cover.
Customization Options
To open the Customizer, go to WordPress Dashboard » WPChat » Customizer.
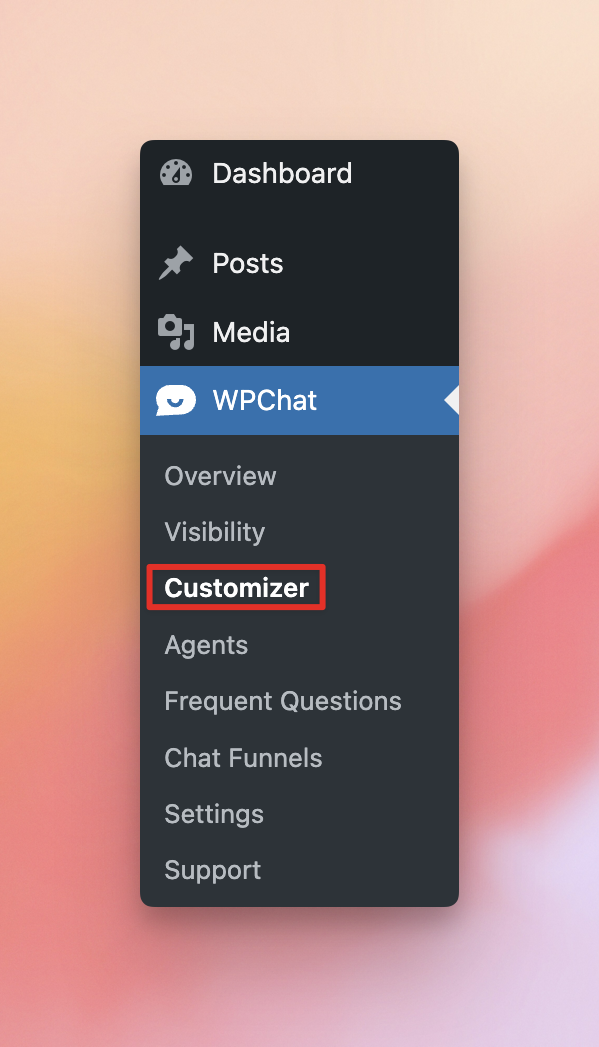
With the Customizer, you can adjust the Theme, Color Palette, Header, Icon, Assistant Avatar and Sections of your chat widget. You can also show or hide the WPChat Branding. As you change an option, the live preview of your chat widget updates instantly so you can see how it will look on your page.
Note: Don’t forget to save! After you change your customization settings, click the Save button at the top right of the page.
Theme
To match your site’s style, pick one of the pre-built themes, Basic, Night or Pastel. A theme sets options like the brand color, the custom chat button icon and the look of the message box. You can still adjust them with the other options described in this guide.
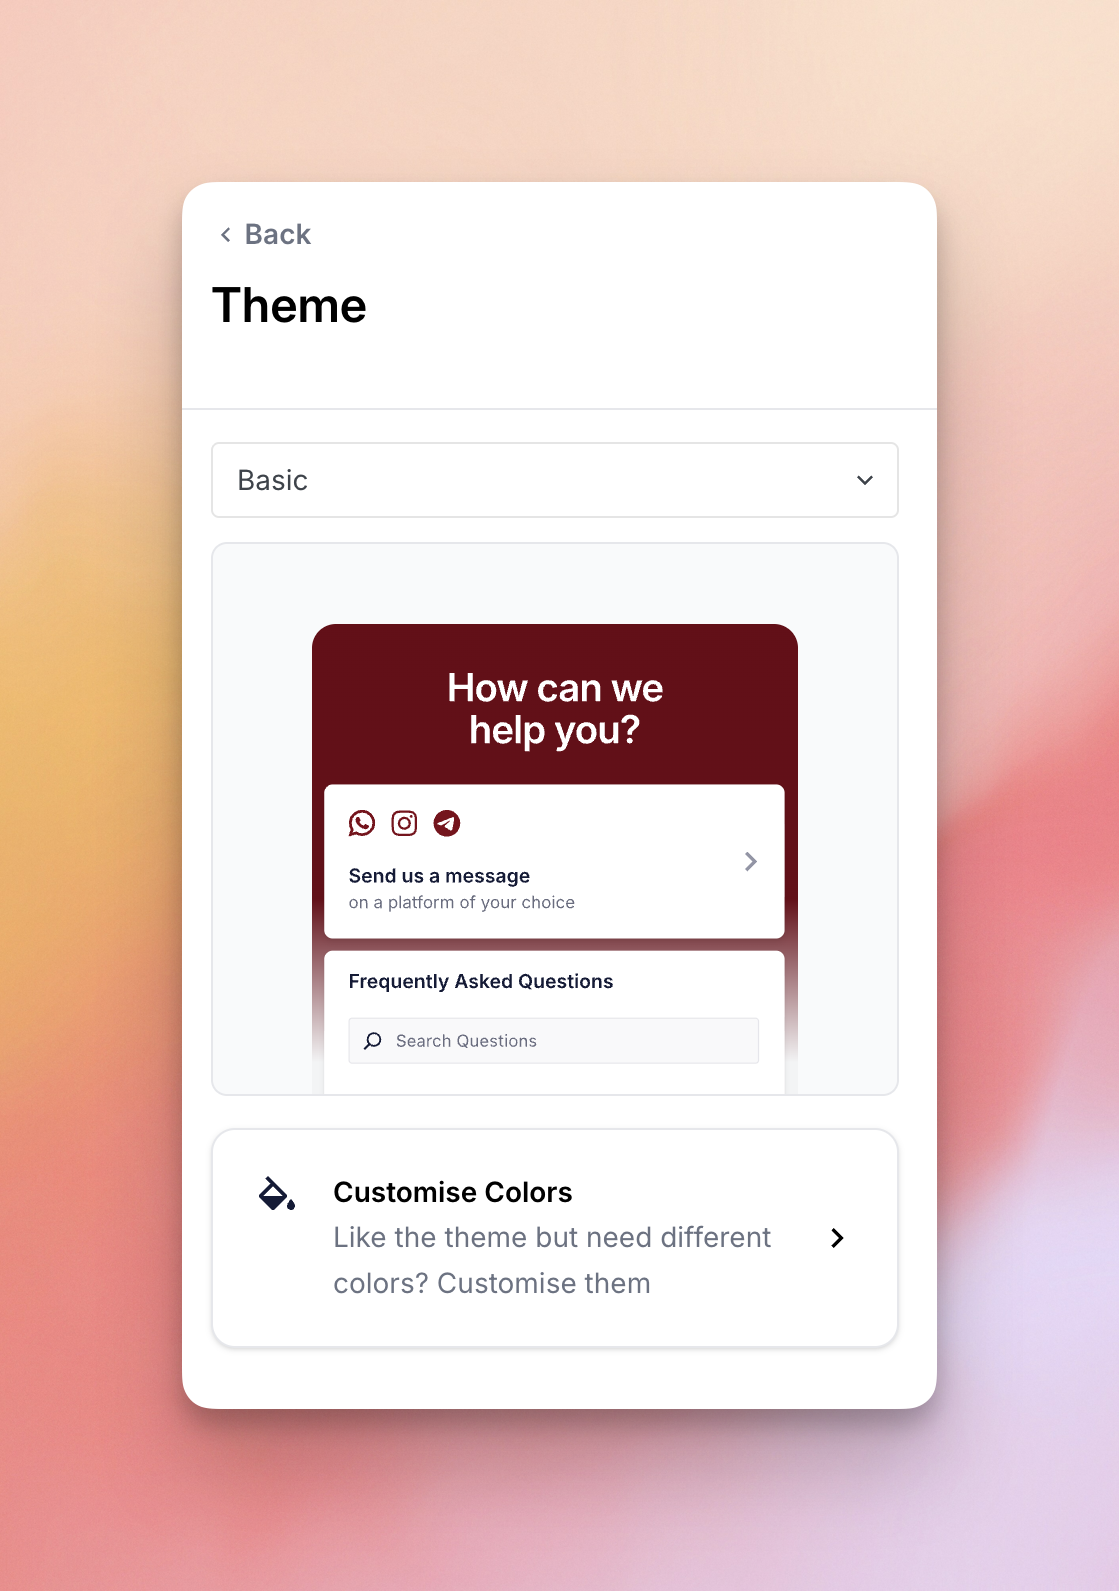
After you pick a theme, you can change the colors of your chat widget.
Color Palette
To change the color of your chat widget, select one of the Presets. You can pick Default, Mystic Bloom, WhatsApp, WhatsApp Dark or Minimal. Or create your own by setting the Accent color that your palette is based on.
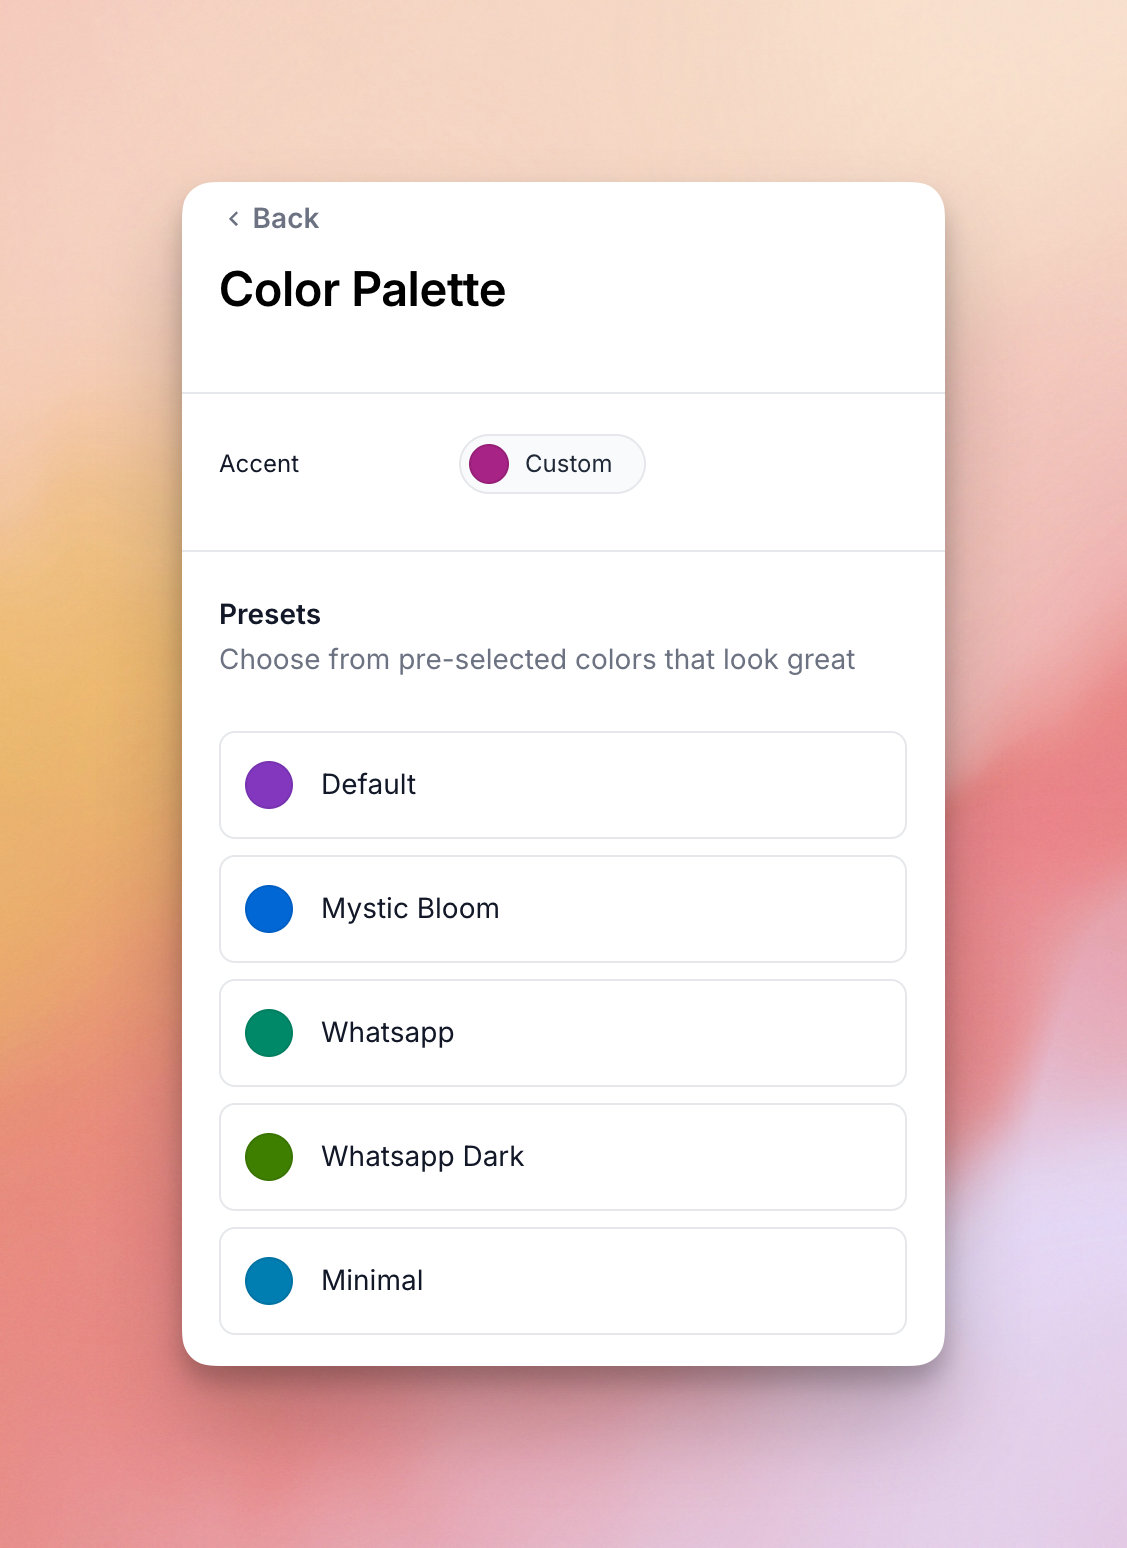
Changing the Color Palette depends on your plan. The pricing page lists customizable brand colors on the Basic, Plus and Elite plans. If your plan does not include it, clicking the Color Palette settings opens an upgrade message instead.
Header
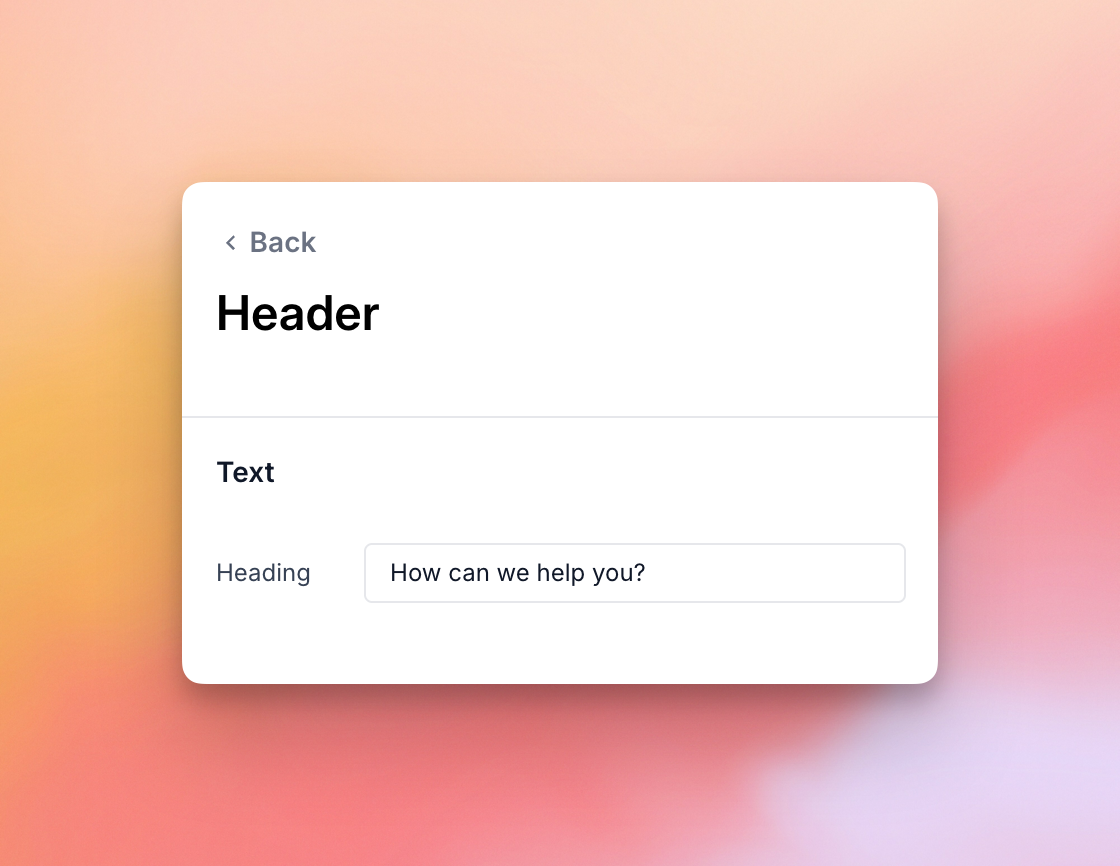
With this setting, you can change the text that appears in the header of your chat widget. To do this, type your own text in the Heading field.
Next, you will set up the button that opens your chat widget.
Icon
The Icon panel lets you change what the chat button on your site shows and how it looks. Visitors click this button to open and close the chat widget.
First, choose what the button shows. With Platform Icons, the button shows the icons of the platforms your agents use, as a trigger to open the widget. With Custom Icon, the button shows a single chat icon, which you pick from the icons listed under Icon.
Platform Icons is selected by default. The button already shows your platforms until you switch to Custom Icon.
If you chose Platform Icons, open Enable & Reorder to switch each platform on or off and to change the order the platforms appear in. This list shows the platforms you have set up for your agents.
Until you add at least one platform to an agent, Platform Icons stays unavailable, and its tooltip asks you to configure one in Agent Settings.
To add platforms, see Setting Up Your Support Agents.
These settings work with either choice.
- Shape sets the button to a Circle or a Rounded Rectangle. It starts as Circle.
- Position places the button at the Bottom Right or the Bottom Left of the page. It starts at Bottom Right.
- Offset, under Position, moves the button away from the edge. To do this, set a Horizontal offset and a Vertical offset in pixels. The horizontal offset counts from the right for a bottom right button and from the left for a bottom left button. The vertical offset counts from the bottom. Both start at 0.
- Animation can be None, Bounce or Pulse. It starts at None.
Assistant Avatar
Here you can set the avatar image for the chat assistant. You can choose one of the preset avatars or add your own with Add Your Own.
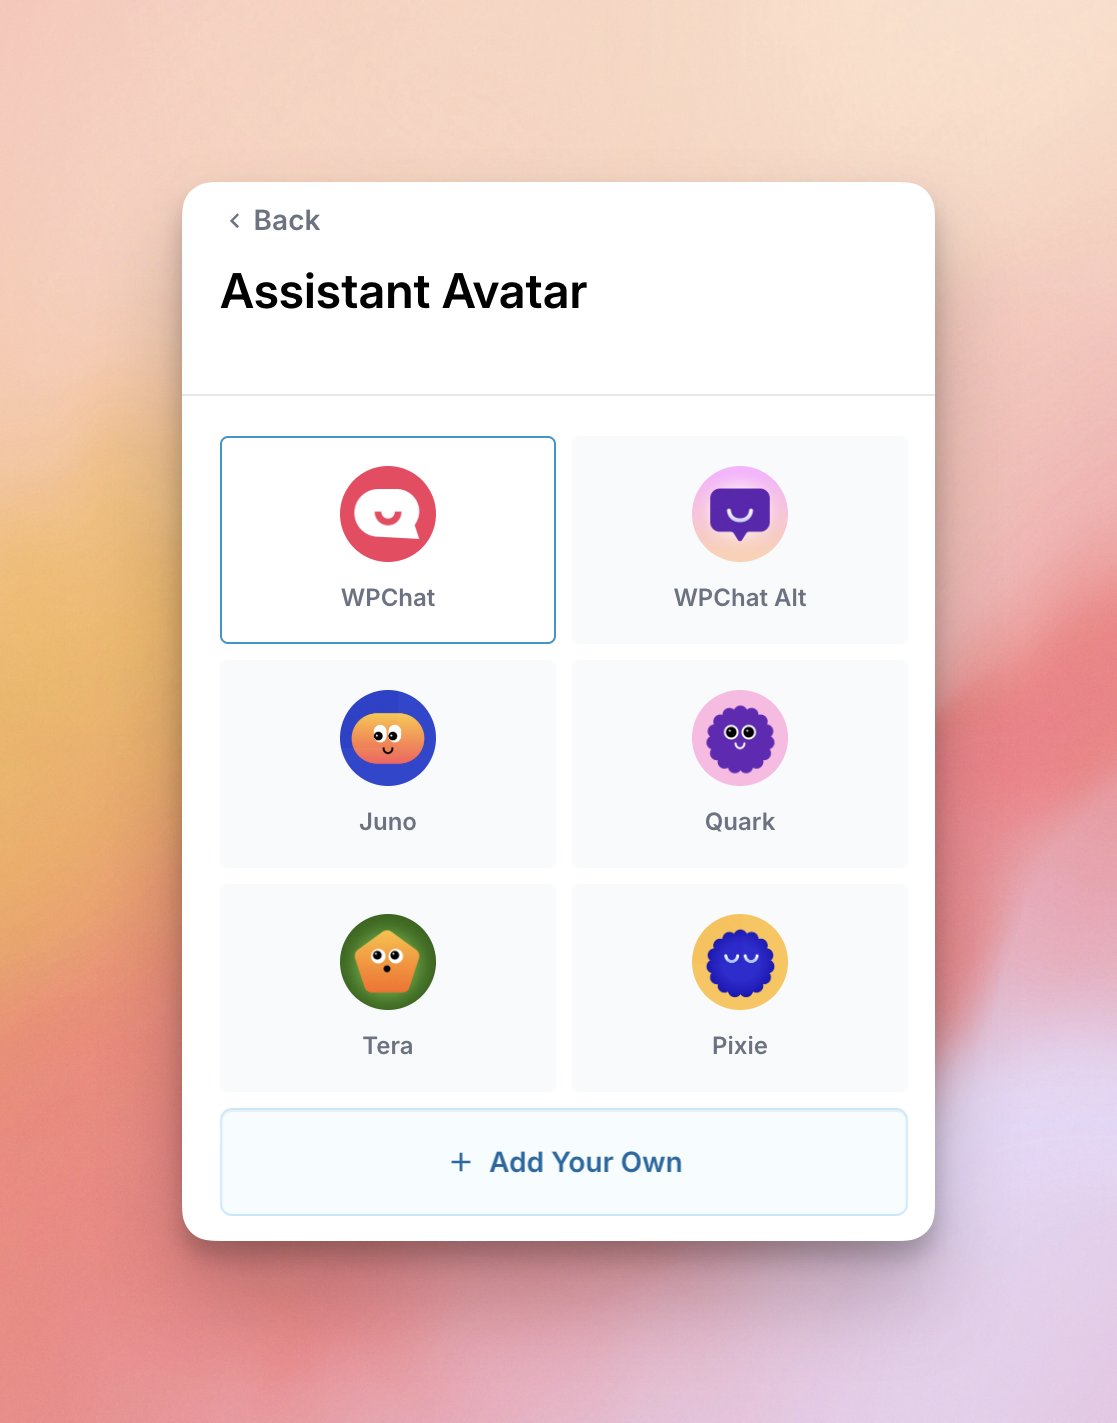
Once the avatar is set, you can arrange the sections of your chat widget.
Sections
With this option, you can change the order of the chat widget sections, hide or show sections, and change the settings of each section.
Moving Sections
To change the order, drag the handle on the left of a section up or down.
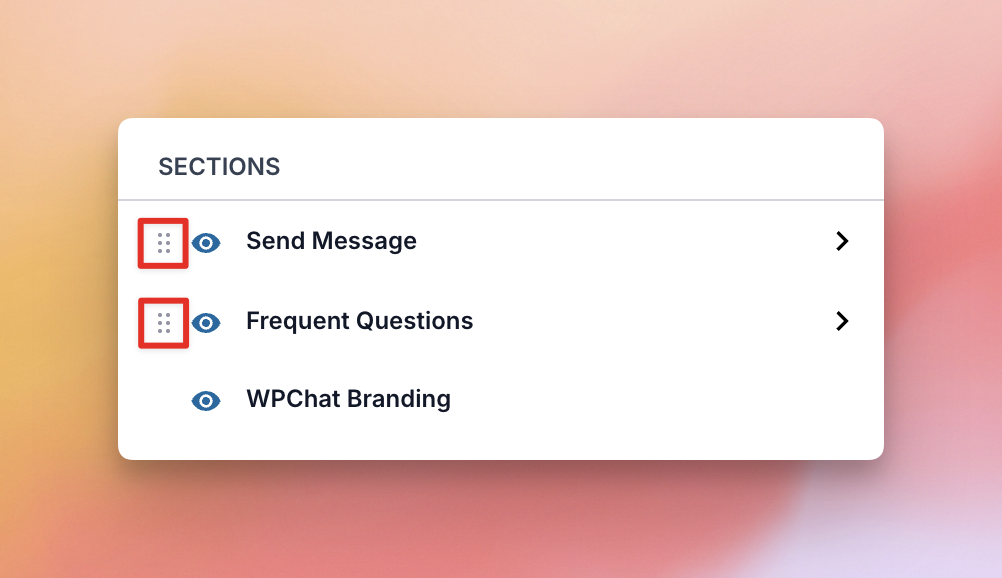
Changing the order depends on the same plan feature as the Color Palette. If your plan does not include it, dragging a section opens an upgrade message instead.
Show or Hide Sections
To show or hide a section, click the eye icon to the left of it.
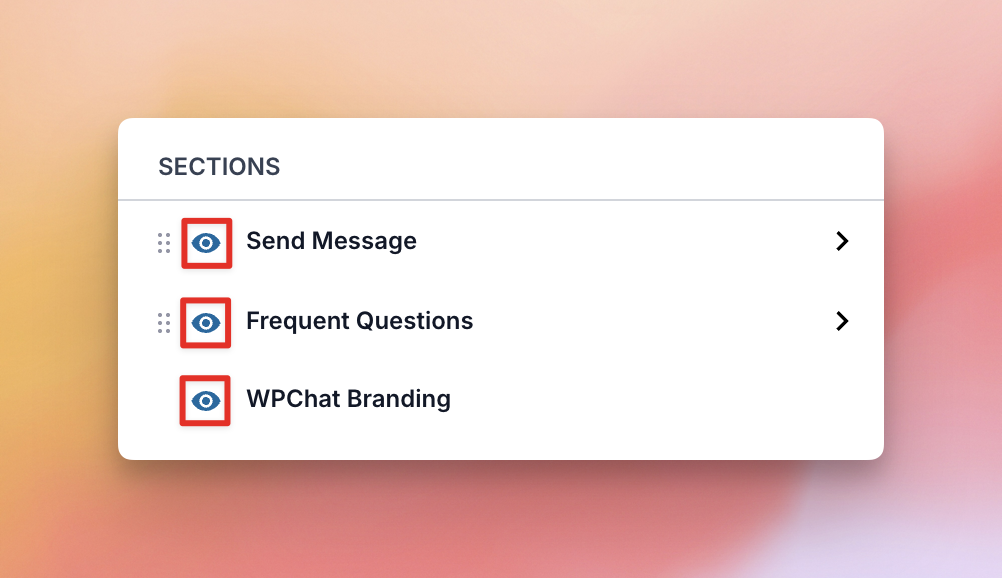
Next, we will look at the settings of the Send Message section.
Send Message Section Settings
Here you can switch the Icons in the Send Message section on or off, or change the Heading and SubHeading text.
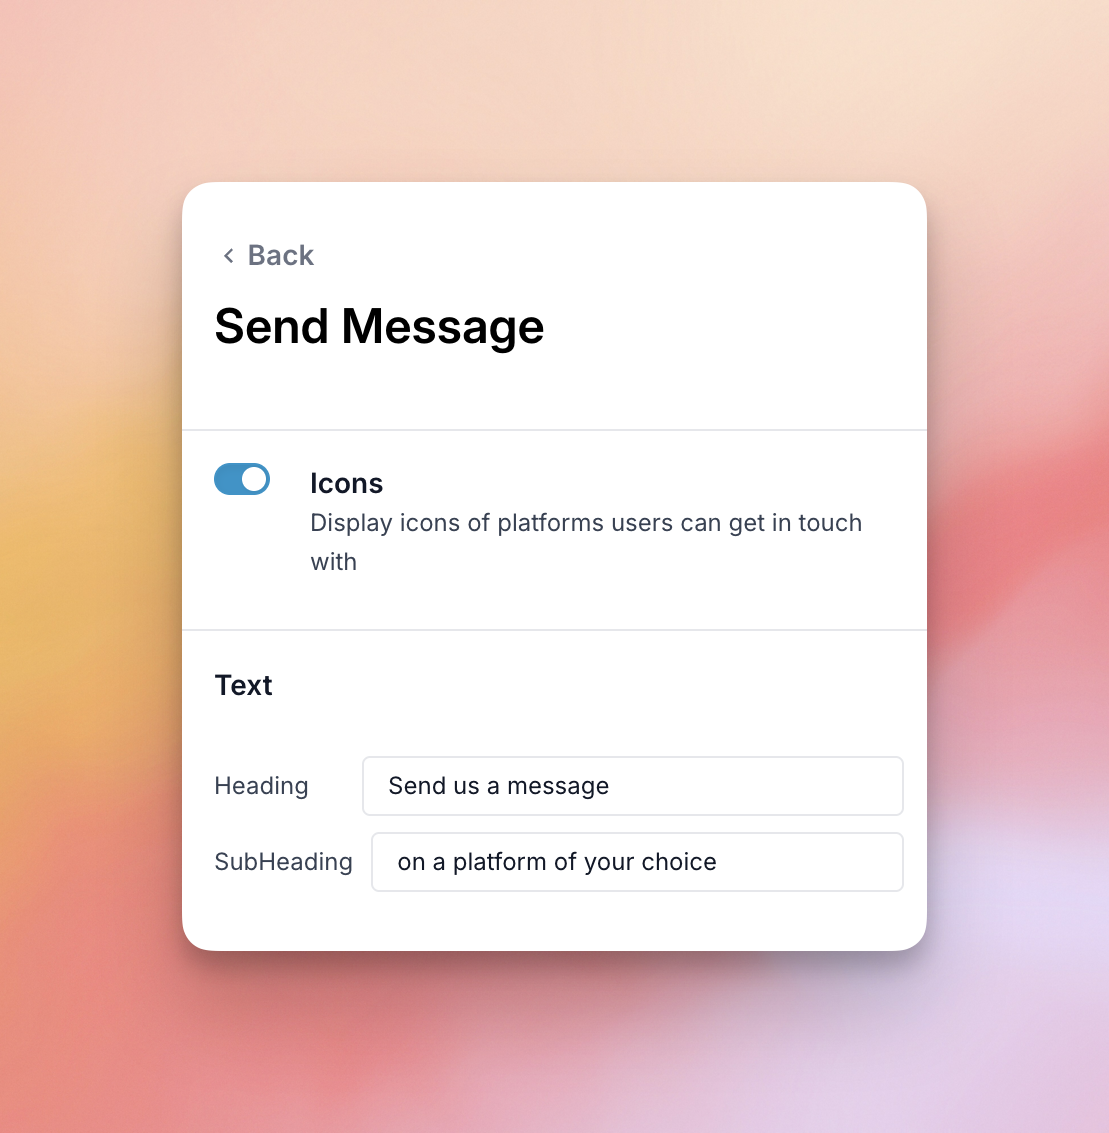
Then we will look at the settings of the Frequent Questions section.
Frequent Questions Section Settings
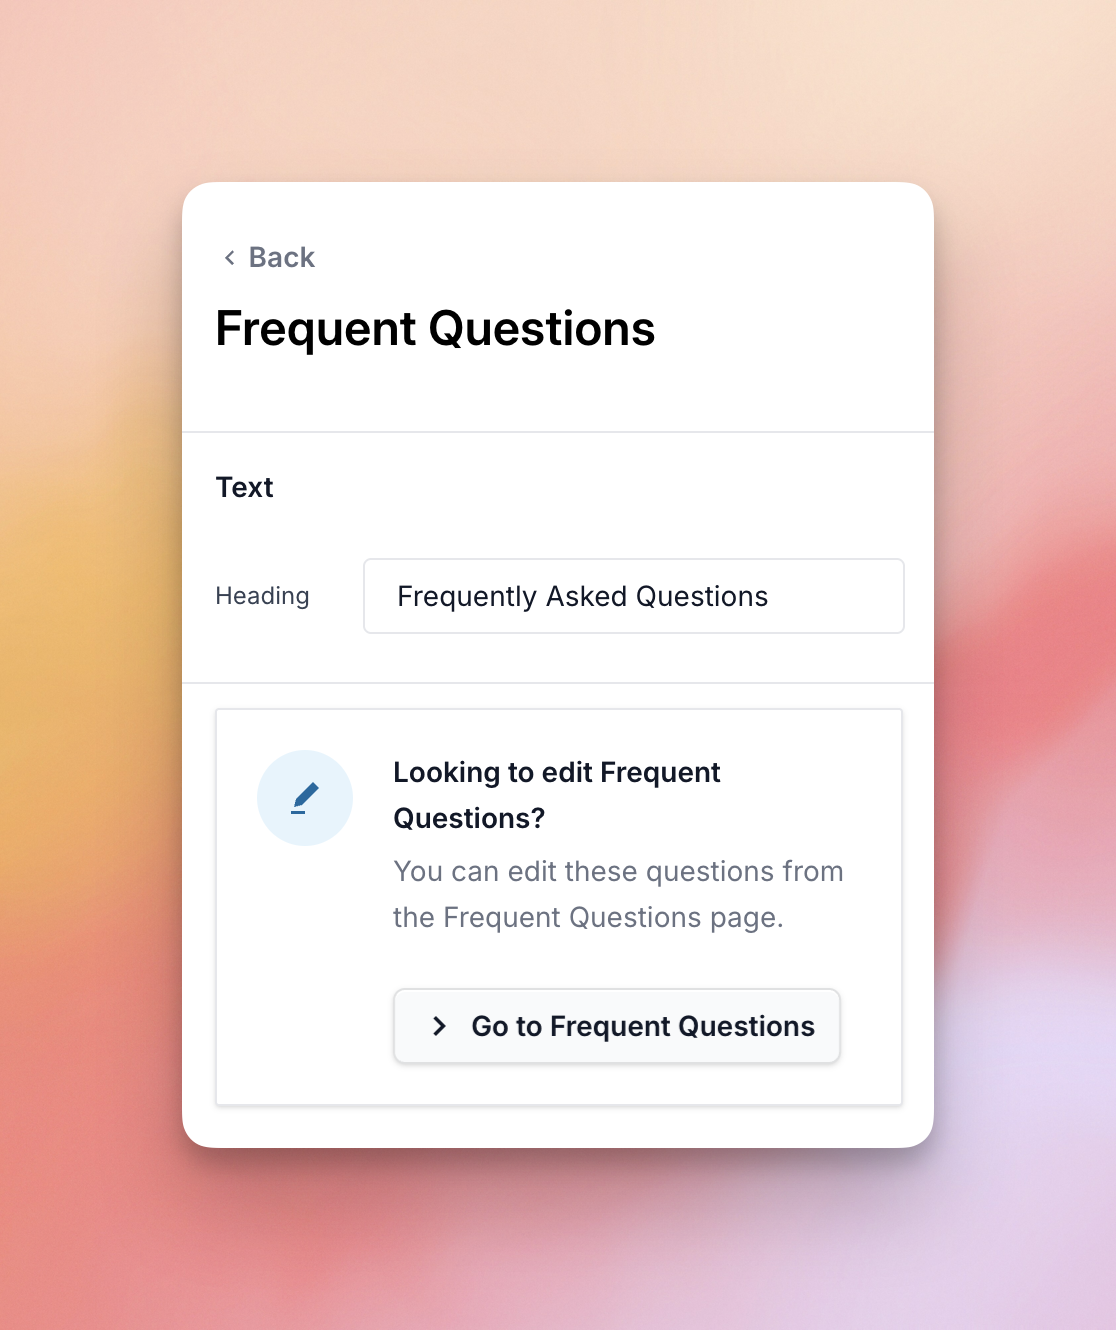
You can change the Heading of your Frequent Questions section here. To change the questions themselves, click Go to Frequent Questions. The section stays hidden until you add your first question.
Finally, we will look at the WPChat logo at the bottom of your widget.
WPChat Branding
The WPChat Branding row controls a small WPChat logo at the bottom of your chat widget. The logo links to wpchat.com and opens it in a new tab. It is shown by default, and it is the last row in the default order.
Unlike the other sections, this row has no settings panel and cannot be dragged. To hide the logo from your widget, click the eye icon next to it.
Hiding it needs a plan that removes the WPChat branding. The pricing page lists Remove WPChat Branding on the Plus and Elite plans. If your plan does not include it, the row shows a Locked badge and the eye icon opens an upgrade message instead of hiding the logo.
That’s it! You’ve set up your chat widget’s look, chat button and sections in the WPChat Customizer. Next, learn how to set up your support agents so the platforms you choose for the chat button can receive messages.