Setting Up Your Support Agents
Last updated on October 03, 2025
Would you like to create support agents, set when they are available, and add the WhatsApp, Telegram, Messenger, Instagram, SMS or phone details customers use to reach them?
Before you get started, make sure WPChat is installed and activated on your WordPress site.
When you finish the initial setup of WPChat, your first support agent is created for you and named after your site. This happens as long as you entered a contact detail during setup. In the Agents area you can customize that agent, create new ones and handle other agent tasks.
Create a New Agent
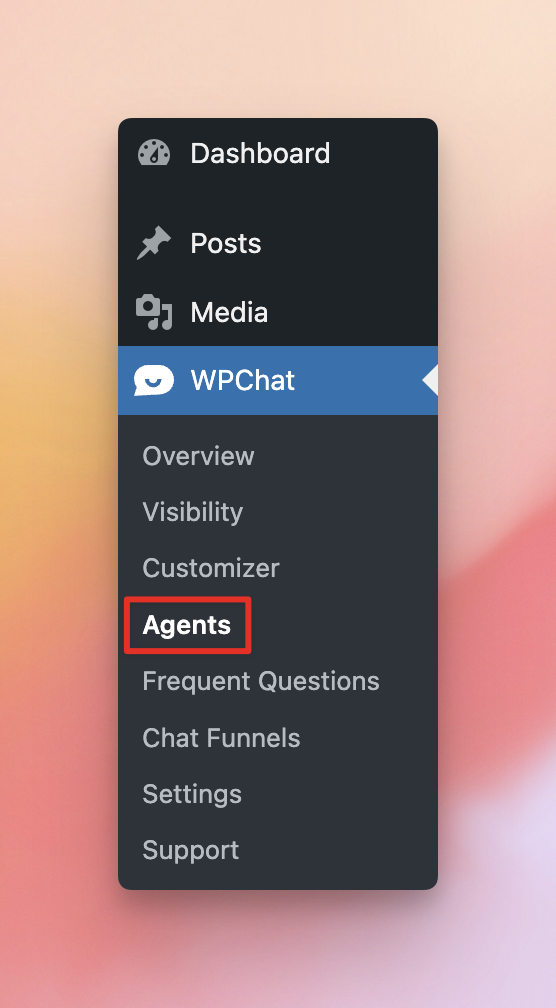
To open the agents, go to WordPress Dashboard » WPChat » Agents.
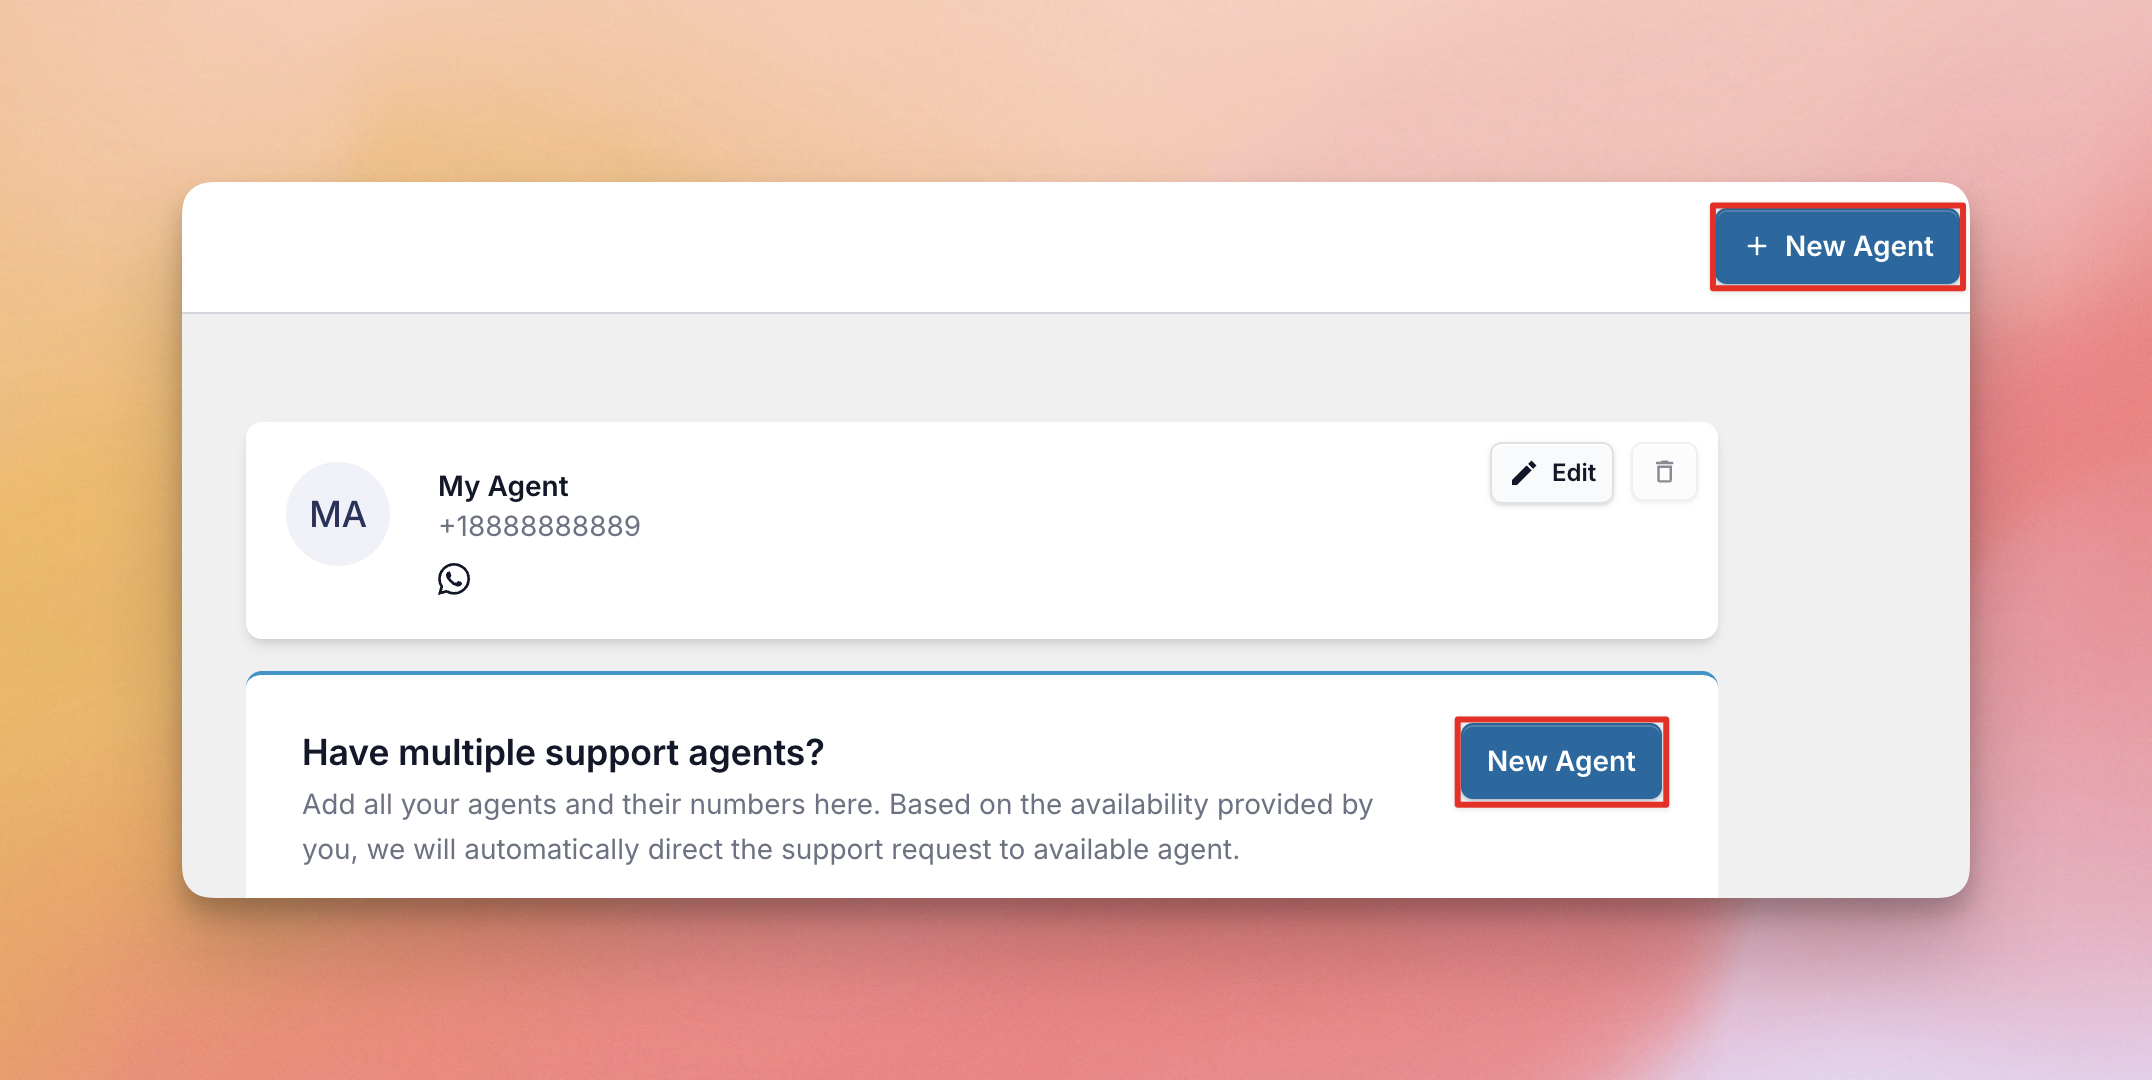
From there, click New Agent to begin creating a new agent.
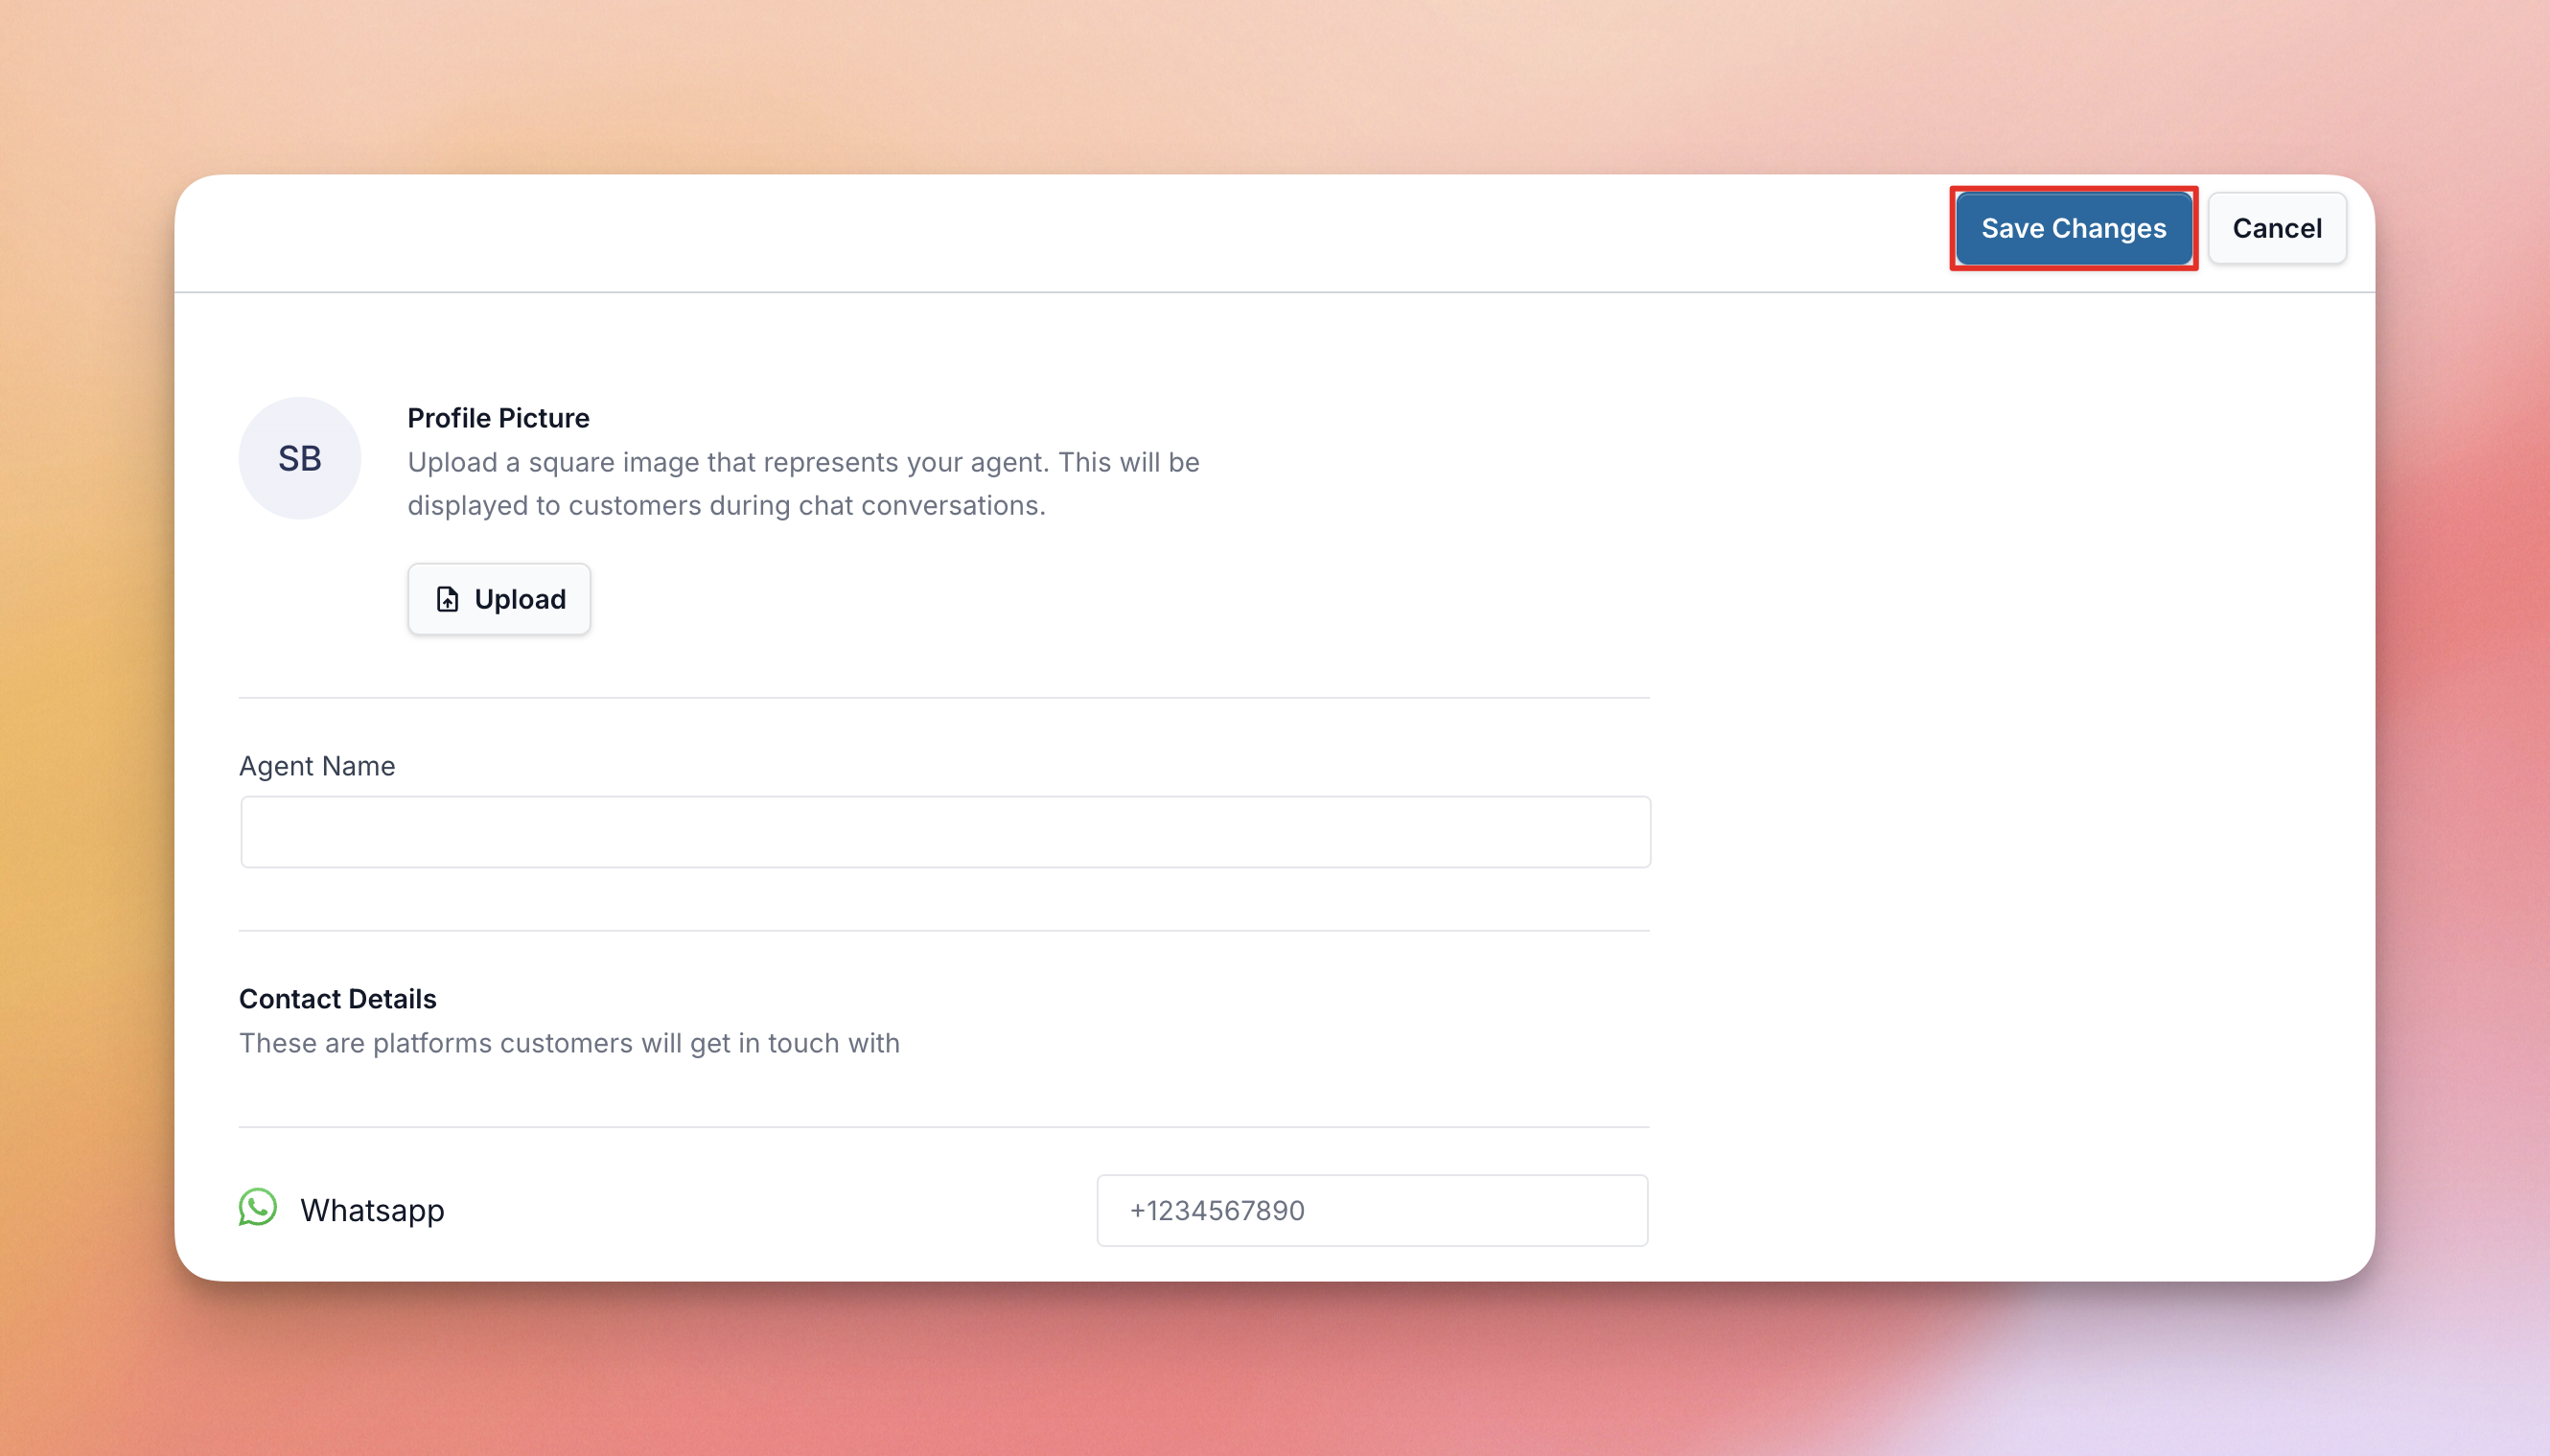
Then fill out the details for the agent. On the form, enter an Agent Name, which is required, add the Contact Details, and optionally add a Profile Picture for the agent. The profile picture is shown to customers during chat conversations. Next, click Save Changes once you have finished filling in the details.
An agent needs at least one valid contact method. Each platform has its own rule, so see Platform Contact Details below.
The free version of WPChat includes one agent. Paid plans allow more. The pricing page lists how many each plan includes. When you have several agents, WPChat shares incoming requests among them.
Edit an Existing Agent
To update an agent’s information, click the Edit button on that agent.
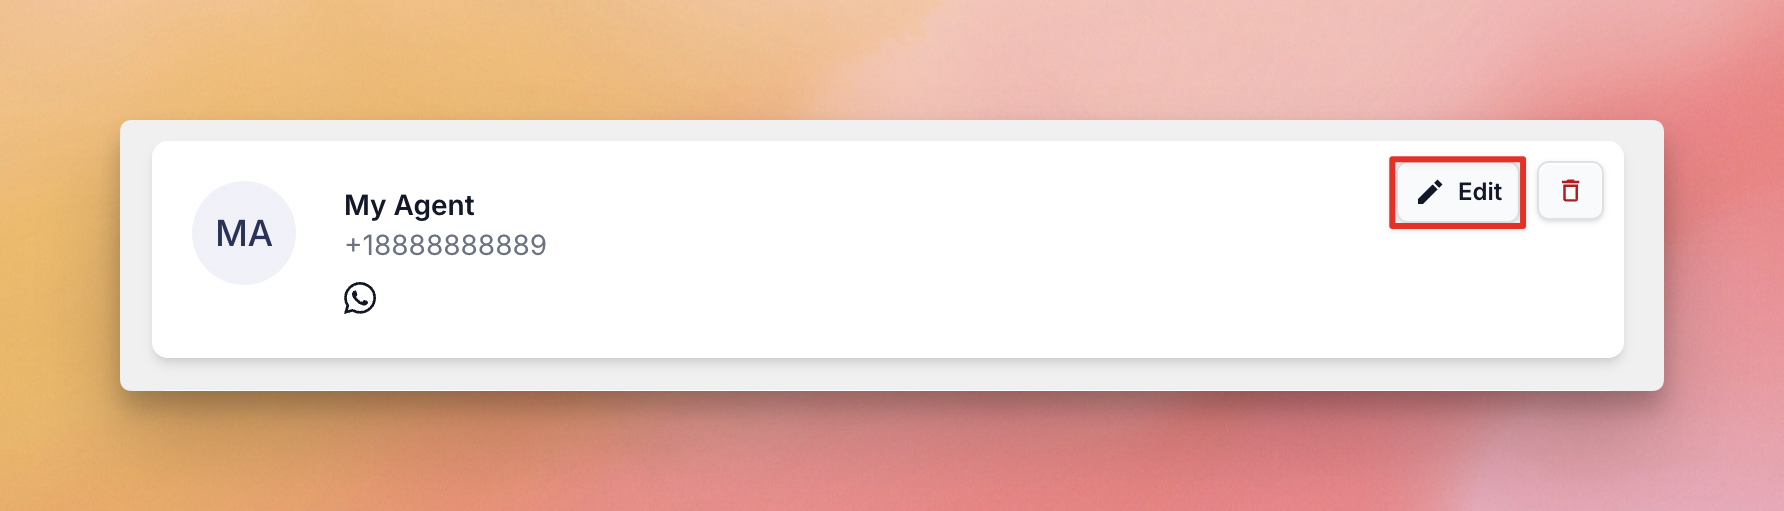
You can change the Agent Name, the Contact Details or the Profile Picture. When you are done, click Save Changes to keep your updates.
Delete an Agent
To remove an agent, click the trashcan icon on that agent.
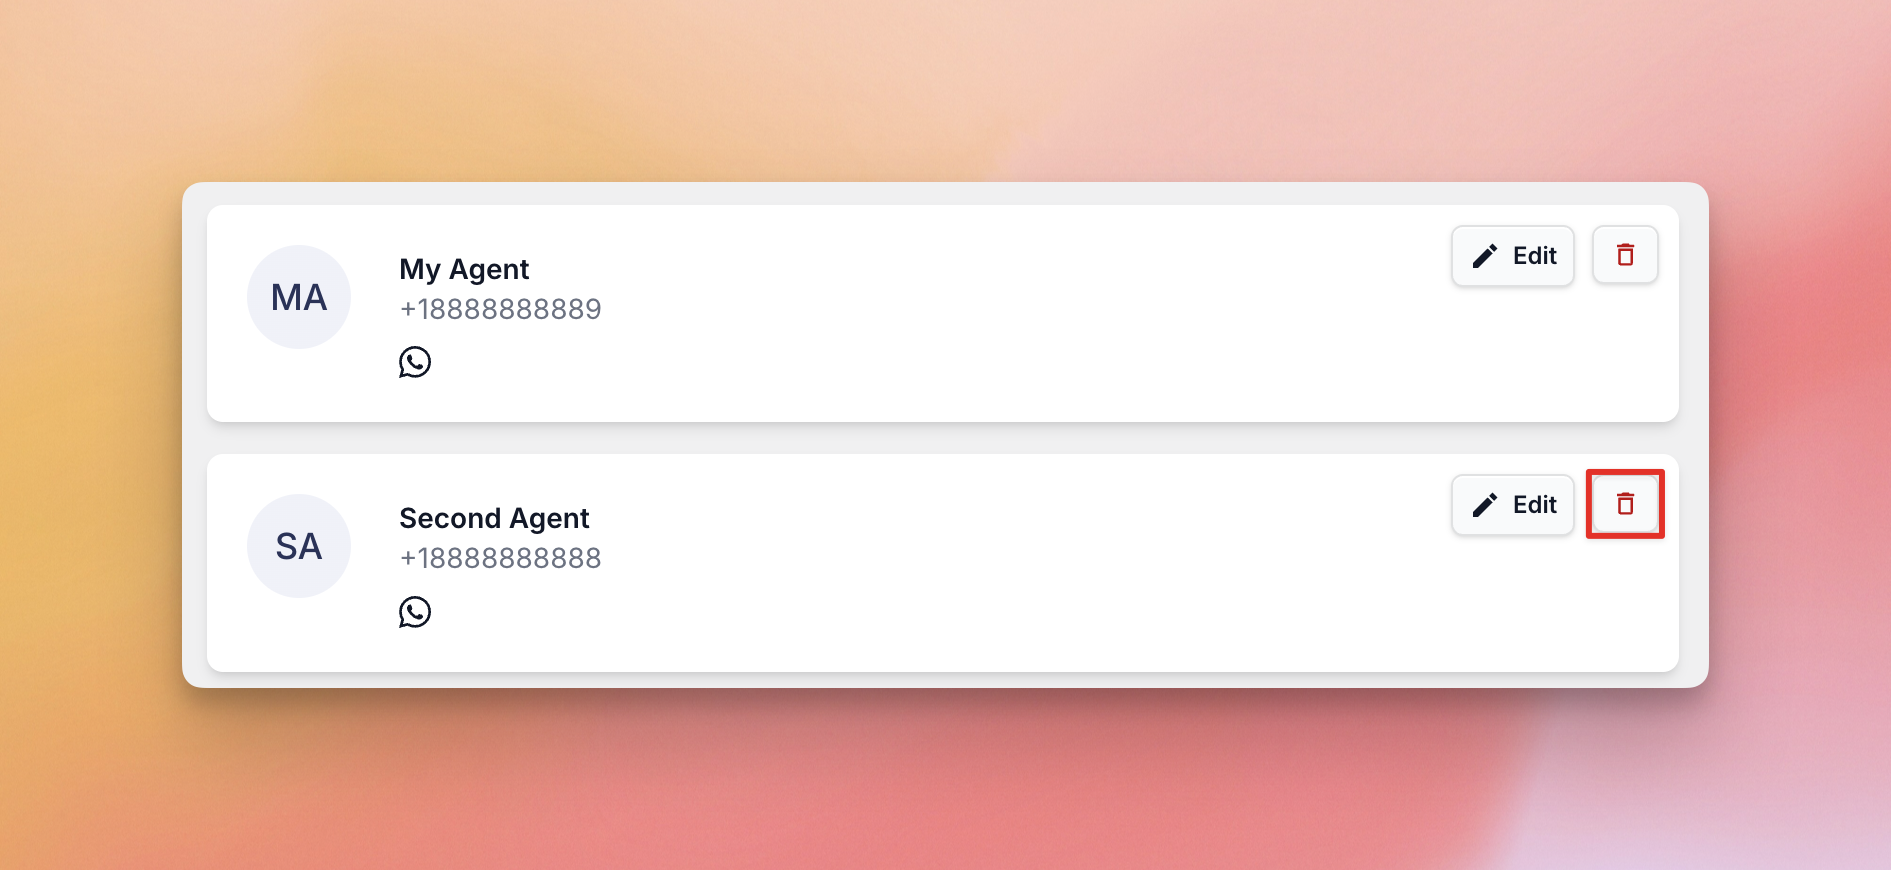
If you only have one agent, you cannot delete it. To change the agent information, edit the existing agent. Or create a new agent. Then delete the old one.
Advanced Agent Settings
After setting up your individual agents, there are some additional settings that control how WPChat handles them. To open the advanced agent settings, click Agent Settings at the top of the Agents page.
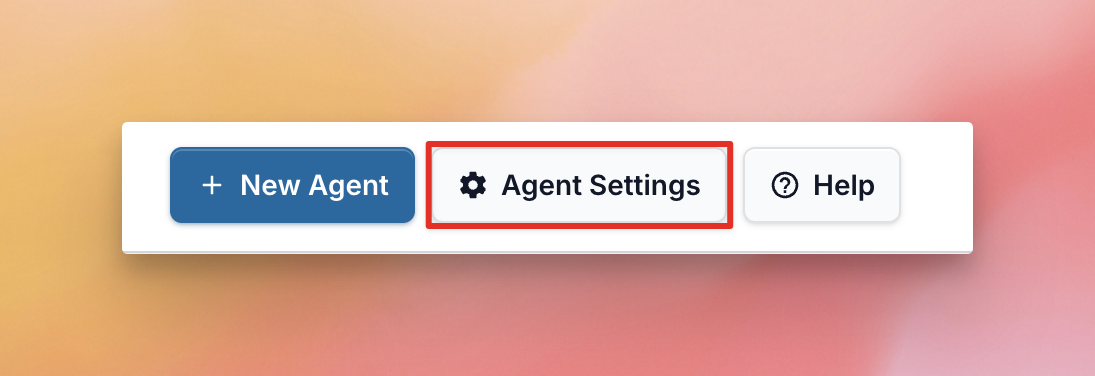
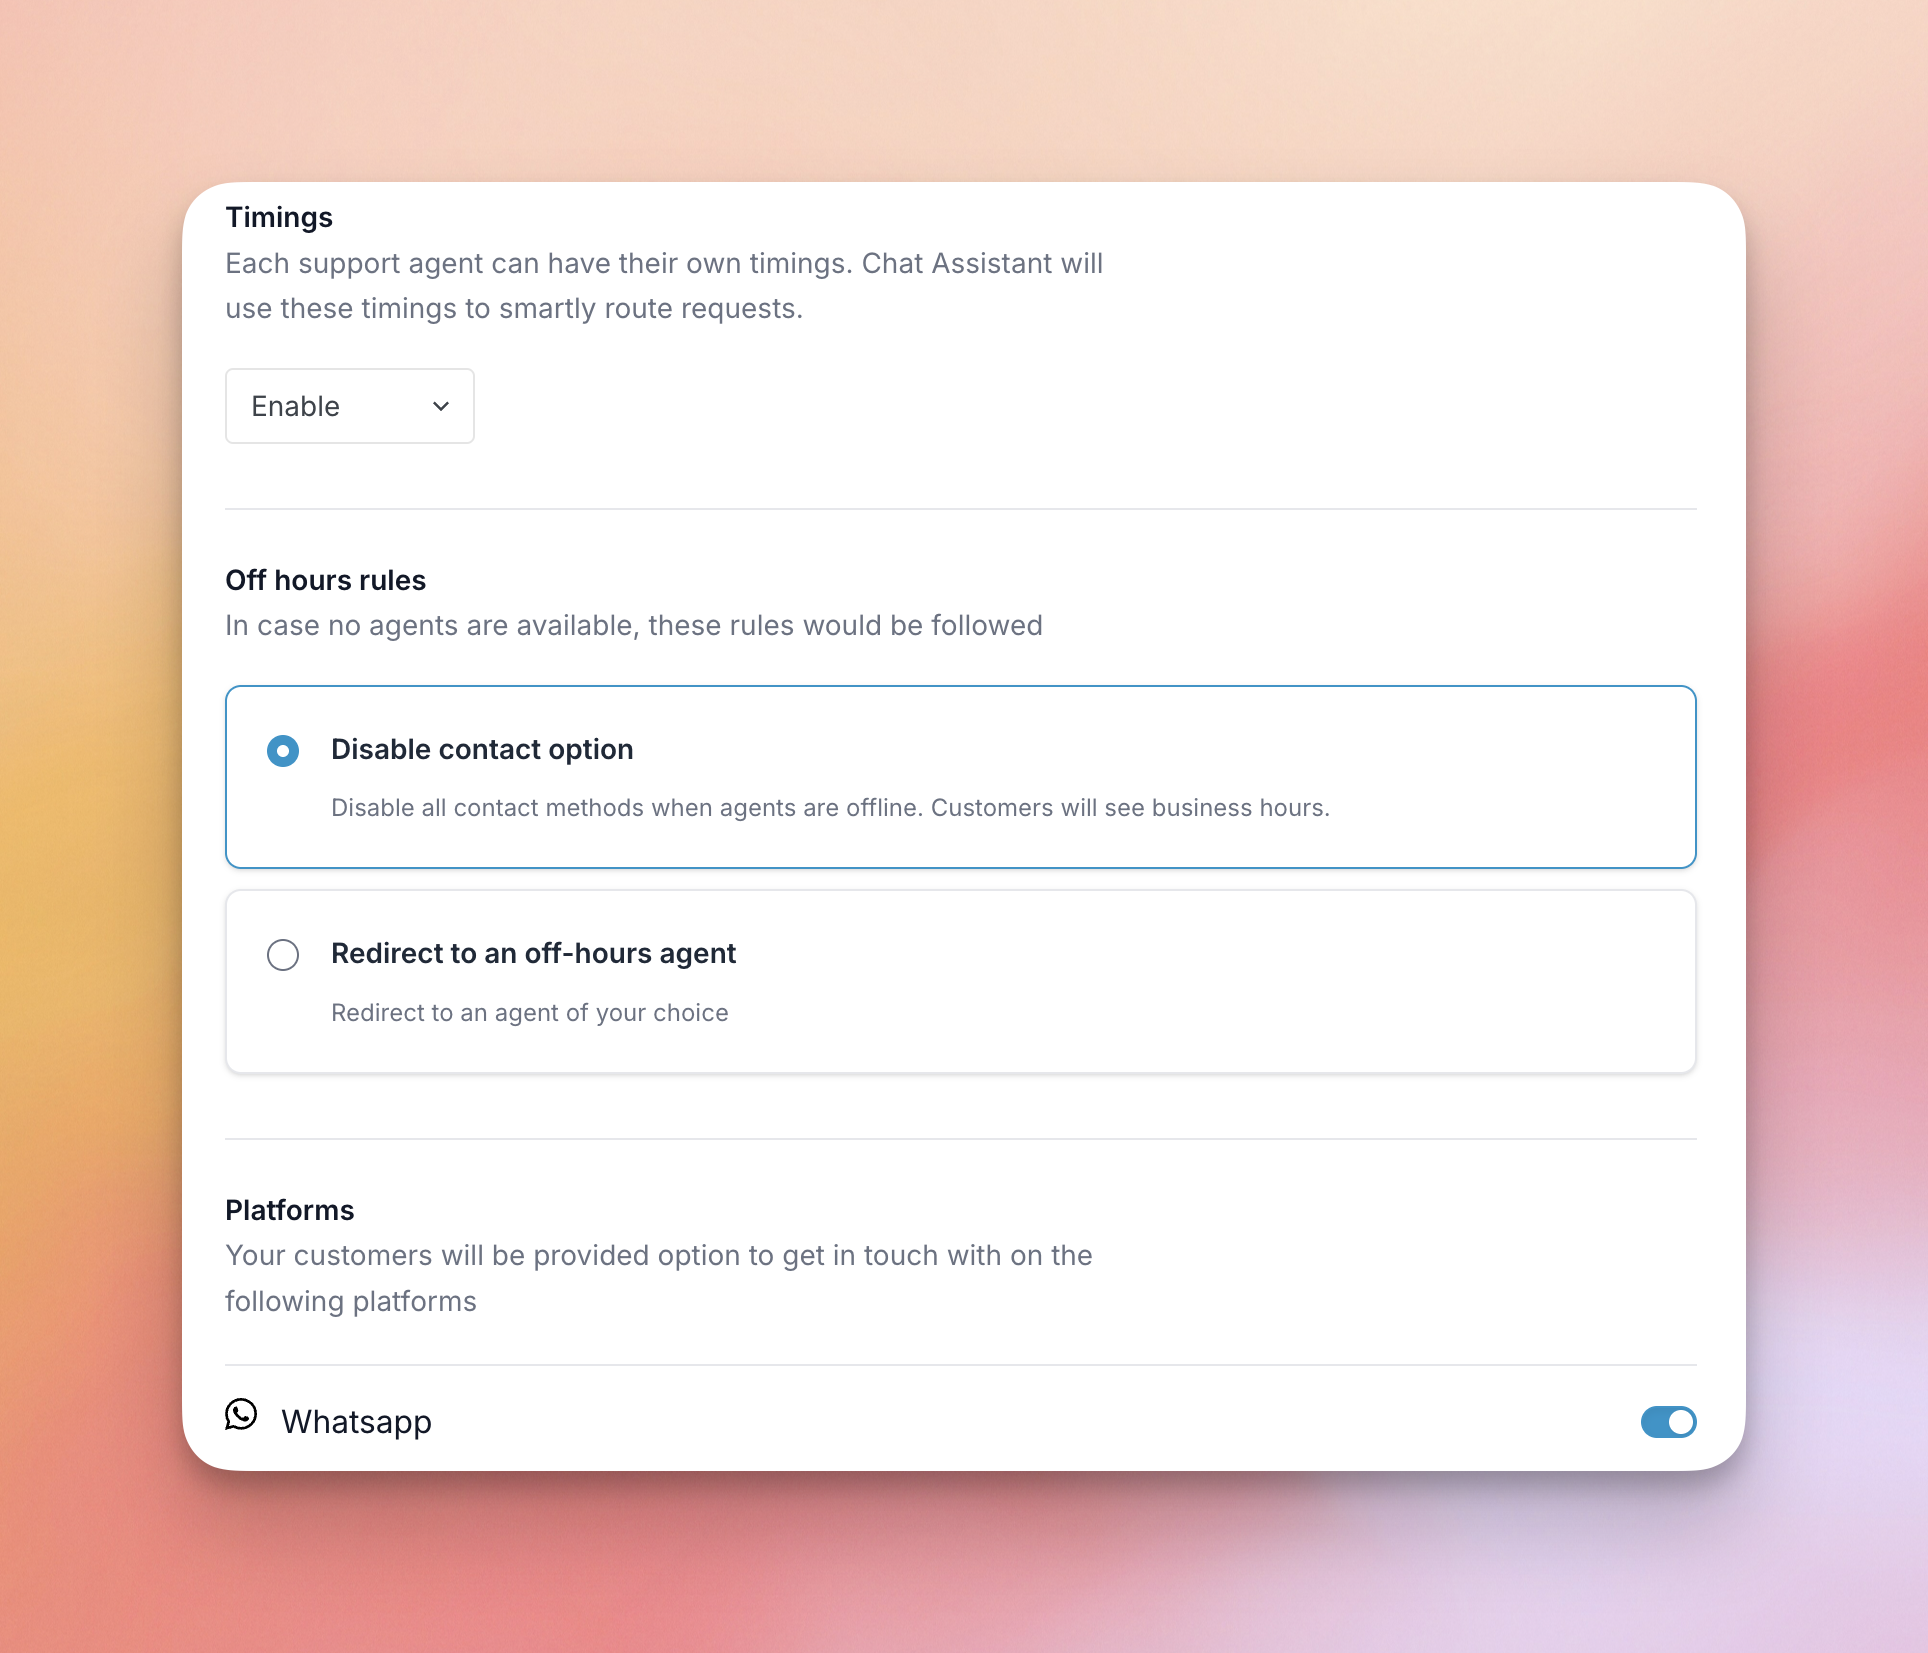
From here you can control Timings, the Off hours rules and the Platforms your customers can use.
Timings
By default, timings are disabled. WPChat does not check the time of day, so your agents can receive requests at any hour. To turn them on, choose Enable in the drop-down menu. Timings let you set when each agent is available. WPChat then uses them to route requests to an agent who is available. The pricing page shows which plans include Configurable Agent Timings.

With Timings enabled, the form for each agent also has a Timings box. To fill it in, click Edit on the agent. Then choose the days the agent is available. Next, choose a start time and an end time. When you are done, click Save Changes. The agent’s available days and hours are now set.
Off hours rules
With Timings enabled, your off hours rules decide what happens when no agent is available. There are two options.
To pause contact while your agents are offline, choose Disable contact option. All contact methods turn off, and customers see your business hours instead.

Alternatively, choose Redirect to an off-hours agent to pick one agent who receives messages when all agents are offline. Then select the agent from the Select Agent list.

Platforms
Here you choose which messaging platforms customers can use to reach you. Next, turn off any platform you do not want to use.
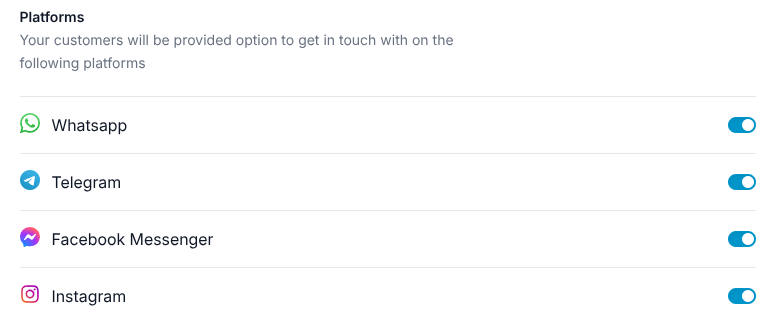
Your list also has switches for SMS and Phone. Both are off by default, so switch them on if you want customers to text or call your agents.
At least one platform must be on before you can save. If you switch on a platform that no agent has details for, WPChat shows a warning. To fix it, edit an agent and add the details.
Platform Contact Details
Each agent has a contact field for every platform you switched on. To add or change one, click Edit on an agent (or New Agent to create one). Then find the platform in the Contact Details section. Next, enter the detail and click Save Changes. WPChat checks each field when you save. The rules are below.
In the agent’s contact details, enter the WhatsApp phone number with the country code.
Telegram
Telegram must be switched on under Platforms in Agent Settings.
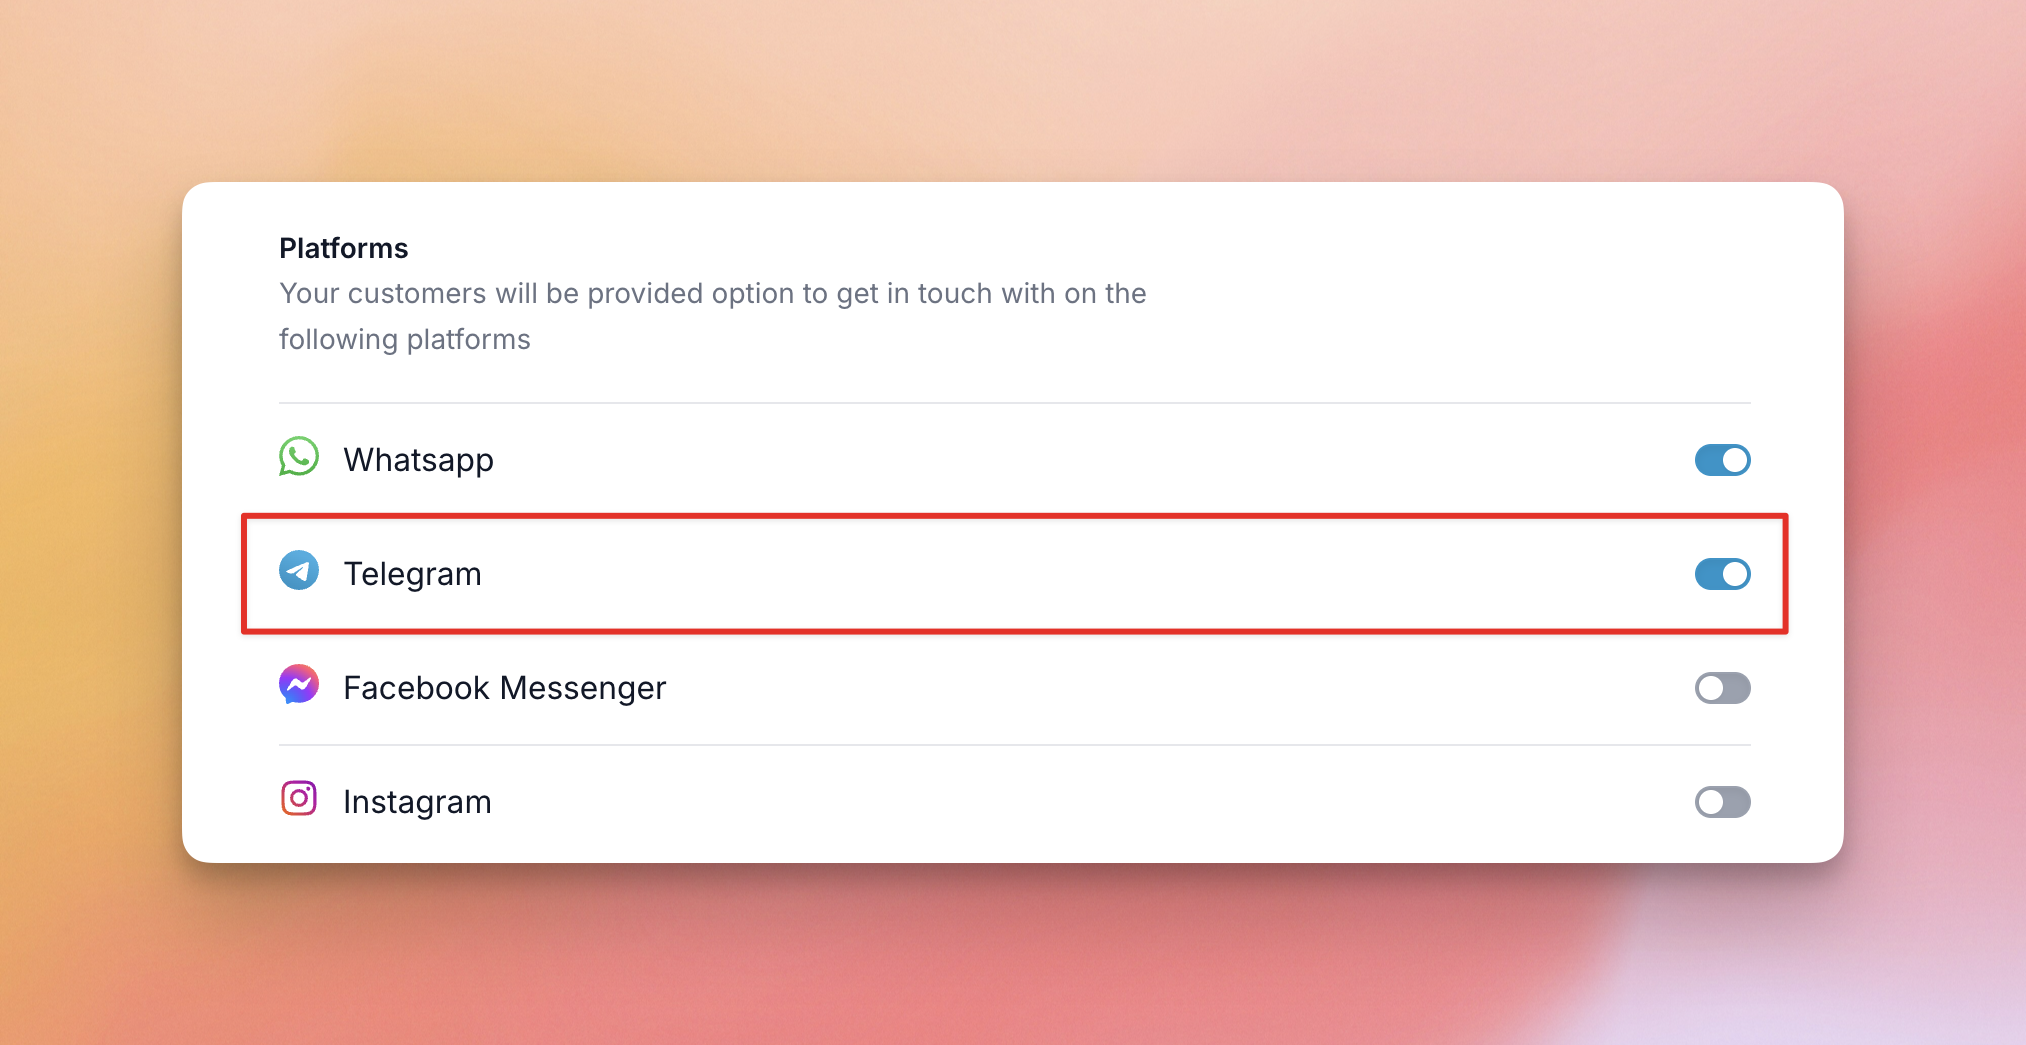
In the Contact Details section of the agent, find the Telegram field and enter the agent’s Telegram username or a phone number with the country code. The username must be five to 32 characters, and the phone number ten to 15 digits.
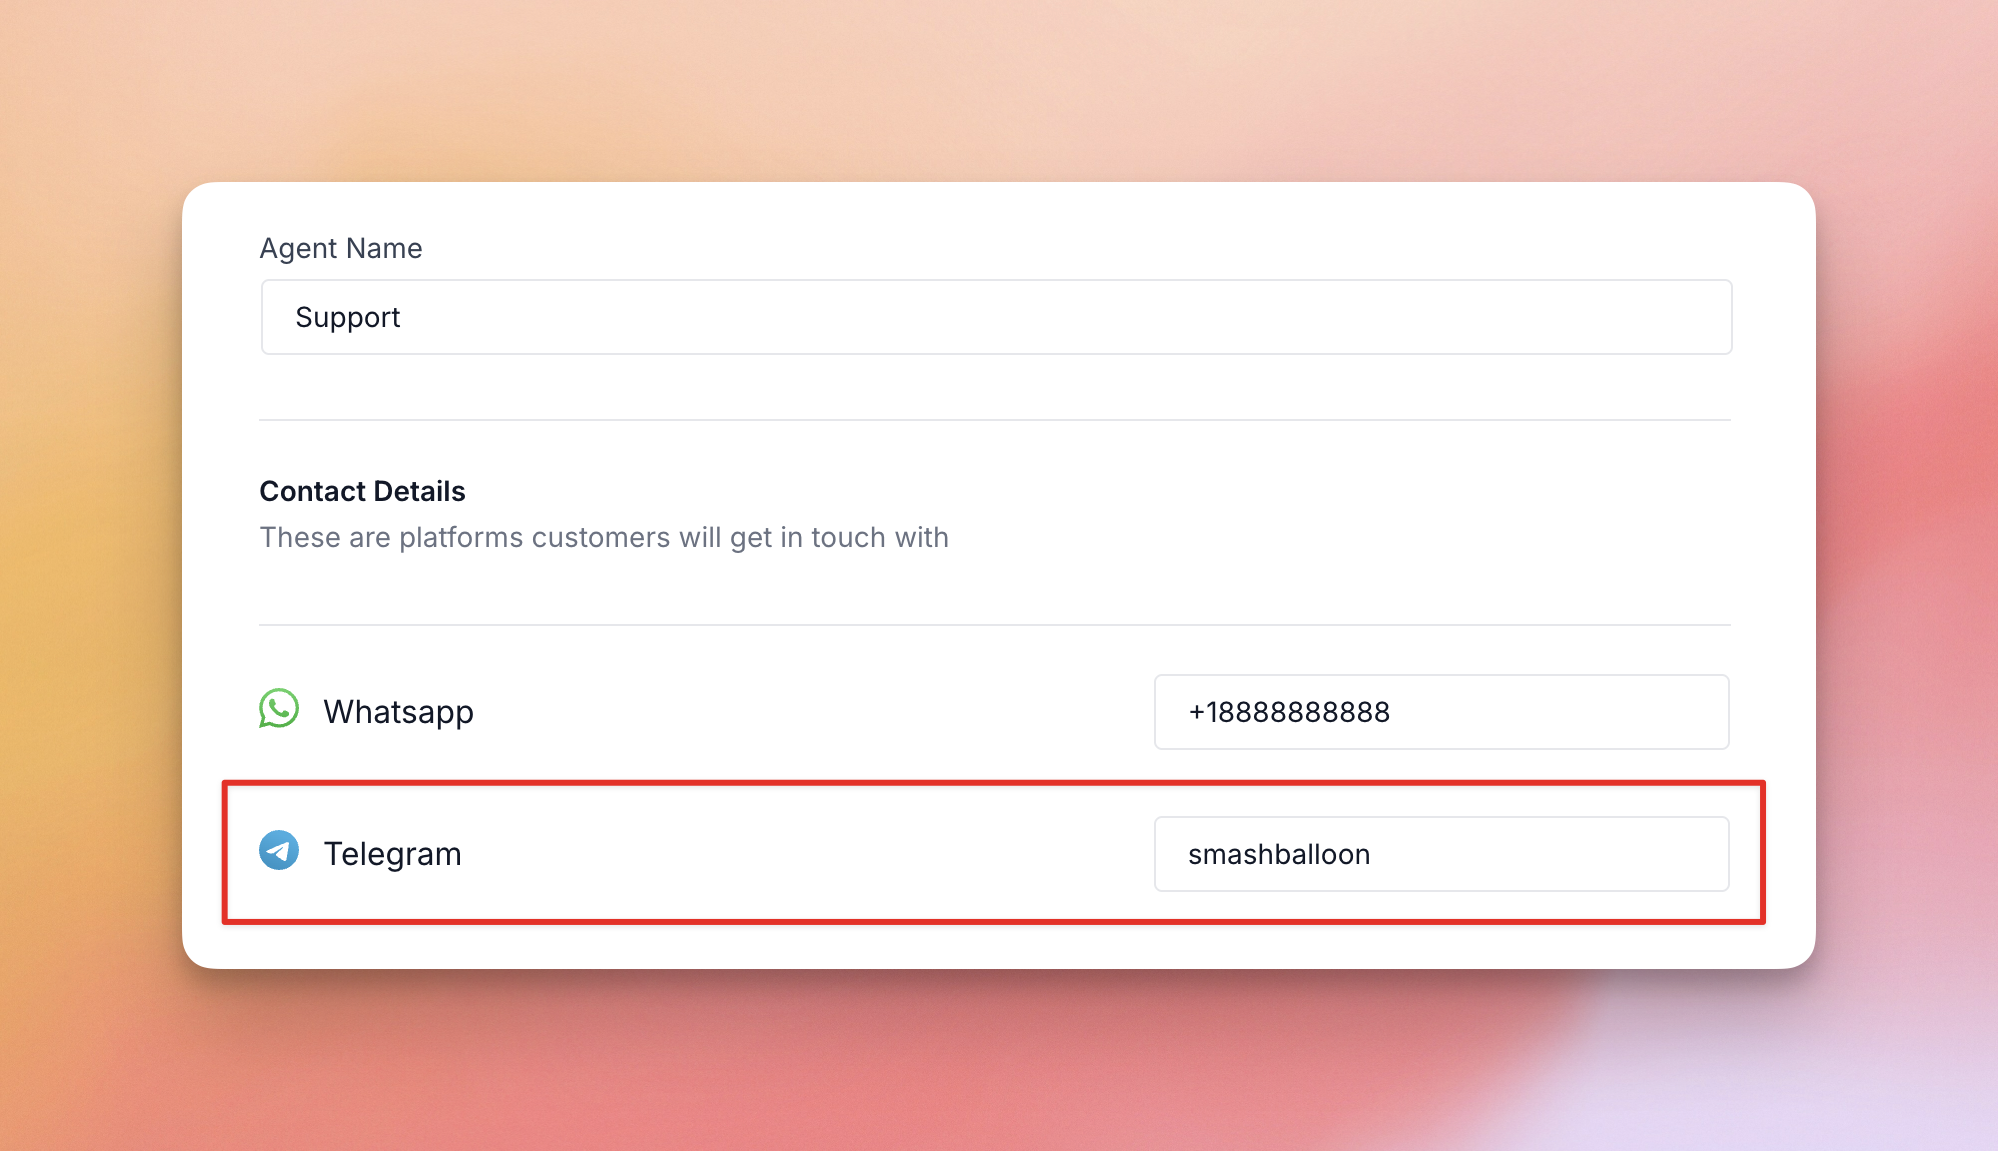
Note: If you are not sure what your Telegram contact details are, open the Telegram app on your phone, or visit web.telegram.org. Your phone number and username will appear at the top of the screen.
Messenger
Facebook Messenger must be switched on under Platforms in Agent Settings.
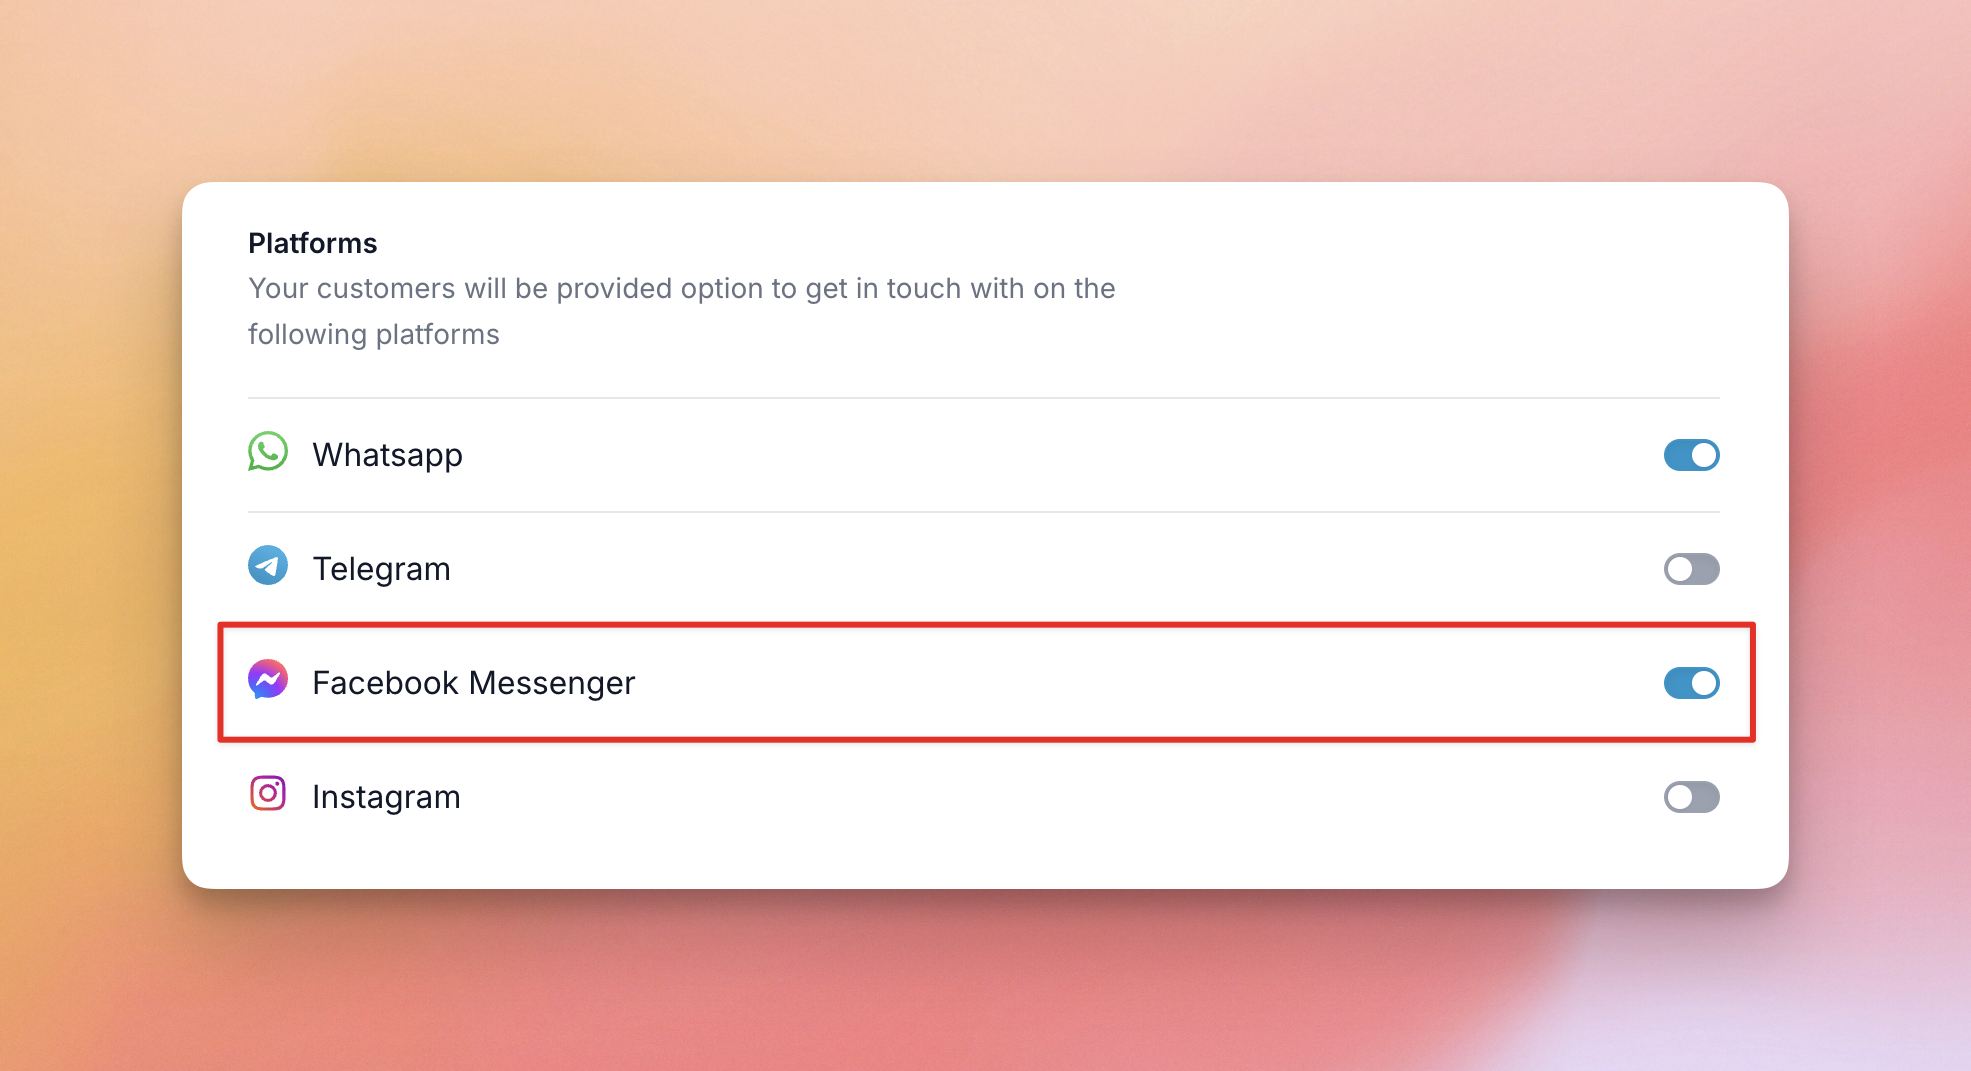
In the Contact Details section of the agent, find the Messenger field and enter the agent’s Messenger username or a numeric ID of ten to 20 digits. The username must be five to 50 characters.
Note: If you are not sure what to enter, open Facebook and go to your Page. The username is the part of the URL after facebook.com/. If your Page has no username, you can use your Page ID, the long number in the URL.
In the agent’s contact details, enter the Instagram username. It must be one to 30 characters and can use letters, numbers, periods and underscores only.
SMS
Next, switch on SMS under Platforms in Agent Settings. Then enter the phone number with the country code where the agent wants to receive SMS messages.
Phone
Next, switch on Phone under Platforms in Agent Settings. Then enter the phone number with the country code where the agent wants to receive calls.
That’s it! Your agents are ready to receive messages from your customers. To change how the chat widget looks and behaves, see Customizing Your Chat Widget Appearance and Behavior.