Creating and Using Chat Funnels
Last updated on October 07, 2025
Chat Funnels are a powerful, interactive feature available in WP Chat Pro and Elite plans, designed to proactively guide your visitors through automated, multi-step conversations.
What Are Chat Funnels and Why Should You Use Them?
A Chat Funnel is a pre-built conversation flow displayed inside your chatbot, allowing you to build multi-step processes with branching options.
Advantages of Using Chat Funnels
- Proactive Guidance and Lead Qualification: Funnels move beyond reactive support by proactively guiding visitors, answering common pre-sales questions, and qualifying leads before they ever need to speak to a support agent.
- Guided Conversions: You can design an interactive series of messages that drive users to certain parts of your website, depending on the answers they pick, boosting sales and conversions. A funnel completion (conversion) is defined as a user initiating a chat or being redirected to a platform after reaching the last step of the funnel.
- Detailed and Granular Analytics: Funnels provide comprehensive data to identify friction points and optimize results. You gain granular analytics for each single block and option within the funnel, tracking clicks and interactions at every step.
Creating a Chat Funnel in WPChat
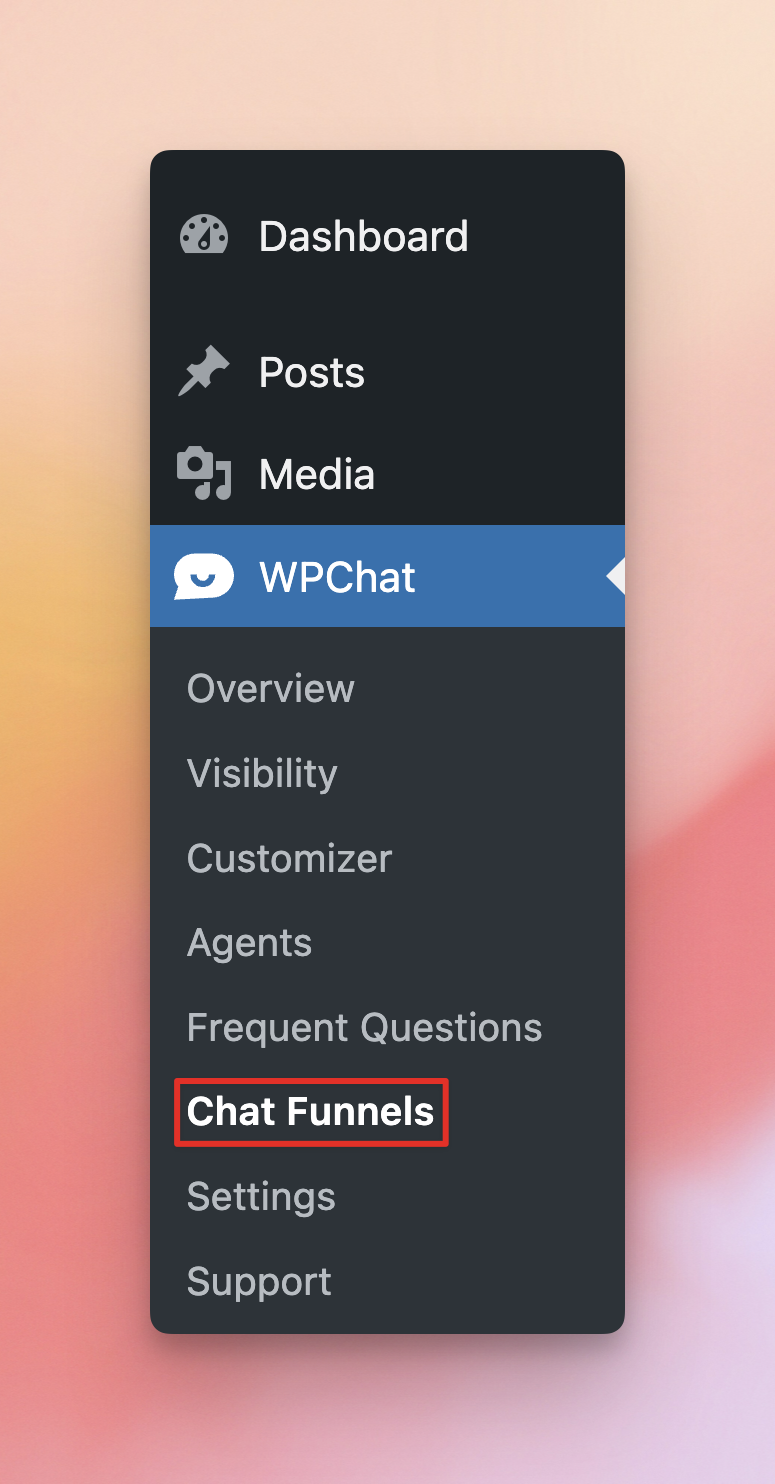
1. To begin, navigate to the WordPress Dashboard > WPChat > Chat Funnels and click the New Funnel button. This will take you to the Funnel Builder, where you can edit the funnel on the left and track changes in a live preview on the right.

2. Set a Funnel Name to easily identify your funnel.

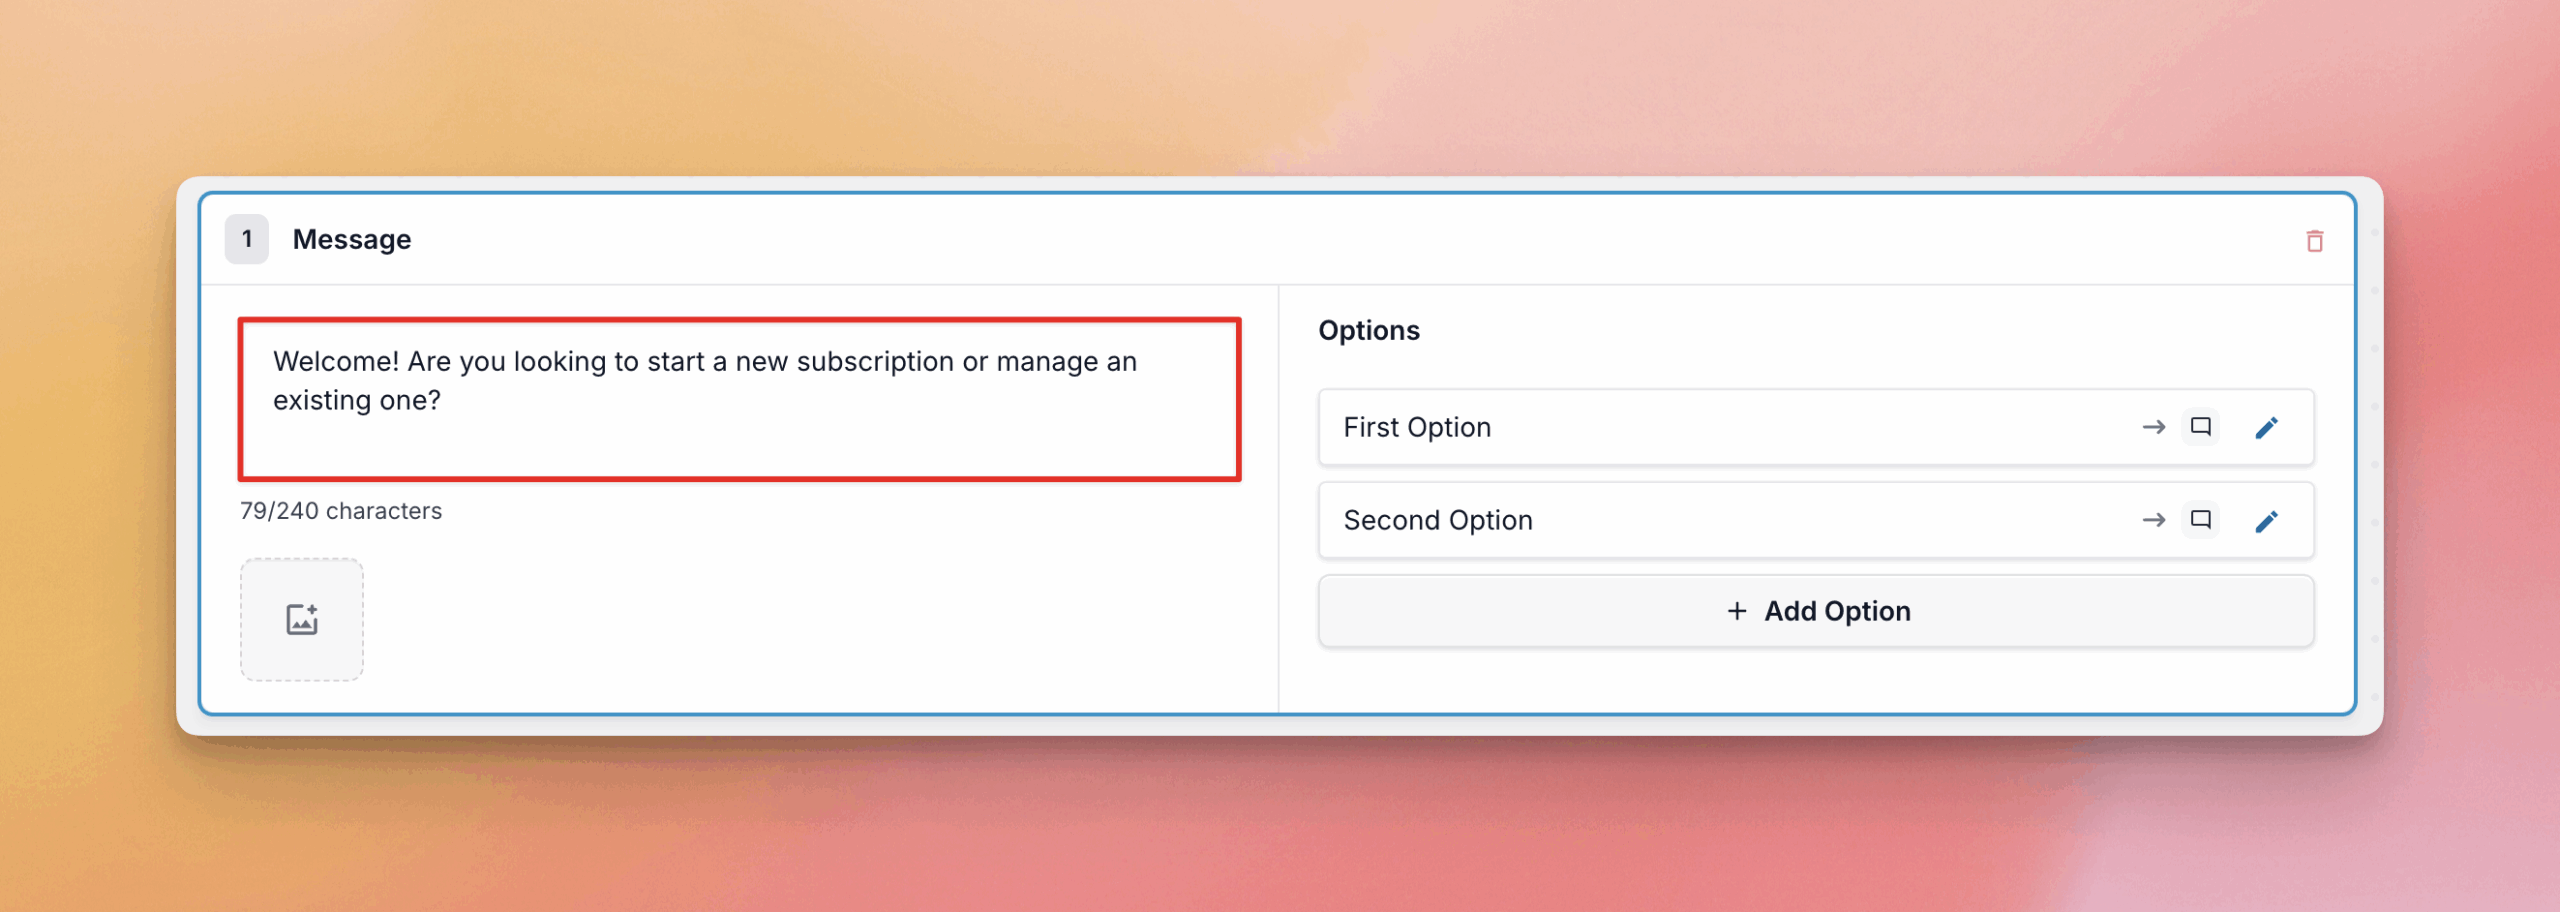
3. Your funnel will have one Message Block with example content added automatically. You can change the the content and options in this first block, and then add as many additional blocks as you need.
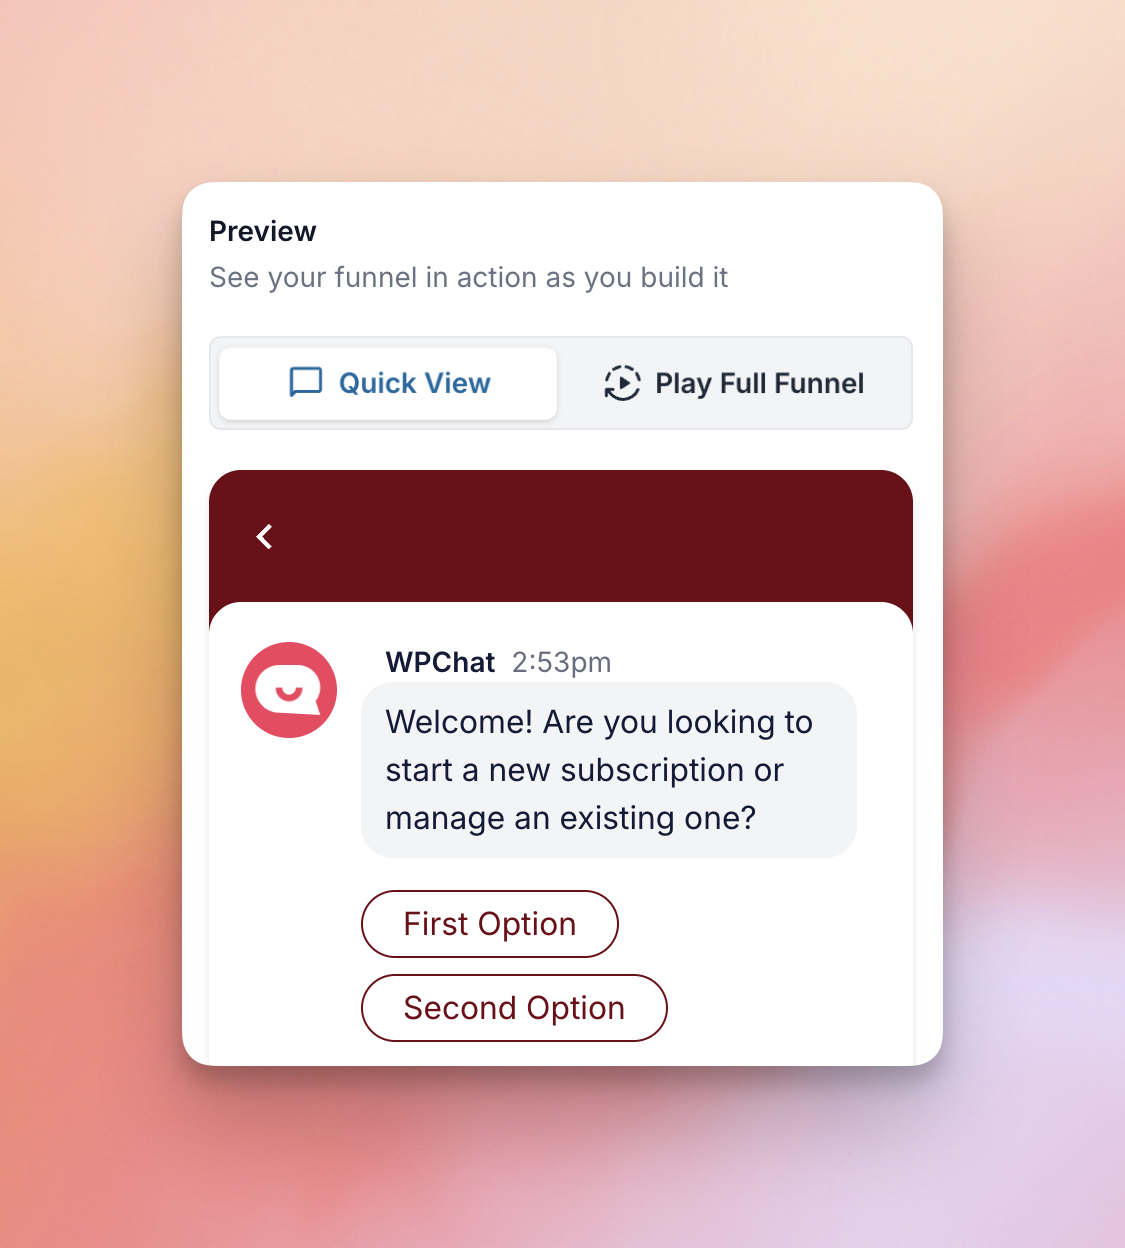
Watch the live preview on the right to see how the changes you make to Messages and Options update your funnel. You can also click the options to test the funnel flow.
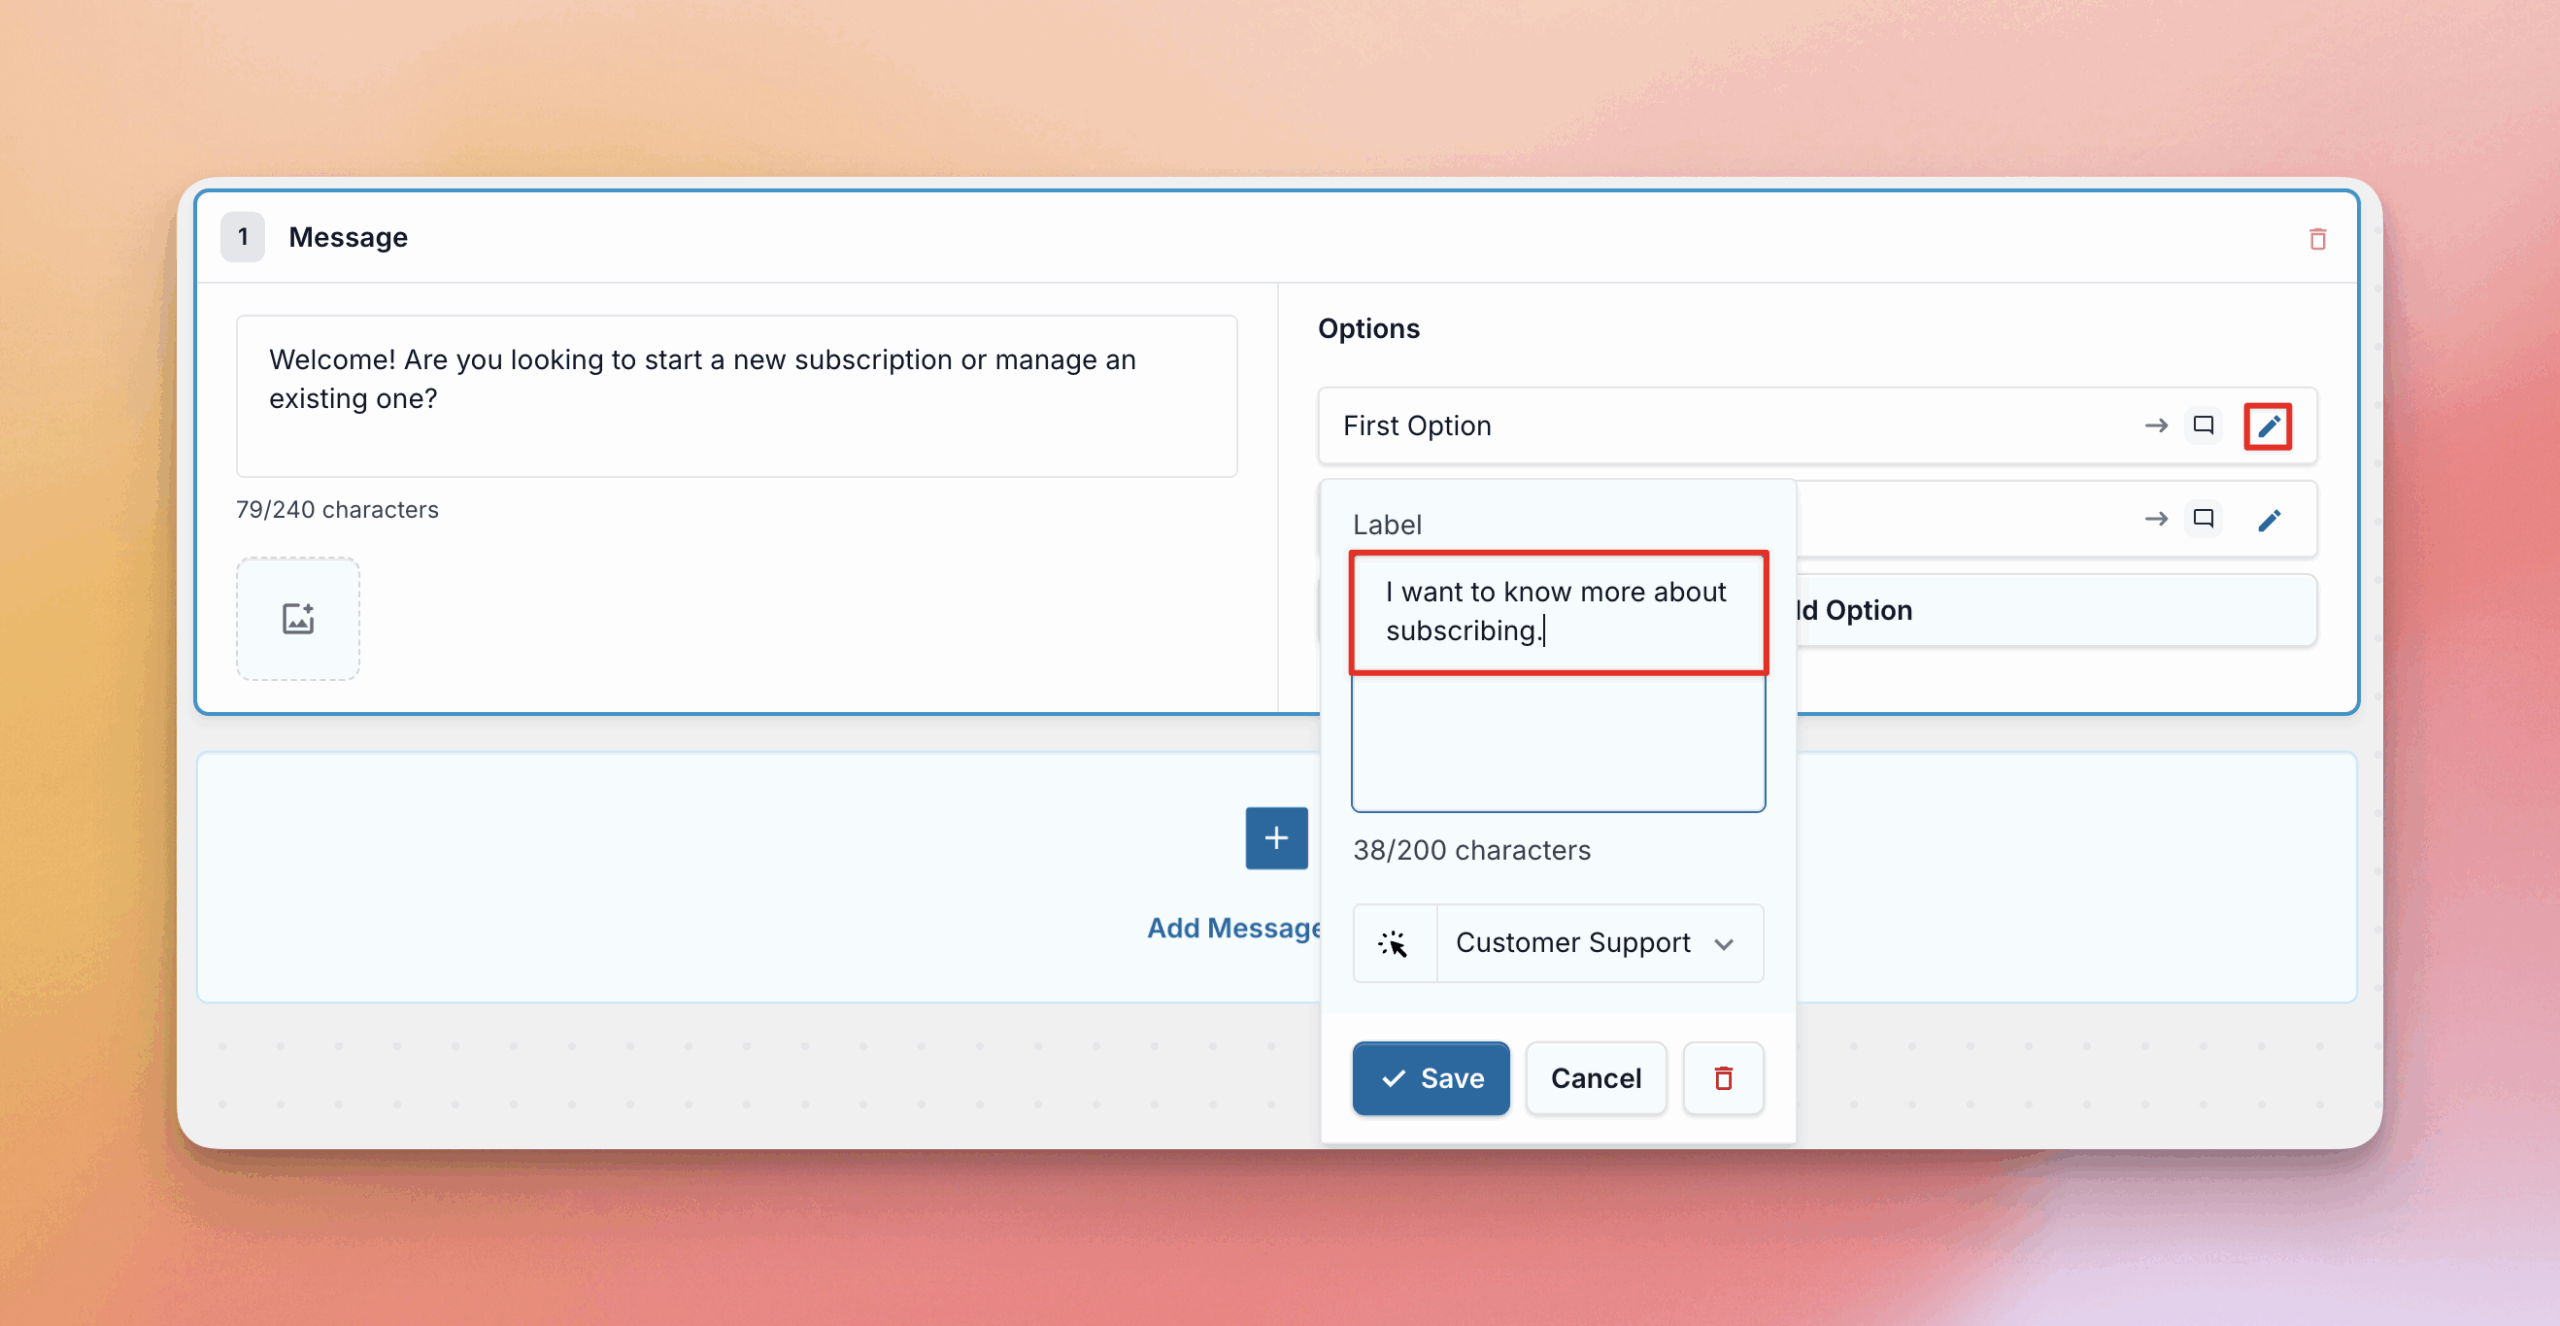
4. For each Option, you can click the edit (pencil) icon to change what happens when a visitor select this option. It can either direct them to Customer Support or to another message within the funnel. This is how you can control the flow of the funnel.
5. You can change the order of your Messages and the Options within each message by simply clicking and dragging them.
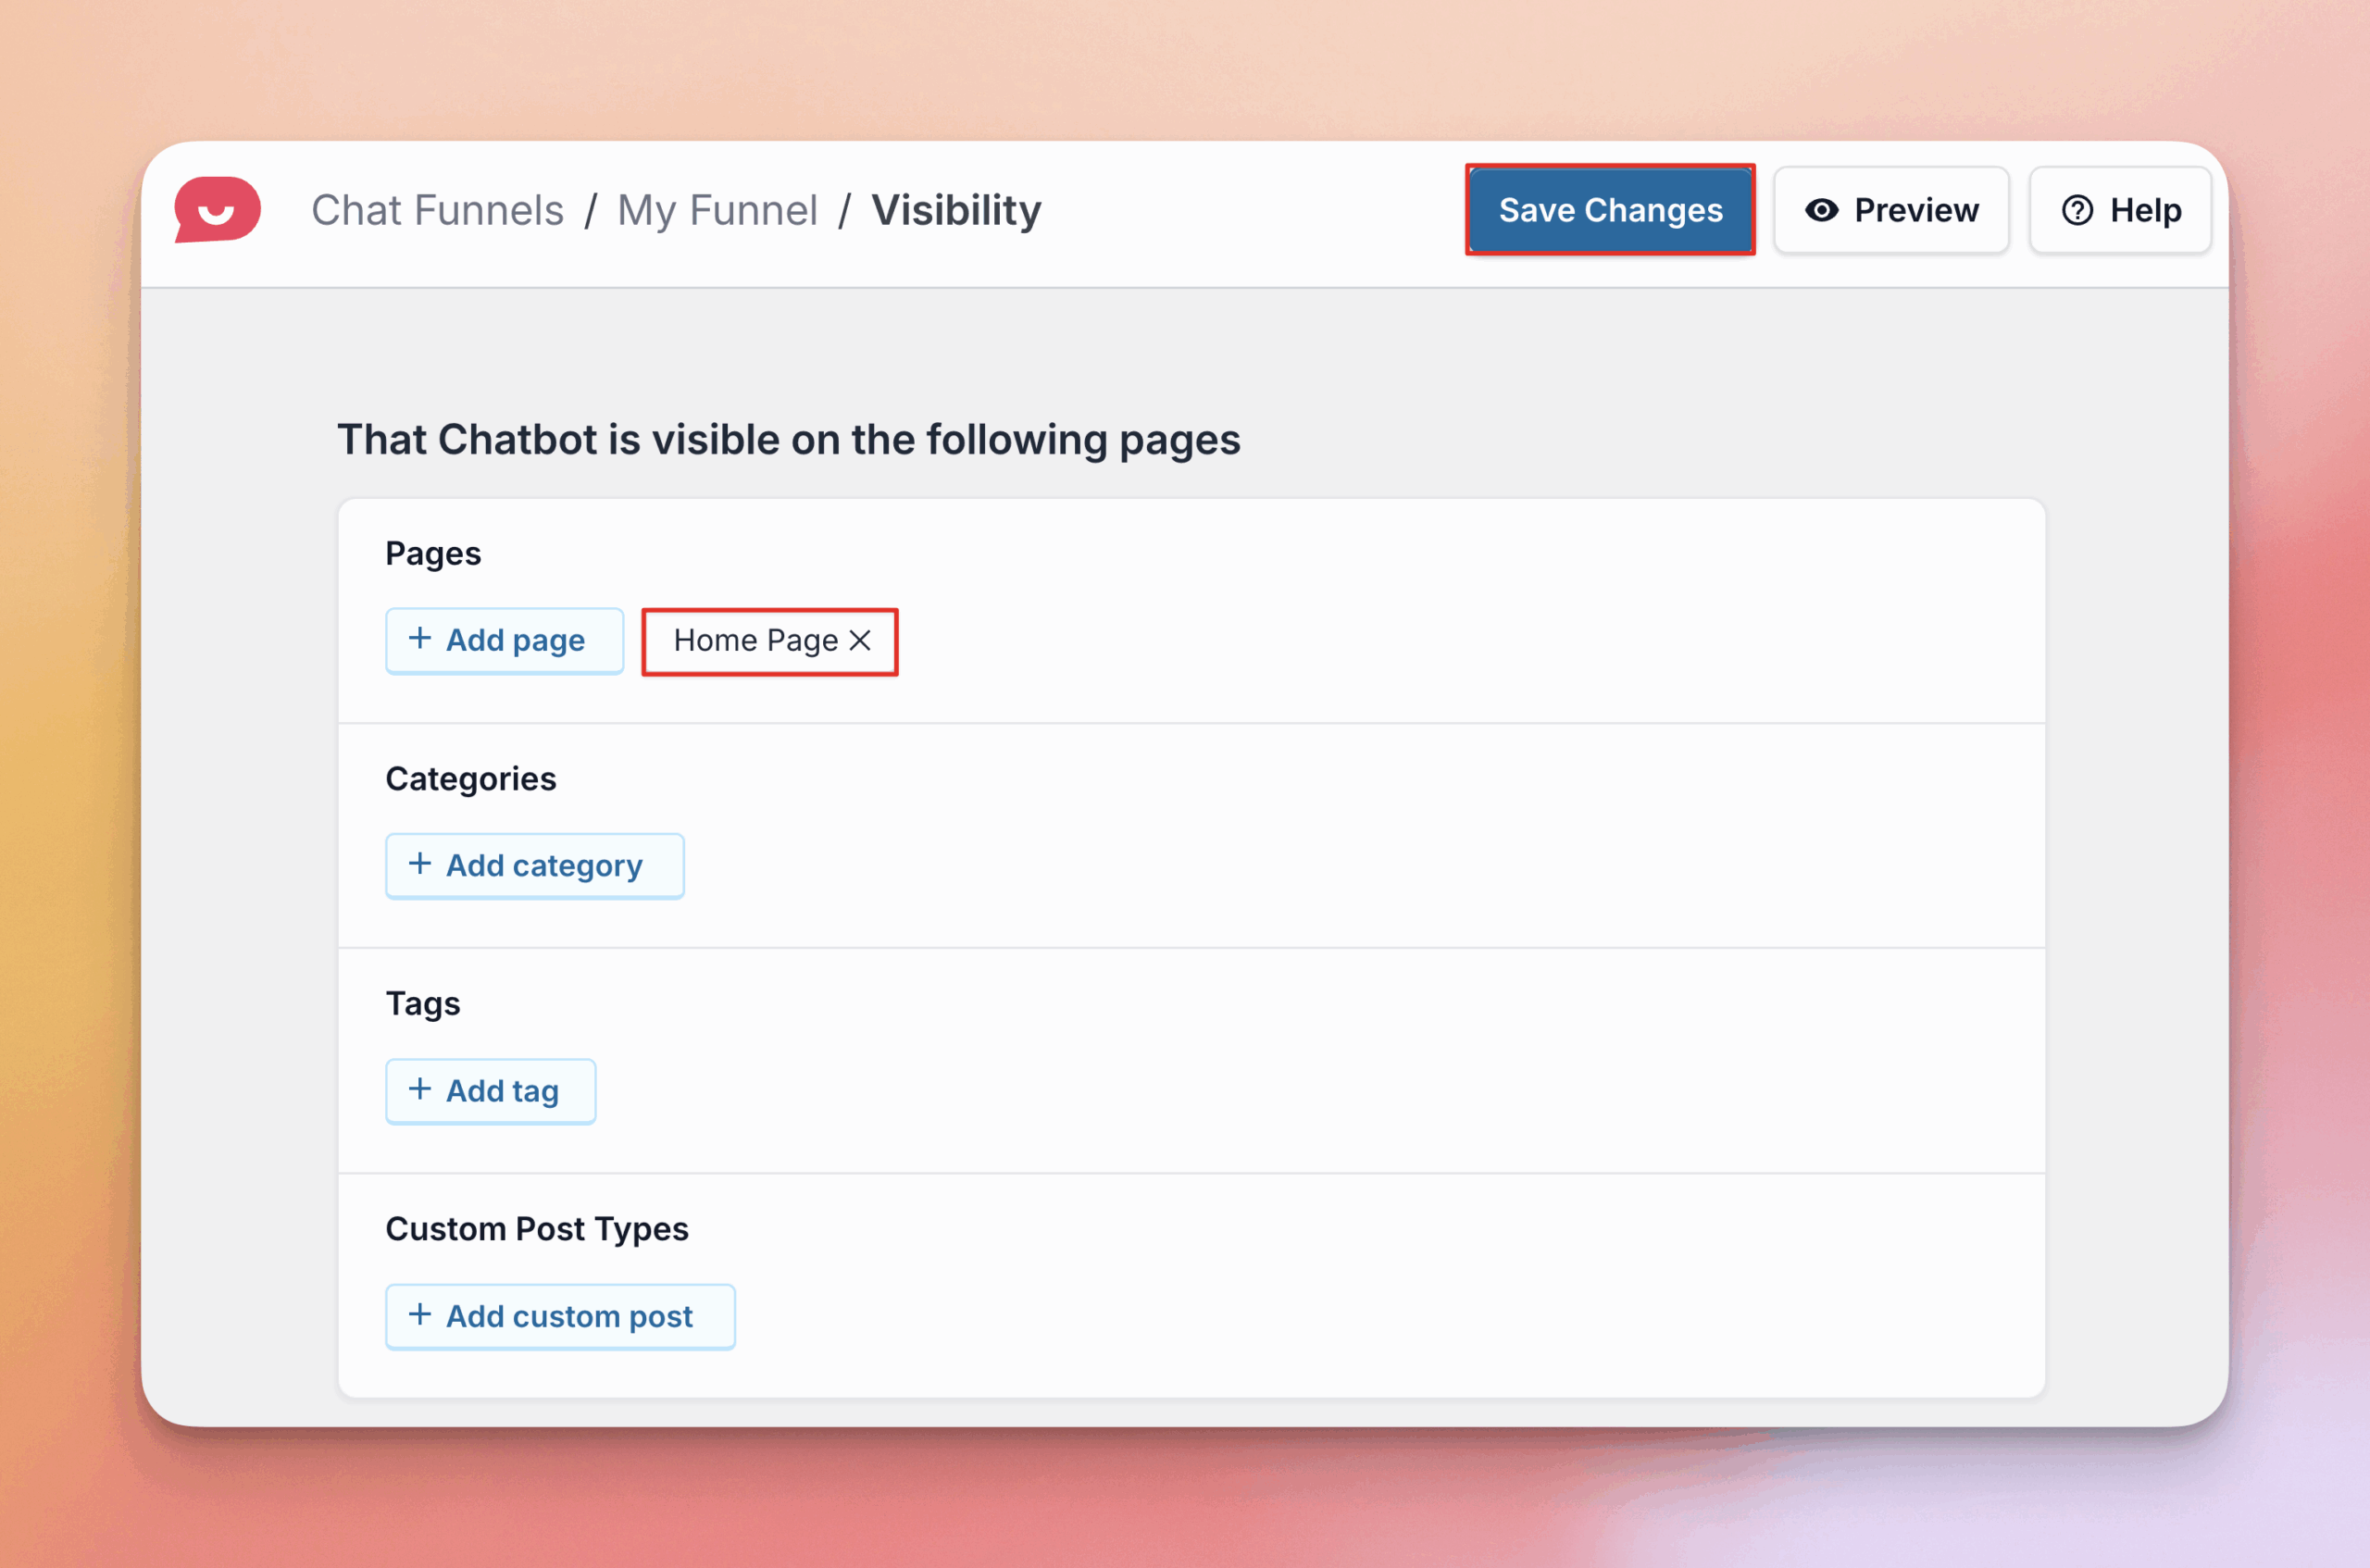
6. Once you set up the funnel, click Save Changes and you’ll be taken to the funnel’s visibility settings. Select the Pages, Categories, Tags, or Custom Post Types where this funnel should appear. Click Save Changes again once you’ve set the visibility to your preference.
Done!
Your Chat Funnel is now active. You can go back to the Chat Funnels page at any time to edit it or view analytics statistics.