Customizing Your Chat Widget: Appearance & Behavior
Last updated on October 03, 2025
Once you finish installing WPChat and doing the initial guided setup, your first chat agent and widget have already been created automatically. You can customize the appearance and behavior of the widget with the settings in the Customizer.
Accessing the Customizer
To customize the appearance and behavior of your chat widget, first go to WordPress Dashboard > WP Chat > Customizer

Customization Options
With the Customizer, you can adjust the Theme, Color Palette, Header, Icon, Assistant Avatar, and Sections of your chat widget. As you adjust the customization options, the live preview of your chat widget will update instantly so you can see how your widget will appear on the page.
Don't forget to save!
After you change your customization settings to your preference, remember to click the Save button at the top right of the page.
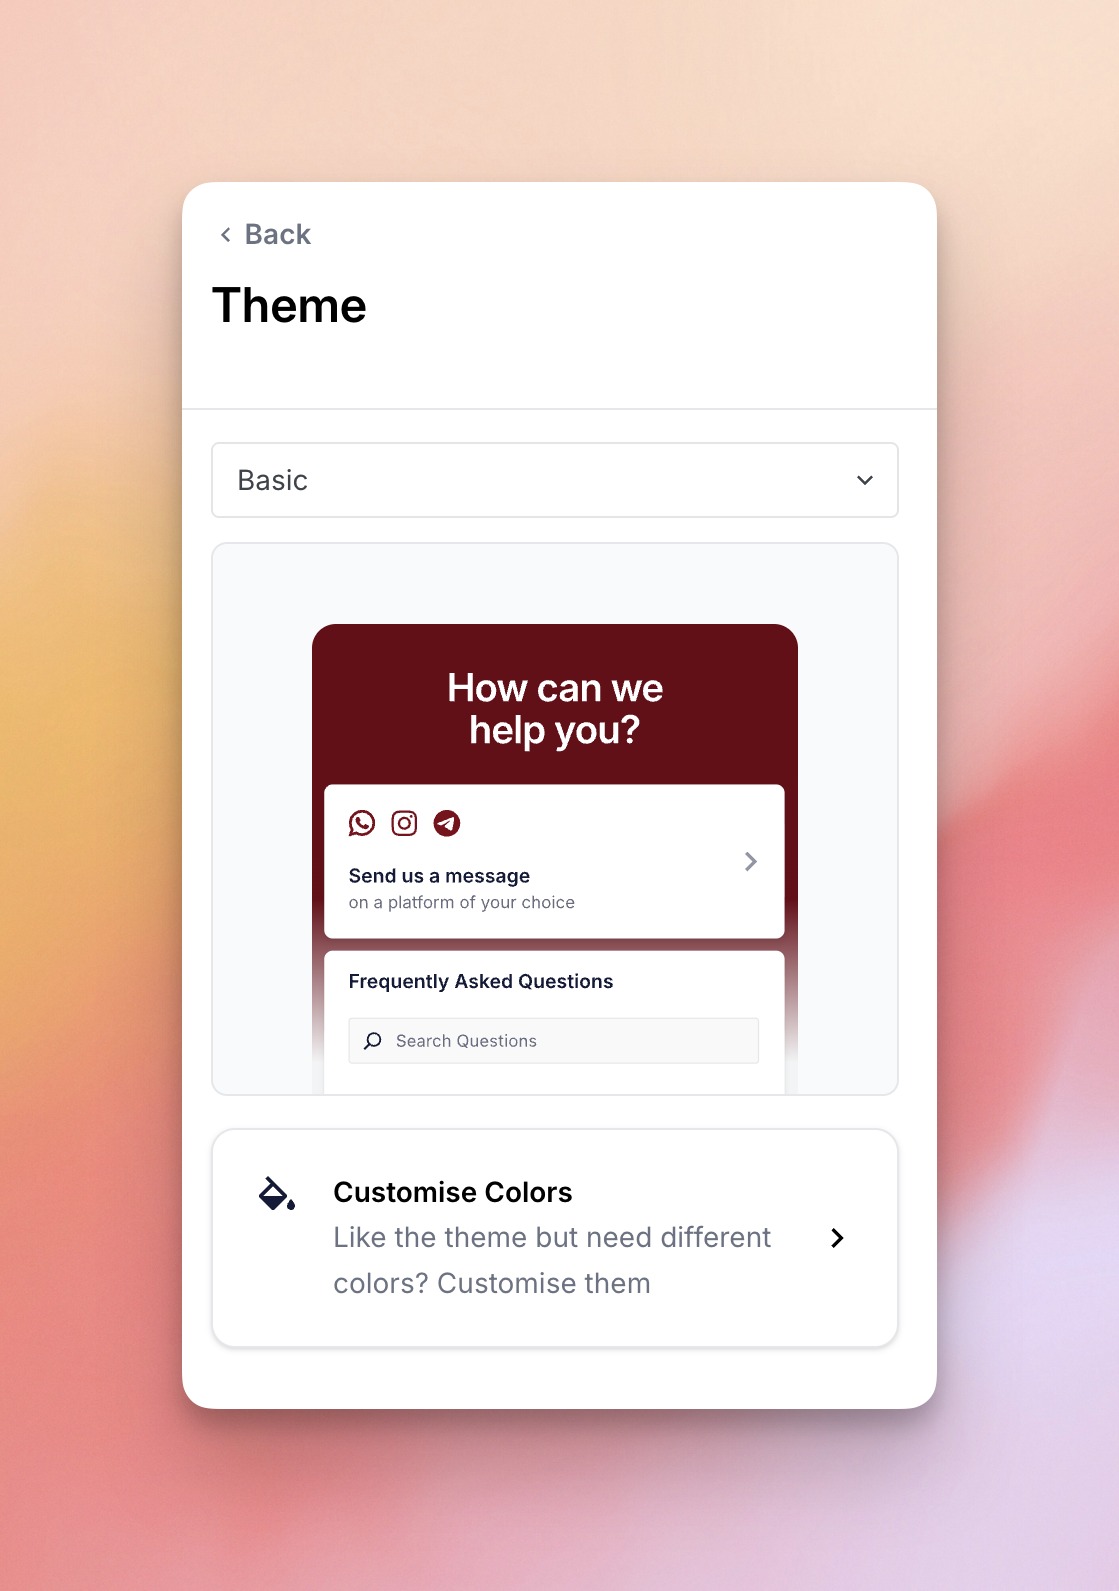
Theme
Pick from our unique, pre-built themes like Basic, Night, or Pastel to match your site’s style. These themes set options like the Color Palette and Icons settings, but you can always customize this further with the other options described in this guide.
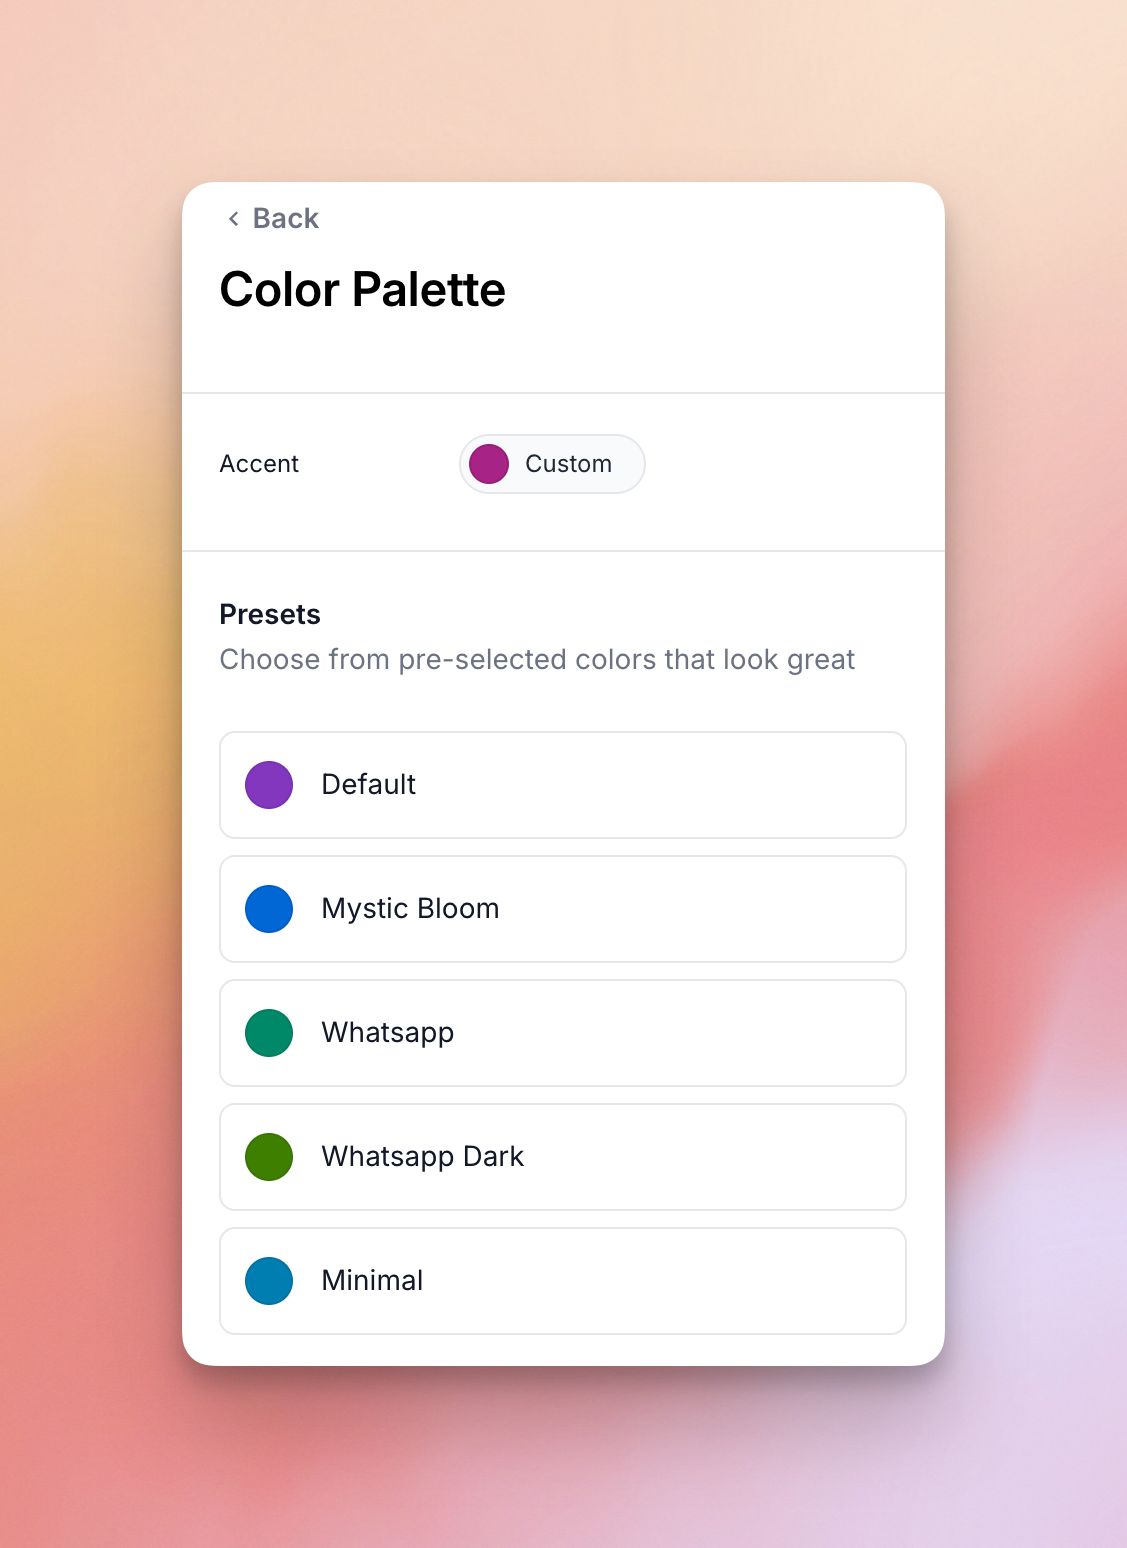
Color Palette
If you’d like to change the color of you chat widget, select one of the Preset color palettes, or create your own by setting the Accent Hue/Color to base your color palette on.
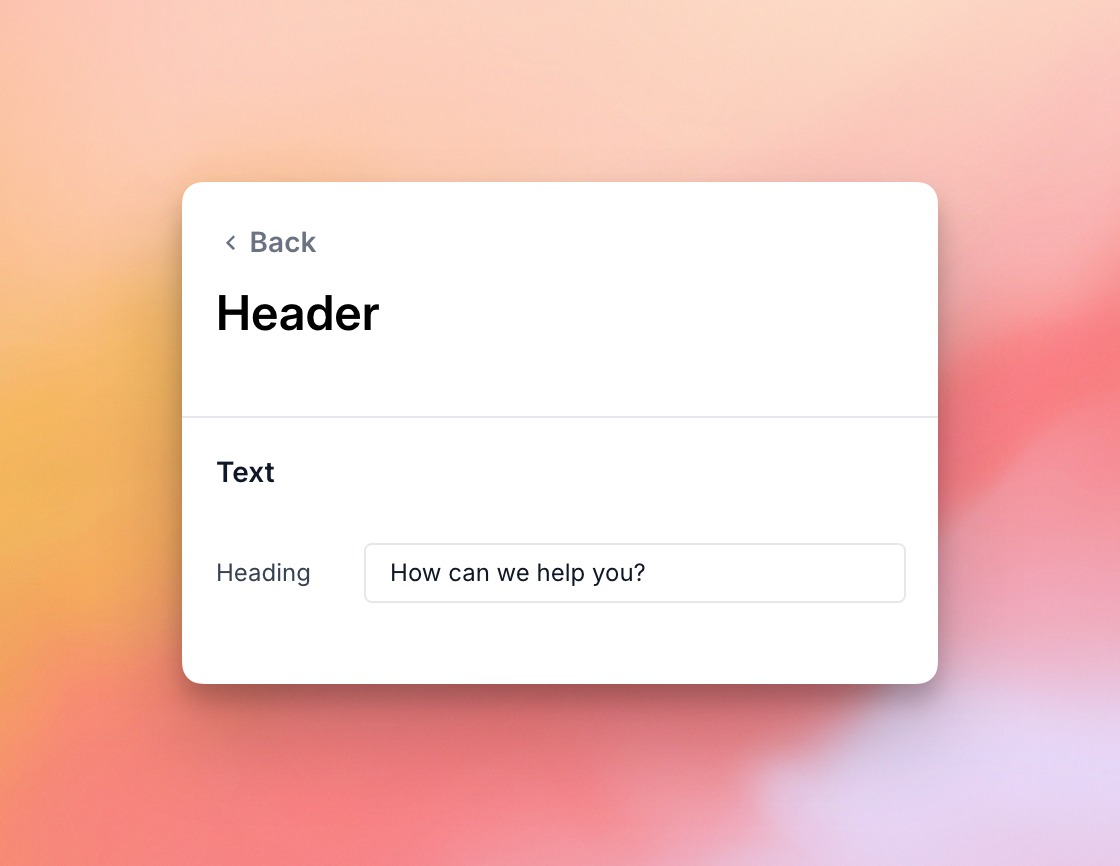
Header
With this setting, you can change the text that appears in the Header of your chat widget.
Icon
Change the icon that will appear on your site to open and close the chat widget.
Assistant Avatar
Here you can set the avatar image for the chat assistant. You can choose from one of the preset avatars or create your own.
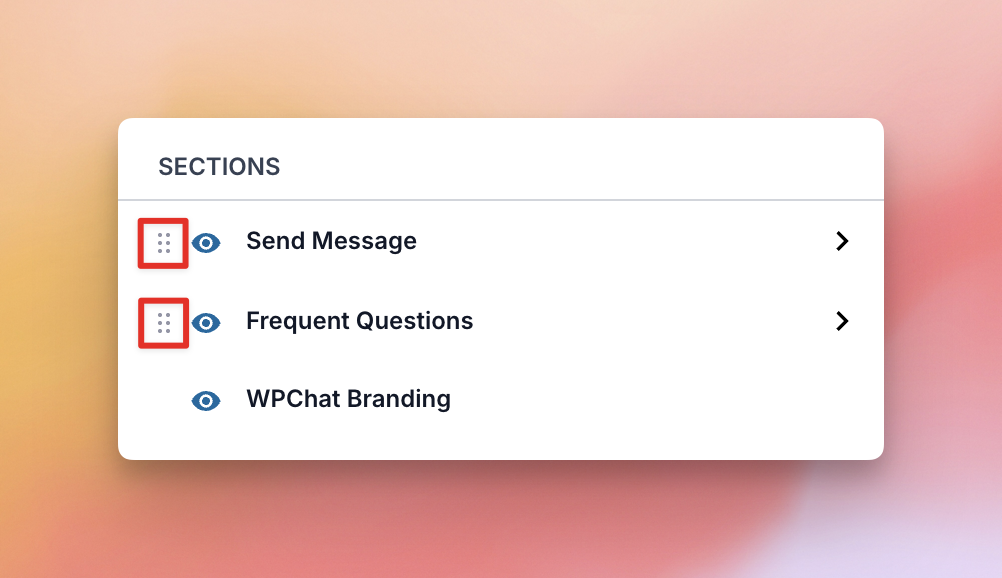
Sections
With this option, you can change the order of the chat widget sections, hide or show sections, or change the settings of each section.
Moving Sections
Drag the handle on the left of the section up or down to change the order
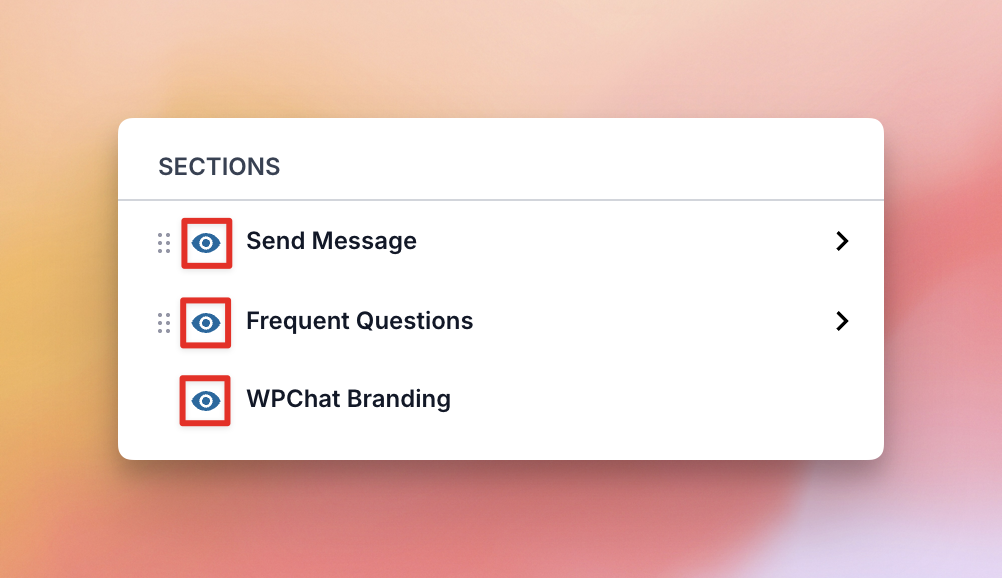
Show or Hide Sections
Click the eye icon to the left of each section to toggle the visibility of that section.
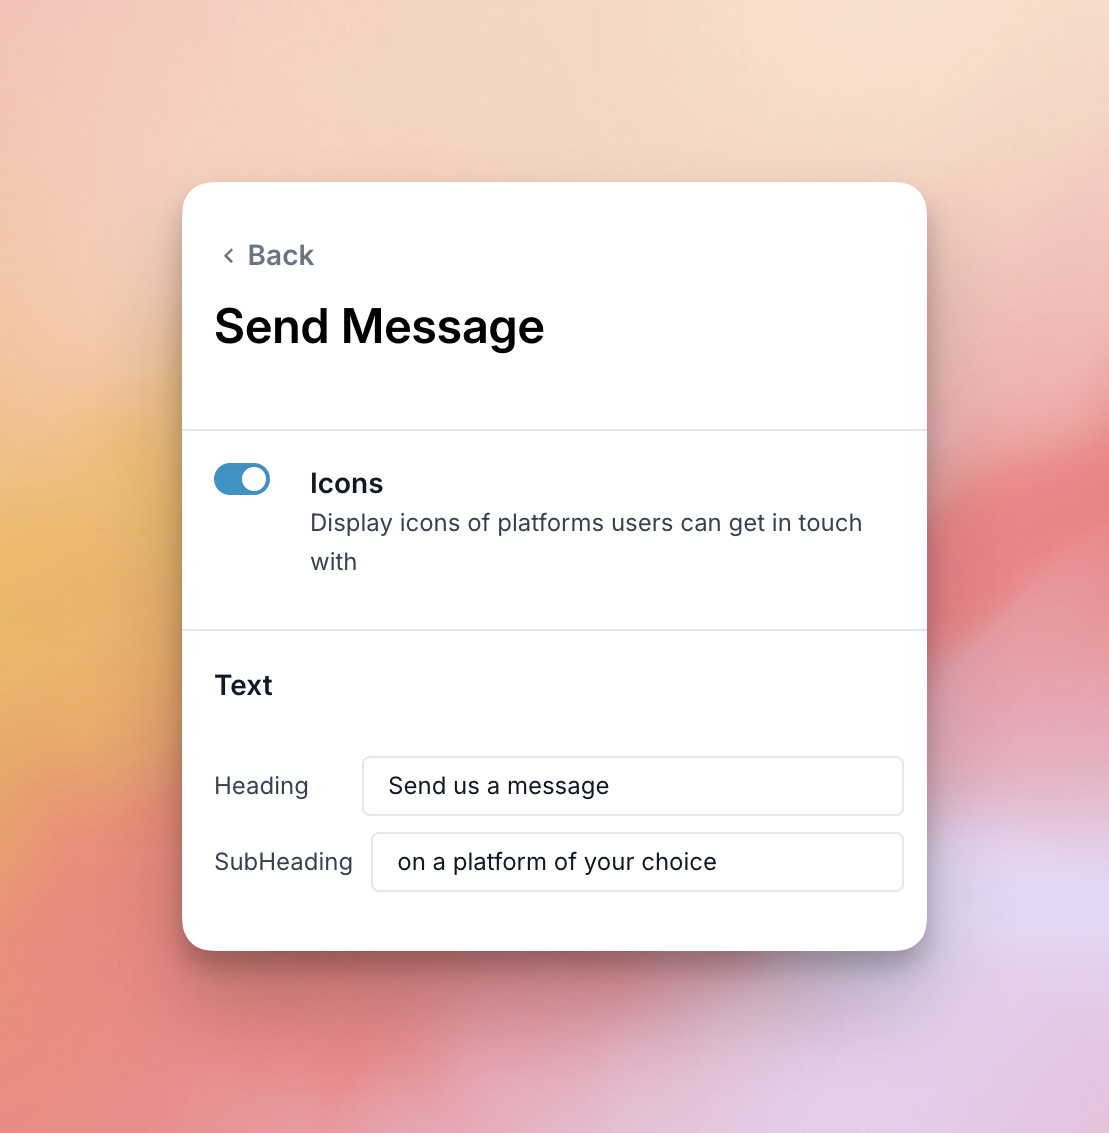
Send Message – Section Settings
Here you can choose to hide or show the icons within the Send Message section, or change the heading and subheading text.
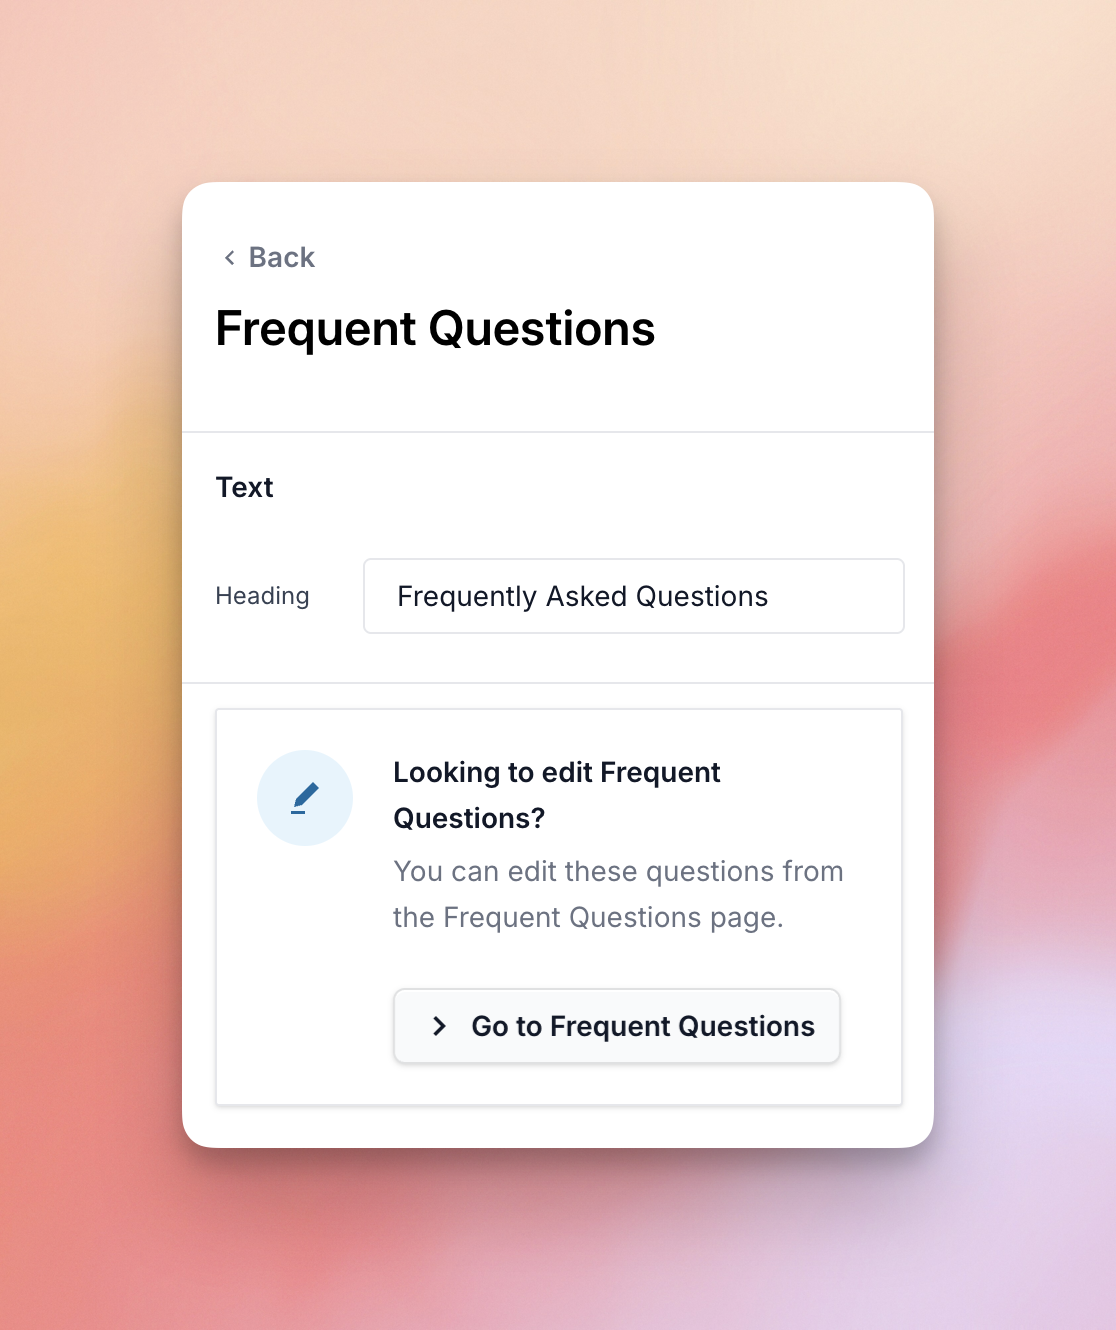
Frequent Questions – Section Settings
You can change the heading of your Frequent Questions section here.