WPChat Installation and Setup
Last updated on October 02, 2025
Install the Plugin
Free Version
1. Go to WordPress Dashboard > Plugins > Add Plugin.
2. Search for WPChat
3. Find the listing for WPChat and click Install Now.
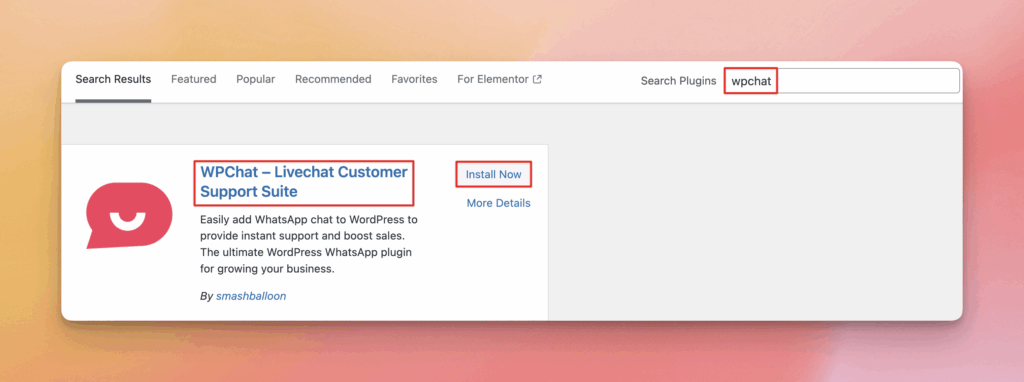
4. Once the installation completes, click Activate.
Pro Version
1. After you’ve purchased the Pro plugin, go to your account Downloads. Your download link, license key, and purchase information are also emailed to you at the address you provided during checkout.
2. Click Download Plugin to download the ZIP file for the Pro plugin. You can also find your License Key here.
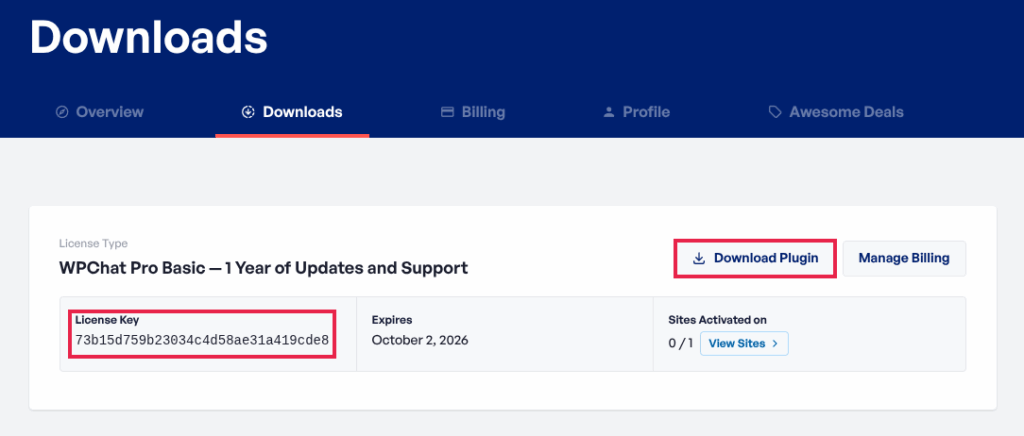
Once you’ve downloaded the .ZIP file, there’s no need to open it. You’ll be uploading and installing this .ZIP file directly to WordPress.
Note if you’re using Safari:
The .ZIP file may be automatically extracted after you download it, but you need to upload the full unextracted ZIP file to WordPress to install the plugin. You can disable this feature by navigating to Safari > Preferences > General > Turn off the option “Open safe files after downloading”. After that, the plugin will now download as a .ZIP file and can be uploaded directly to WordPress.
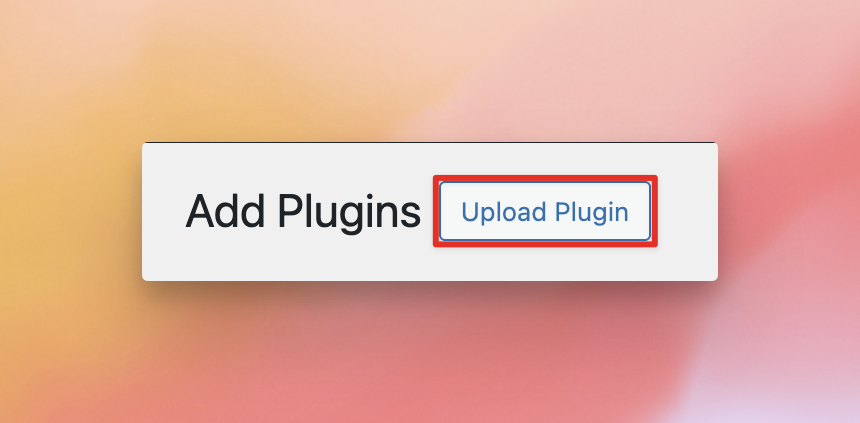
3. From your WordPress Dashboard go to Plugins > Add Plugin and click Upload Plugin
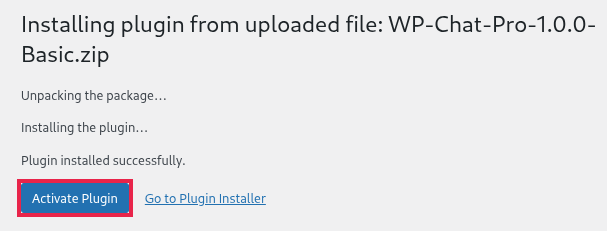
4. Click Choose File, select the plugin ZIP file you downloaded, and click Install Now.

5. Once the installation completes, click Activate Plugin
Set Up the Plugin
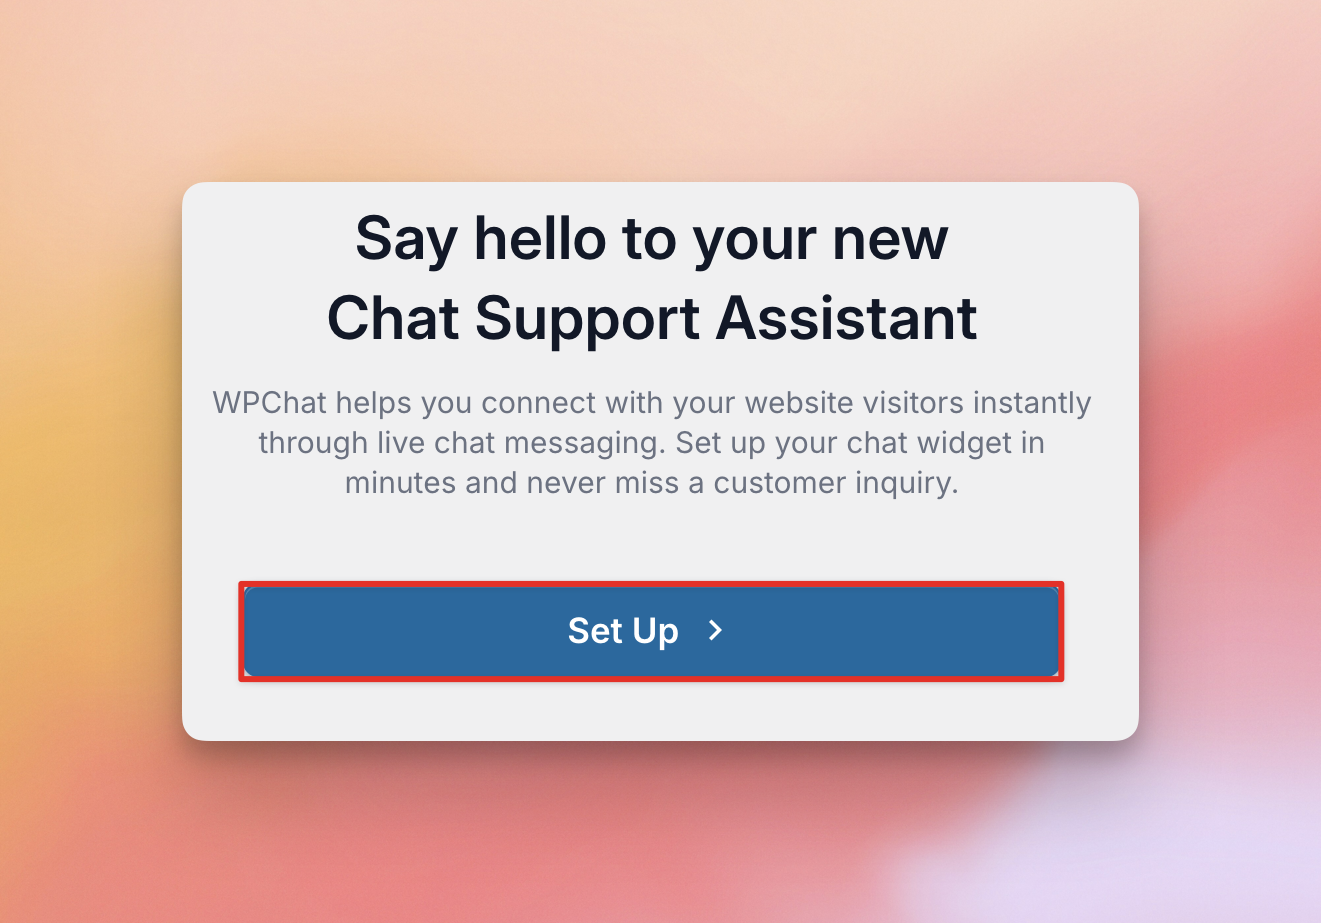
1. Now that you’ve installed the plugin, click the WPChat menu item that has been added to the left menu bar of your WordPress Dashboard
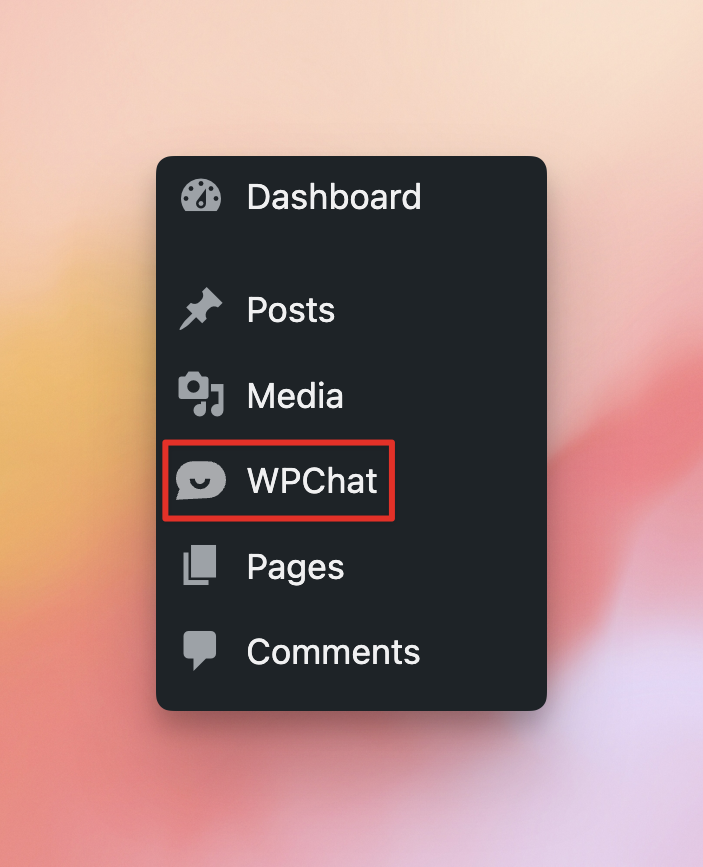
and then click the Set Up button to begin the on-boarding process.
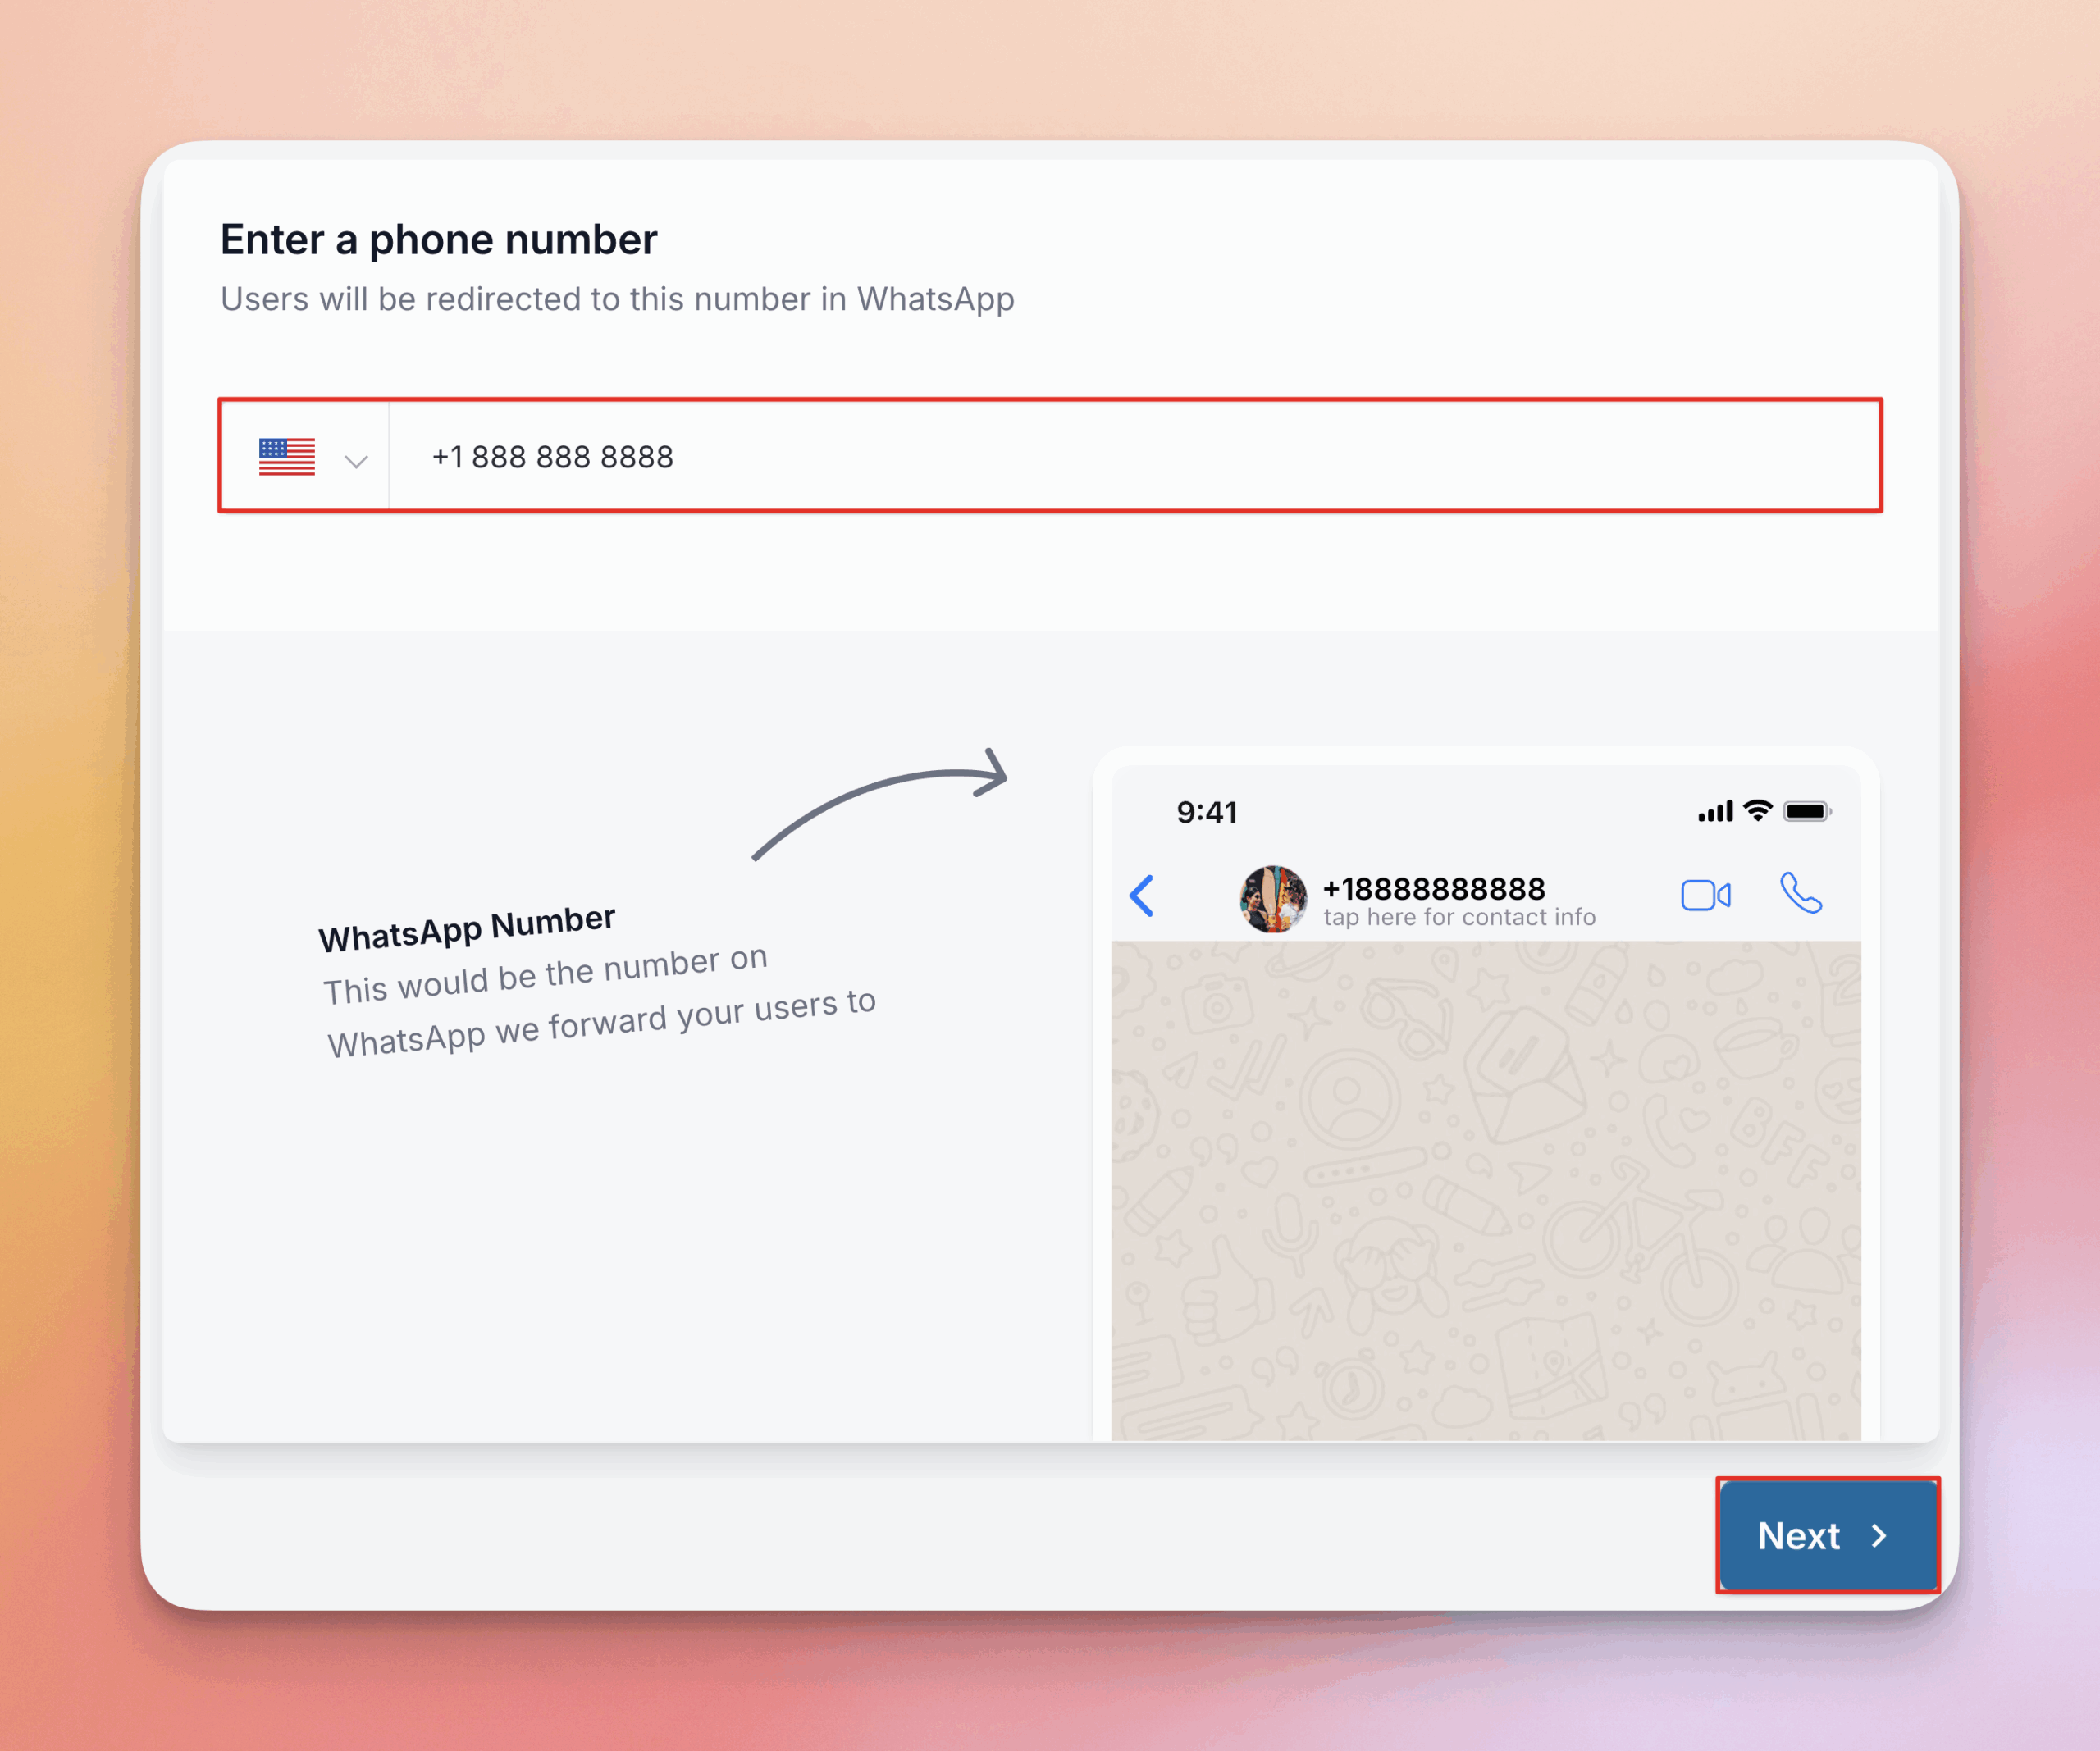
2. Enter your phone number and click Next. This will be the phone number that WhatsApp messages will be sent to for you first WPChat Agent. After the initial setup process, you can edit your agents to add numbers for additional messaging services such as Telegram, Facebook Messenger, and Instagram. See this guide for more information
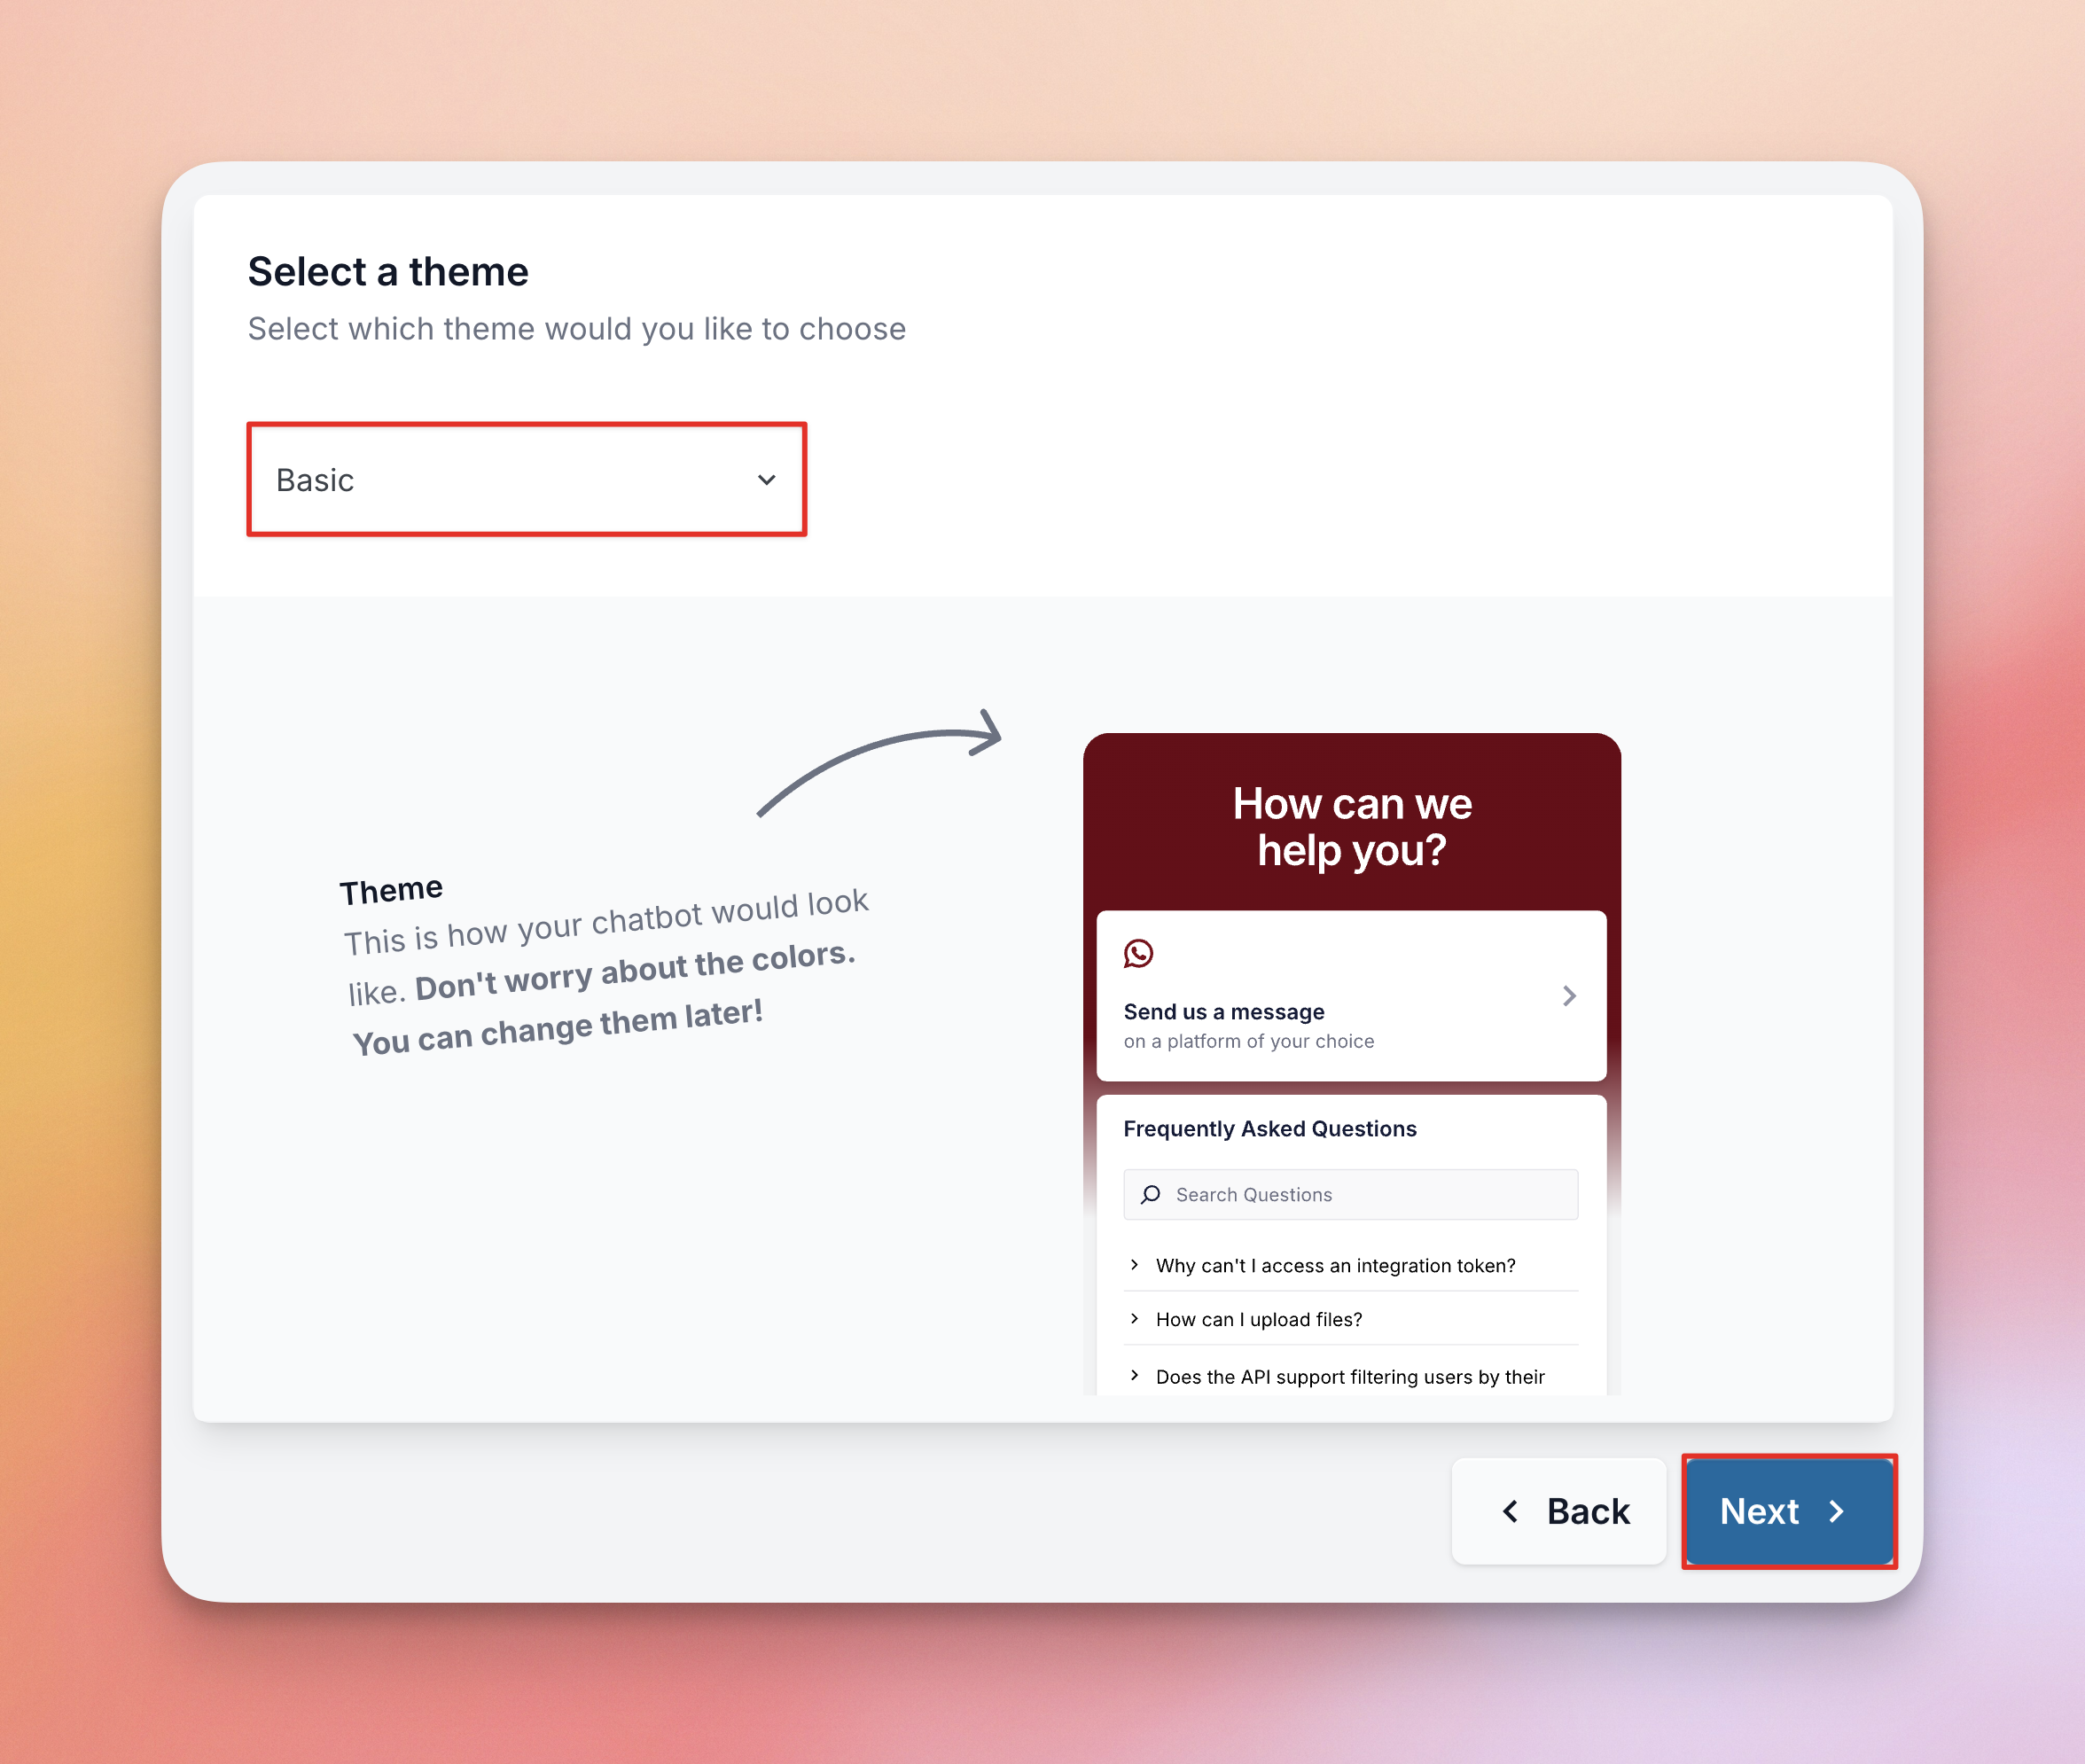
3. Select a theme (Basic, Night, or Pastel). When you select a theme, you’ll see a live preview of how your chat widget will look. Don’t worry, you can always change themes or customize your theme later! Click Next once you’ve selected a theme.
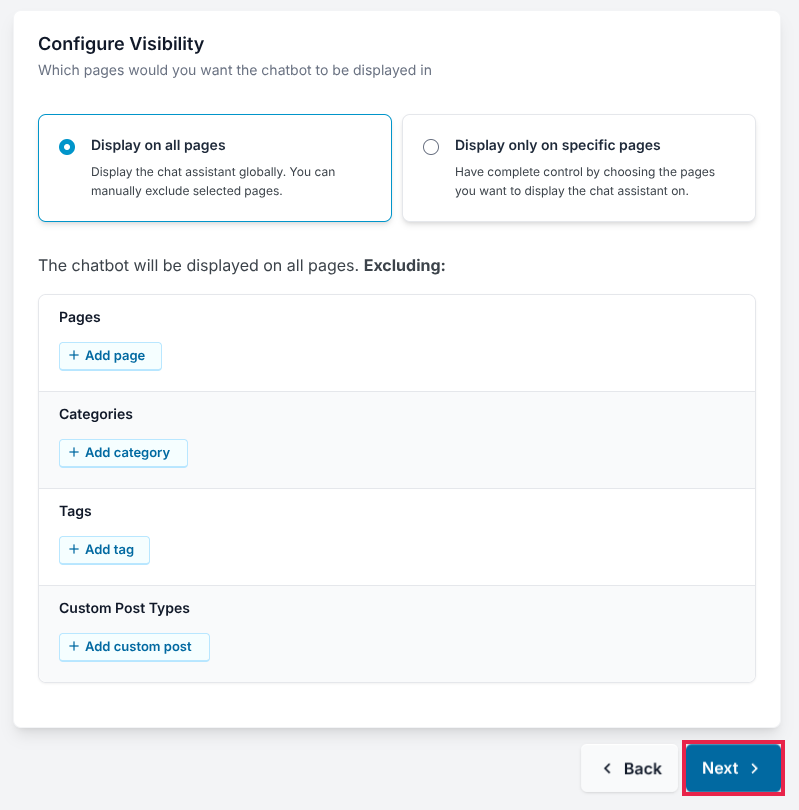
4. Choose the visibility of the chatbot. You can either display on all pages, with the option to exclude specific pages, tags, categories, or post types, or you can only add it only to specific pages, categories, or post types you select.
In the Free version you can choose to display the widget on all pages or to not display on any pages, but you can't set specific pages, tags, categories, or post types. Upgrade to the Pro version for more visibility options.
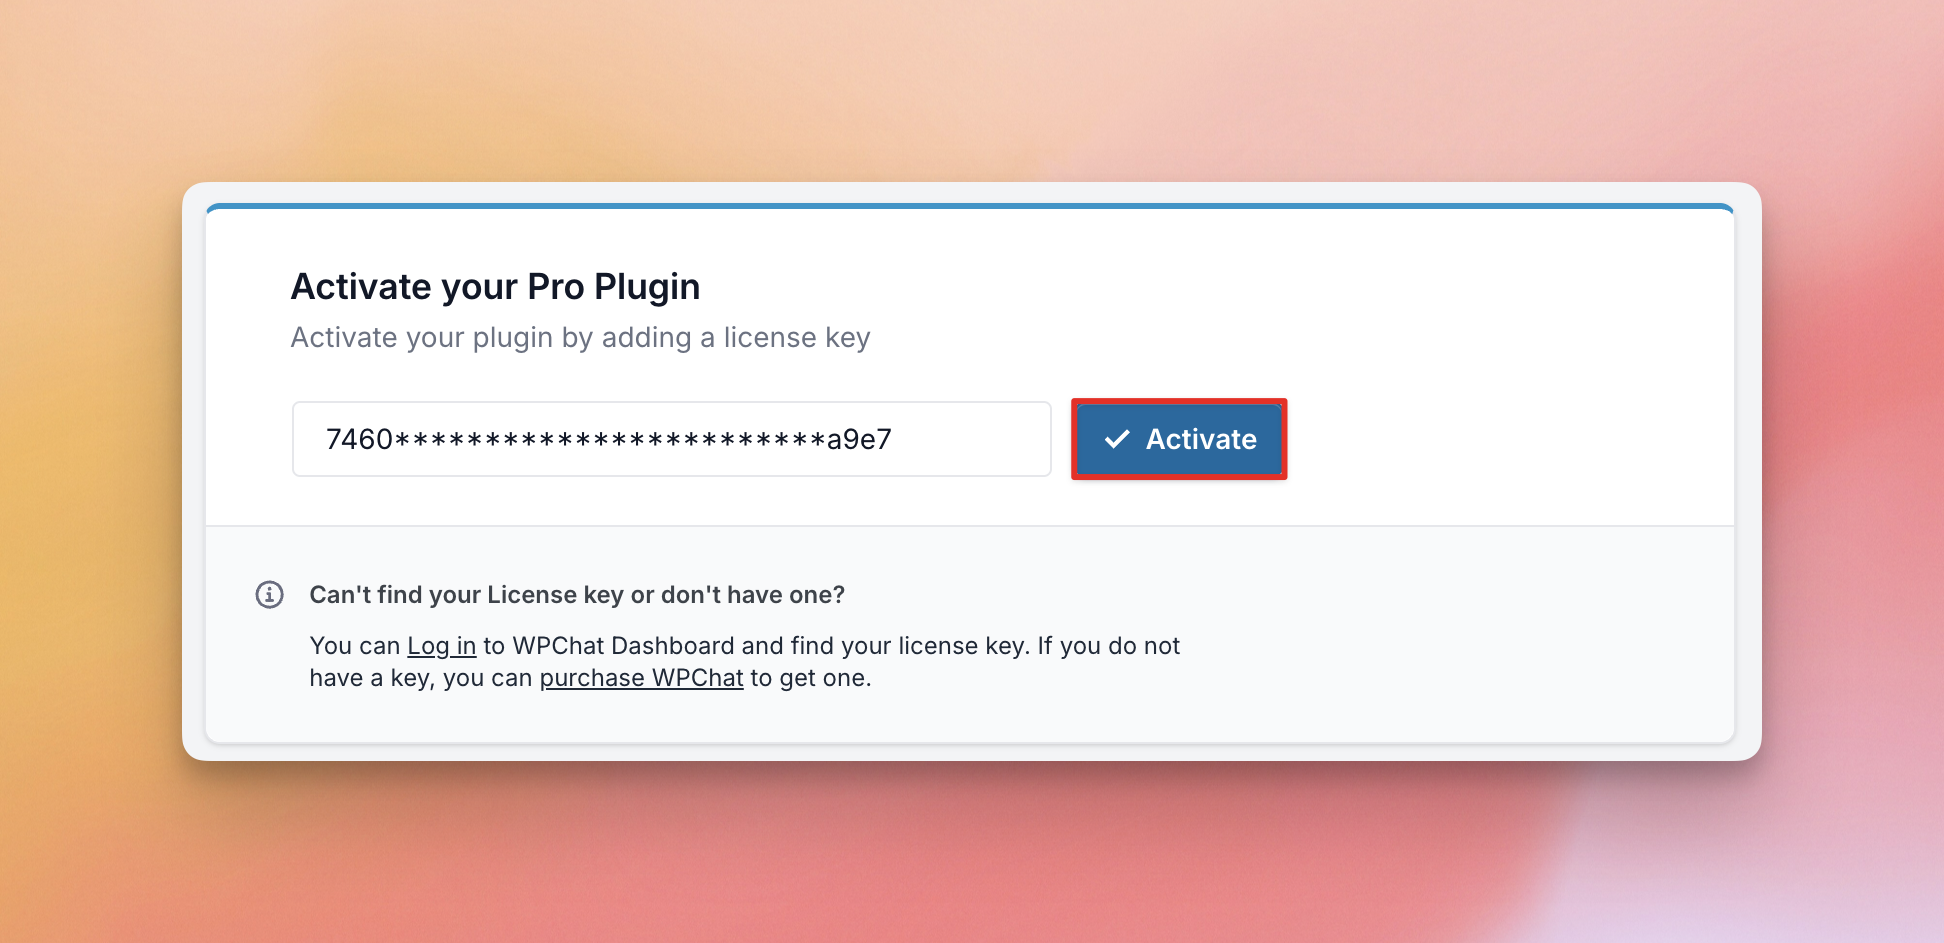
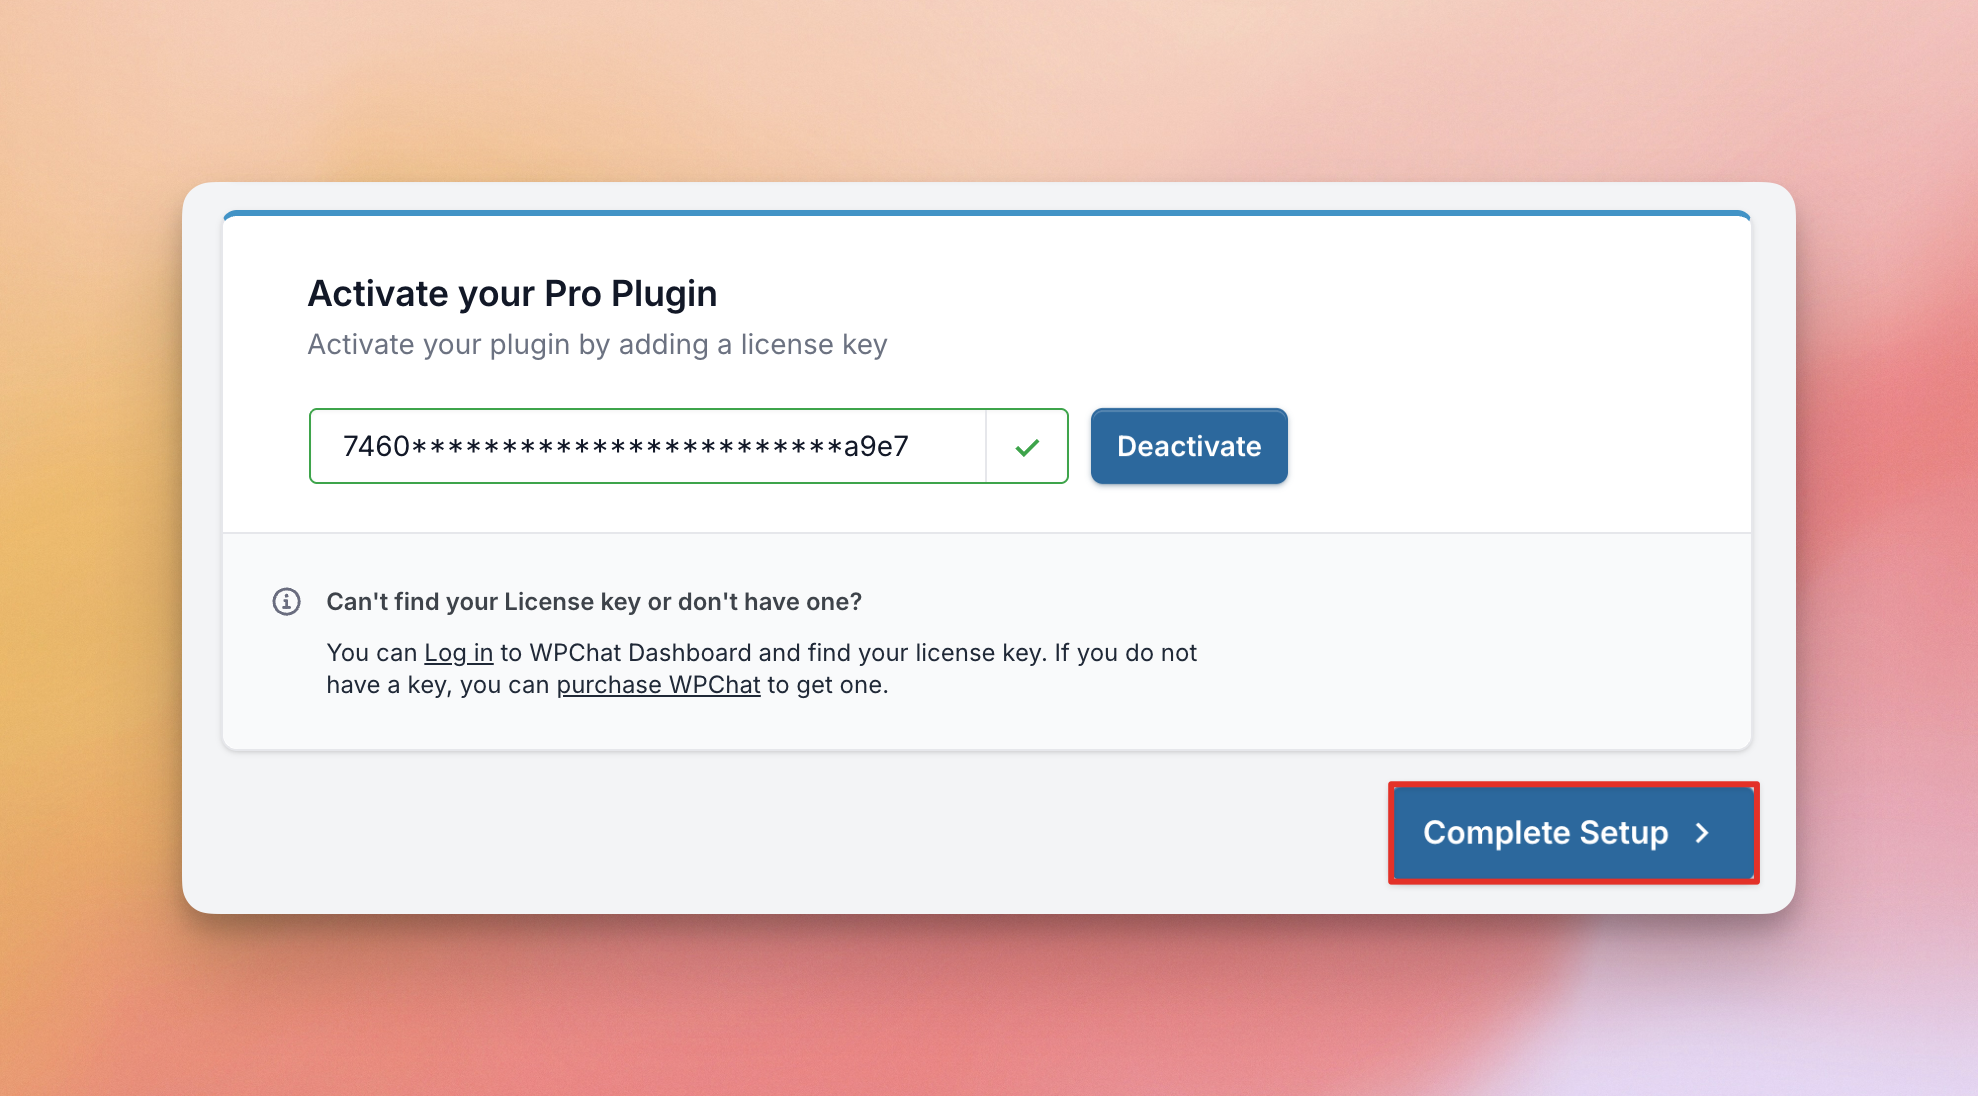
5. Pro Version – Activate your license key by pasting it into the box and clicking Activate. You can find your license key in the email you received when you purchased the plugin or from your account Downloads area.
Then click Complete Setup
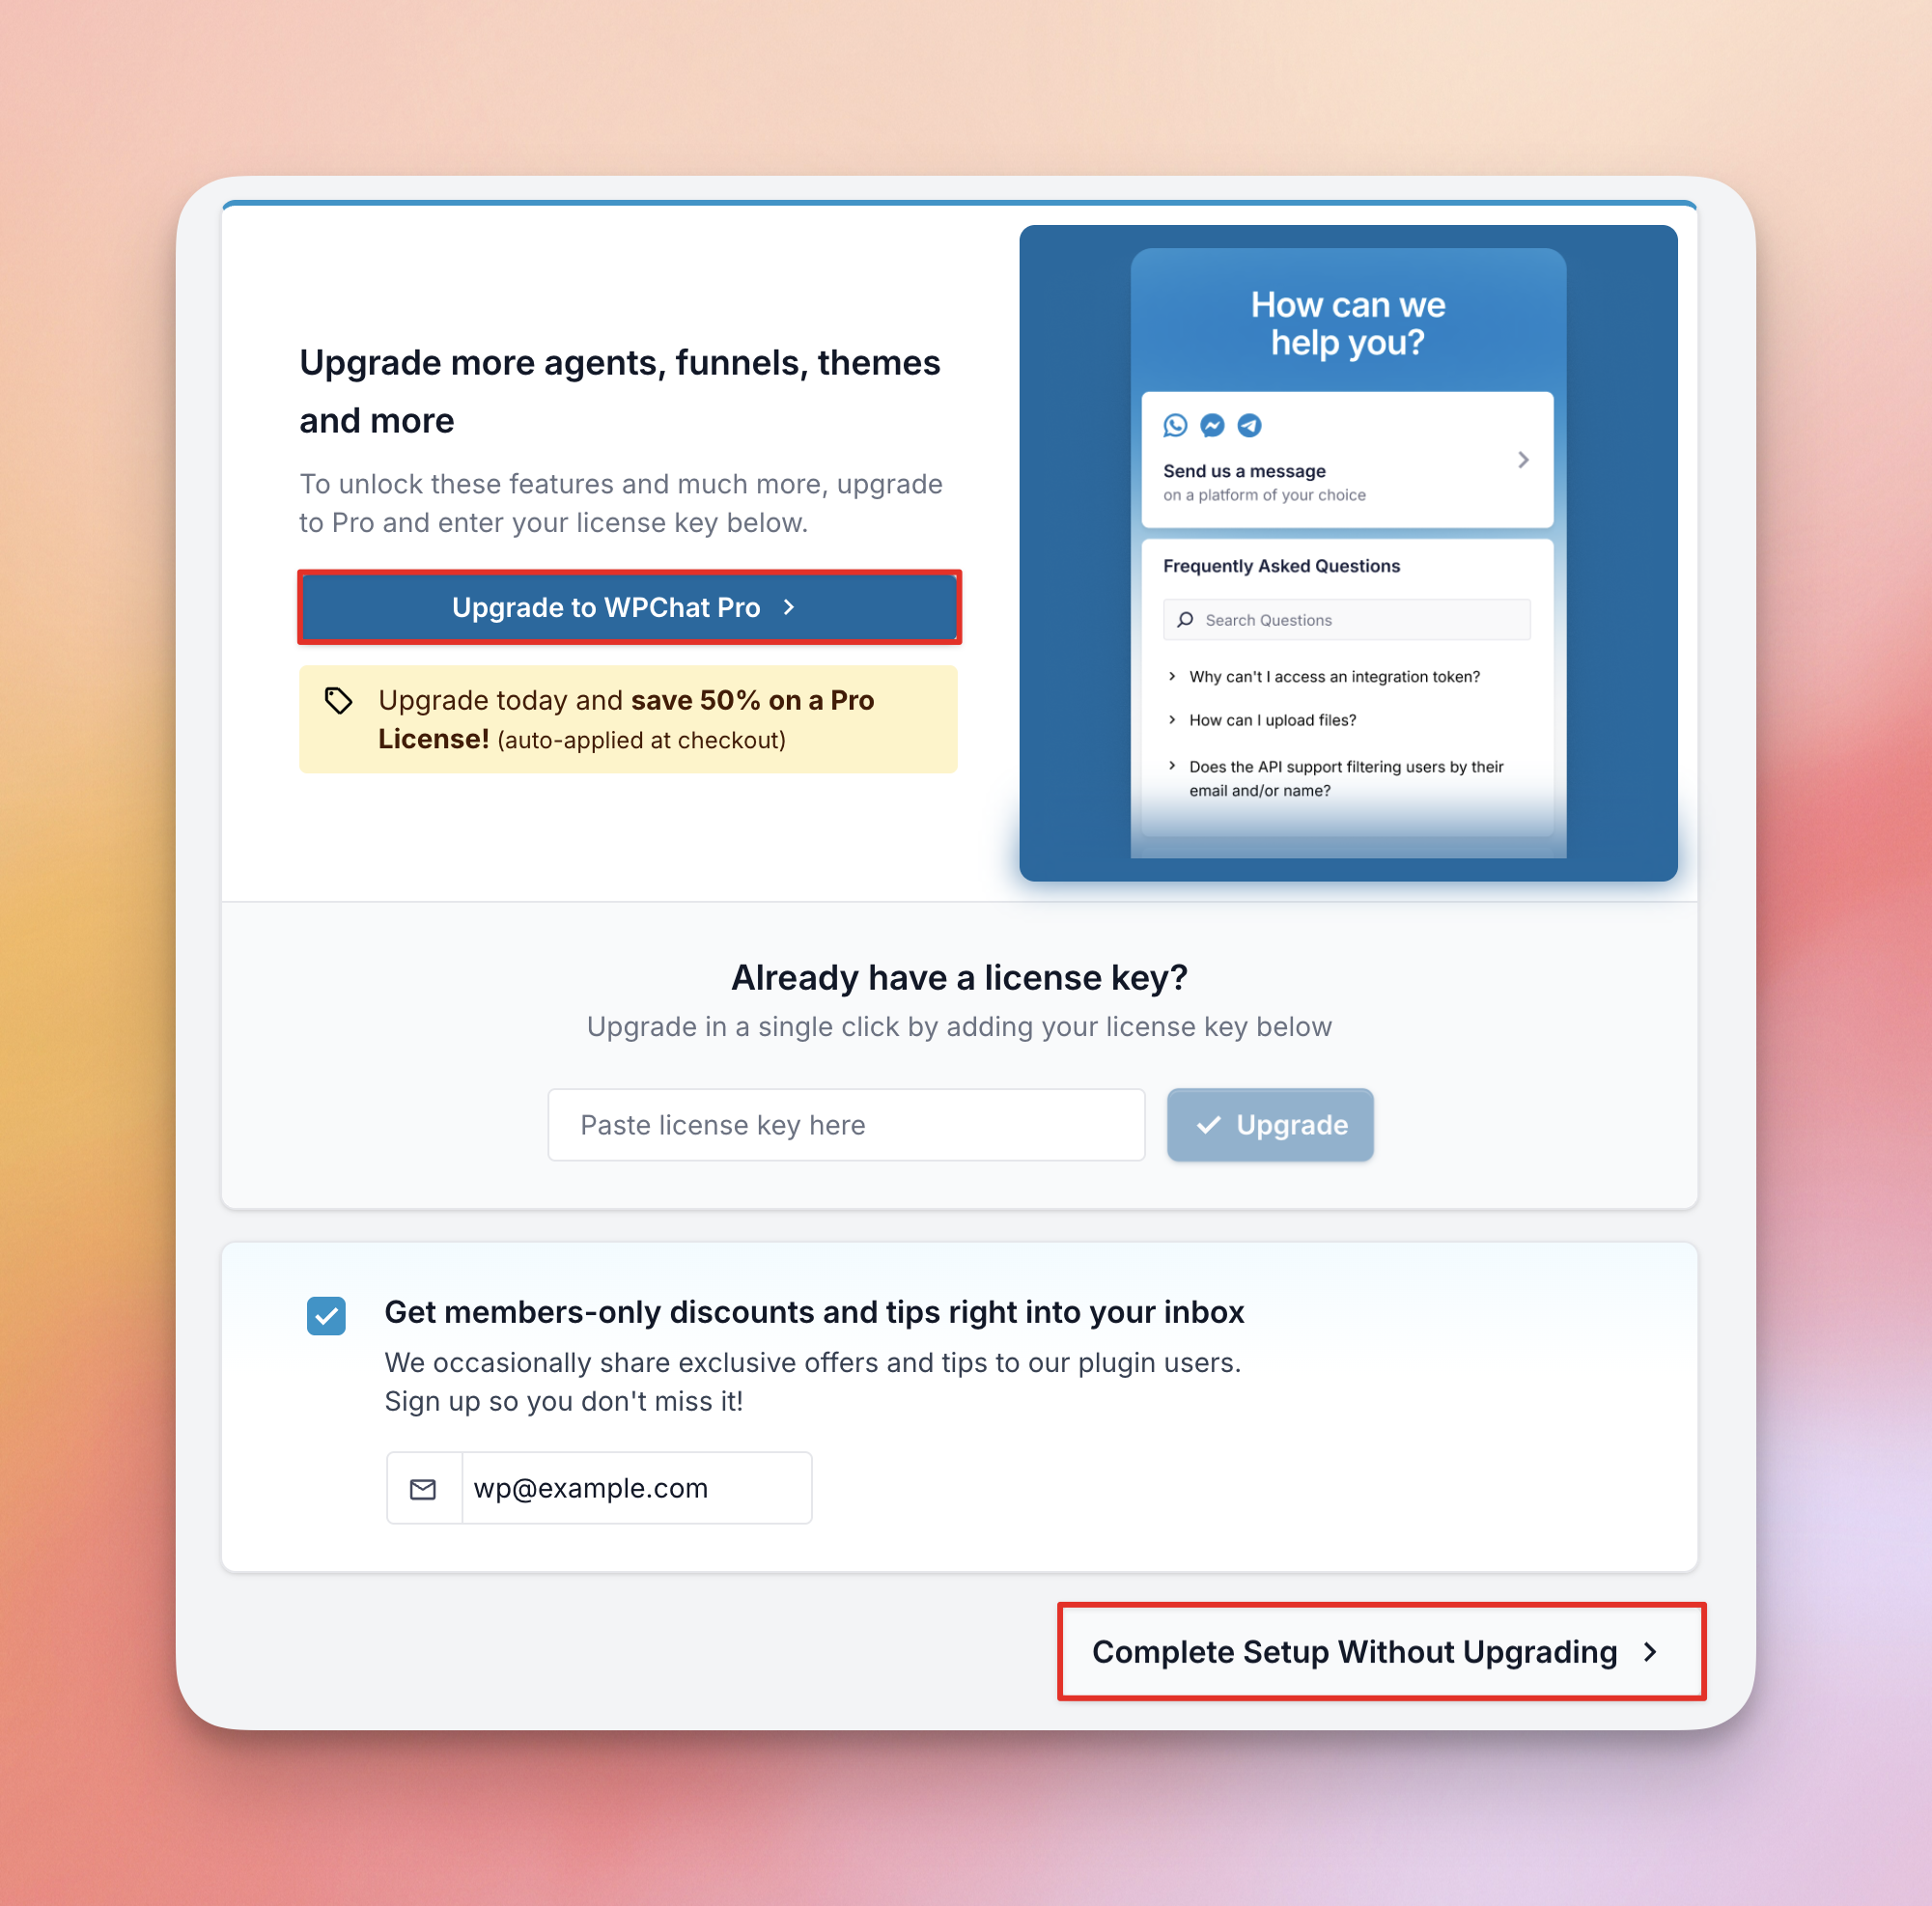
Free Version – Here you will see information about the features included in the free version and the features you can use if you upgrade to Pro. Click Next.
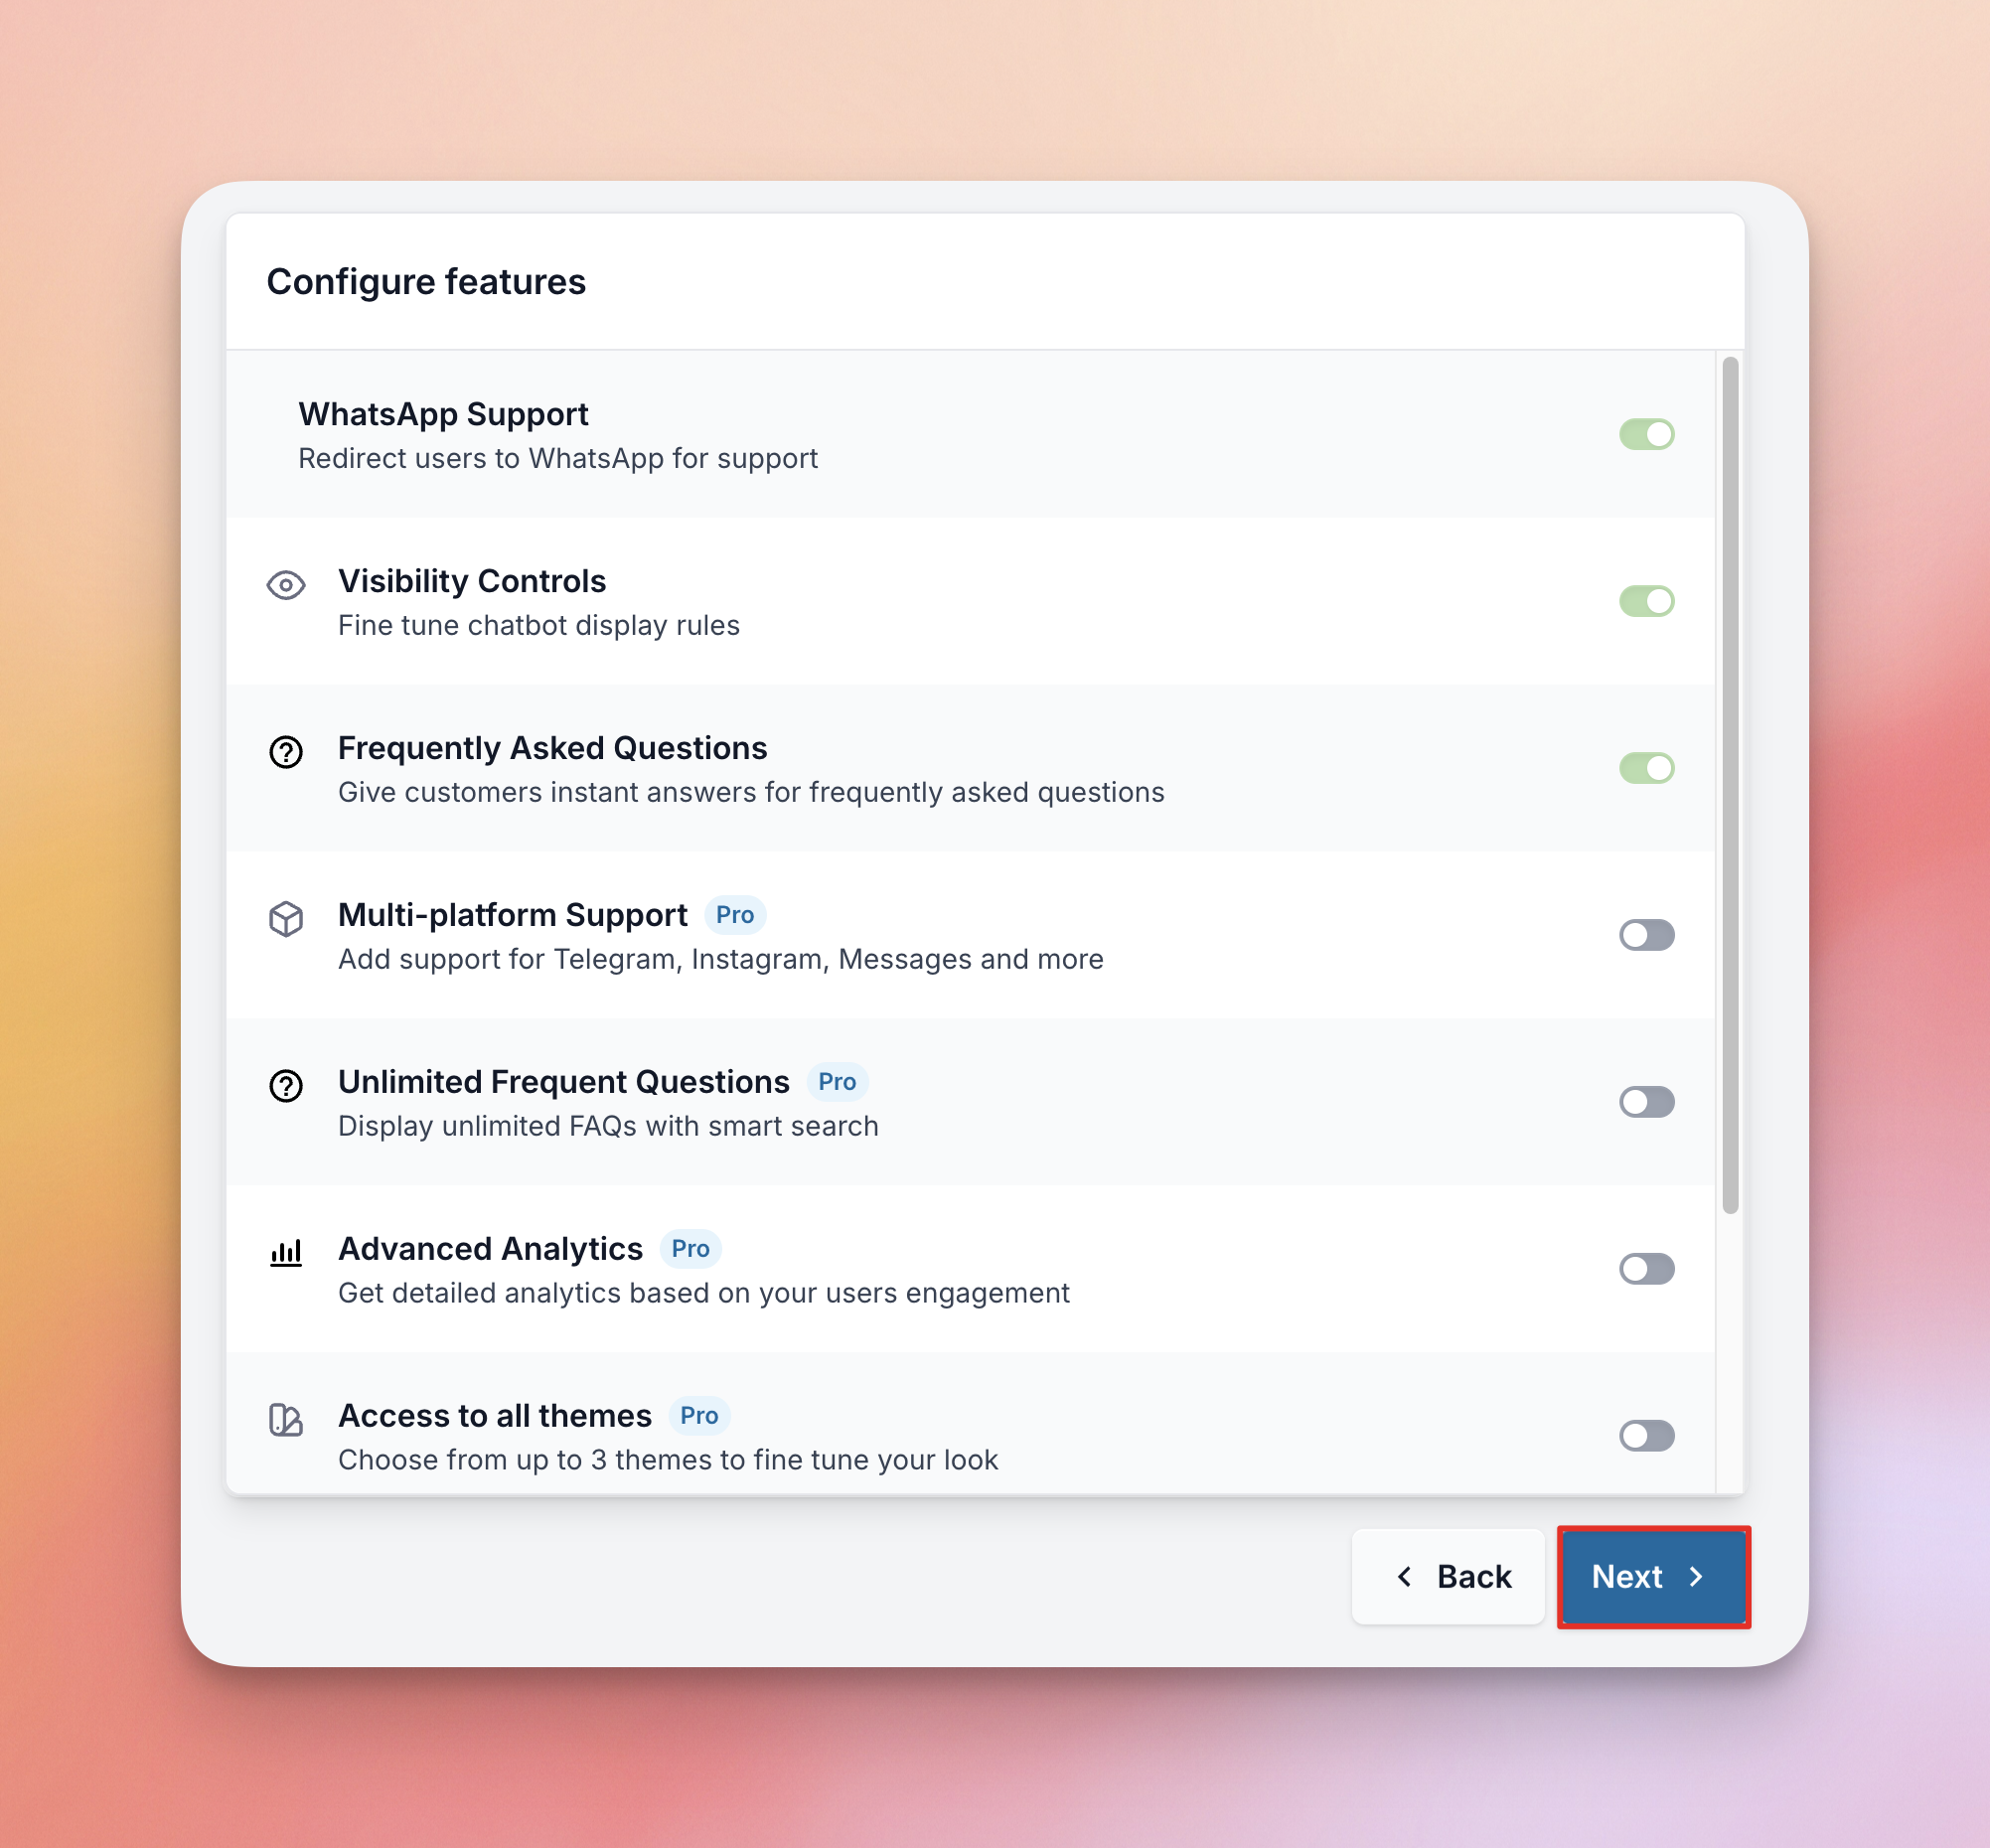
Then you can either Upgrade to WPChat Pro and enter your license key, or Complete Setup Without Upgrading
Done!
You have now completed the initial setup and you’ll be taken to the WPChat Dashboard where you can further customize and configure the plugin.