
Your visitors will often have questions, and if you make them hunt for answers, they’ll leave.
Losing a visitor at this key moment means you could be missing out on a valuable sale or lead. That’s why it’s essential to give your visitors an easy way to contact you.
And what better method than a platform they use and trust every day like Instagram!
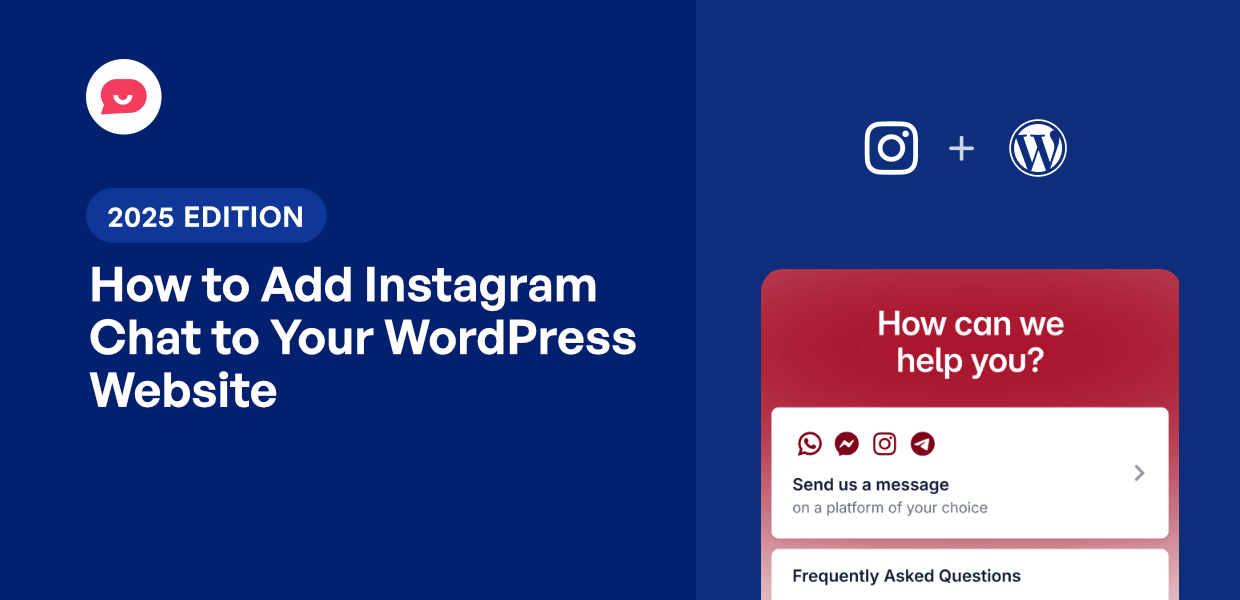
By adding an Instagram chat option to your WordPress site, you give visitors a zero-effort way to get the information they need.
Once they chat with you, they’re much more likely to stick around and buy.
In this article, we will show you the easiest way to add Instagram chat to your WordPress website so visitors can reach you with ease.
How to Add Instagram Chat to WordPress: The Short Answer
If you are in a hurry, here is the fastest way to add Instagram chat to your site:
- Install and activate the WPChat plugin on your website.
- Go to WPChat from your WordPress dashboard and click on Set Up.
- Enter your Instagram username (e.g., @yourname).
- Choose a design theme for your chat assistant (Basic, Night, Pastel).
- Use the visibility options to select where to show your assistant.
- Click on Complete Setup, and your new Instagram chat assistant is live.
Why Instagram Chat Over Contact Forms or Emails?
For years, the standard way to contact a business was to fill out a long contact form and wait. But in 2026, visitors want answers in seconds, not days.
Think of it this way: contact forms are like sending a letter; Instagram DMs are like having a conversation. Here is why switching to a chat-first approach is the best move for your growth:
- Ease of Use: Research from ChatMaxima shows that 73.3% of online adults prefer messaging as their main way to reach out to a business.
- Familiarity: On top of that, 45% of people prefer to have fewer apps on their phones. If they already use and trust Instagram, they’re not likely to try a new and unfamiliar chatting system.

- High Conversion: According to Meta, over 150 million people message a business on Instagram every single month. Plus, 72.4% are more likely to buy from brands that offer messaging options.
- Rich Context: When a customer emails you, you usually only get their name. When they DM you, you can see their profile and interests, so you can personalize your pitch.
Across 8 markets surveyed globally, 91% of consumers say they’re more likely to shop with brands who recognize, remember and provide them with relevant offers and recommendations. – Facebook IQ
Comparison: Instagram Chat vs. Traditional Contact Forms
| Feature | Contact Forms / Email | Instagram Chat (WPChat) |
| Response Speed | 24–48 Hours (Average) | Under 60 Minutes (Expected) |
| User Friction | High (Requires typing into fields) | Low (One-click to open app) |
| Personalization | Low (Text only) | High (Profile context & Voice notes) |
| Engagement | Transactional & Formal | Relatable & Authentic |
| Success Rate | ~2% Conversion Rate | Up to 45% Increase in Conversions |
What Is WPChat? (And Why It’s the Right Tool for This Job)
WPChat is a lightweight WordPress chat plugin that lets you add a chat assistant to your website.

Once you set up WPChat, your visitors will see a floating button on your site.
Clicking on it will open the chat assistant, where they can select Instagram as their preferred platform.
Then, WPChat will automatically redirect them to your Instagram DMs, where they can start chatting right away.

Instead of adding complex scripts that require maintenance and slow down your site, it lets Instagram handle the chatting so everything is quick and easy.
At the same time, your visitors can chat with you on a platform they already know and trust.
Here’s what makes WPChat perfect for adding Instagram chat:
- Create chat assistants in minutes: You can connect multiple platforms, customize the design, and display your chat assistant exactly where you want it.
- Supports major platforms: WPChat lets you connect your website to the biggest chat platforms: Instagram, Facebook, WhatsApp, and Telegram.
- Built for teamwork: Add multiple agents to represent your team, so different people can handle customer conversations and no message goes unanswered.

- Create FAQs and chat funnels: Set up instant answers to common questions, which reduces the load on your support team and helps visitors get answers faster.
- Customize to match your brand: Adjust colors, styling, and positioning so your Instagram chat assistant looks like a natural part of your website.
The best part is that WPChat works seamlessly with your existing WordPress setup, so you don’t need any special technical knowledge to get started.
Get your copy of WPChat here, and you can start reaching your visitors on the biggest messaging platforms.
What You Need to Get Started
Before we dive into the setup process, make sure you have these items ready:
- A copy of the WPChat plugin
- Access to your WordPress dashboard
- An Instagram business page (not a personal account)
- About 5 minutes of your time
Once you have everything ready, you can move on to installing and configuring WPChat on your site.
How to Add Instagram Chat to WordPress in 5 Steps
Now that you understand why Instagram chat is valuable, let’s walk through the actual setup process using WPChat.
The entire process takes about 5 minutes, and you’ll have a working Instagram chat button on your site by the end of this tutorial.
Step 1: Install and Activate WPChat on Your Website
First, you’ll need to get a copy of the WPChat plugin here.
Save the plugin file to your computer, then install and activate it on your WordPress site.
Note: You can check out this step-by-step guide if you want to learn how to install WordPress plugins.
Step 2: Create Your Instagram Chat Assistant
Once the plugin is activated, you’ll see a new WPChat menu item appear in your WordPress dashboard.
This is where you’ll set up and manage your Instagram chat assistant.
First, go to the WPChat menu in your WordPress dashboard and click on the Set Up button.

On the setup screen, you’ll see the option to enter your contact info for Instagram.
Just enter the Instagram username here to proceed.
You can also enter the contact for any of the other chat apps if you like.

You can connect this chat assistant to Instagram, Facebook Messenger, Telegram, or WhatsApp like that.
After you do that, scroll down and click on the Next button.

You’ll then be able to choose a visual theme for your chat assistant. WPChat offers 3 pre-designed options: Basic, Night, and Pastel.
Pick the theme that best matches your website’s design and click Next to continue.

Step 3: Choose Where Chat Assistant is Visible
Now you’ll need to decide where the chat assistant appears on your site. You have 2 visibility options:
- Display on all pages
- Display only on specific pages

After you pick an option, use the filters below to pick exactly where the floating chat widget appears on your site.
Users can click on this widget to open the Instagram chat assistant.
To continue, simply pick the Pages, Tags, Categories, and Custom Post Types that should show the chat widget.
Once you confirm your filters, click on Next to proceed.

To activate the plugin features, enter the WPChat license key in the provided field.
Finally, click on Finish Setup to complete the setup.

Step 4: Customize Your Instagram Chat Assistant
Now that your chat assistant is set up, you can customize its appearance to match your website’s branding.
Click on the Customize button to open the live editor.

From here, you can preview exactly how your Instagram chat assistant will look to your visitors.
You can also find a panel with all the customization options on the left. This lets you change your header, floating widget icon, assistant avatar, and much more.

I’ll demonstrate a few of the customization options so you know how it works.
Start by clicking on Color Palette in the left menu.

WPChat gives you several pre-made color palettes that you can choose from with a single click.
To get even more control over your colors, you can click on Custom to pick your own colors.

Once you’re happy with your color choices, click on Save to apply them.
Next, click the Back button to return to the main customization menu.

After that, let’s change the sections that are visible on your Instagram chat assistant.
Look for the Sections option on the left side of the screen.

From here, you can control which parts of the chat assistant are visible to your visitors. Simply uncheck any parts you want to hide from view.
You can also rearrange the different sections by dragging them up and down.
This lets you prioritize the most important information at the top of your chat assistant.

Like before, remember to click on Save to store your changes.
Step 5: Set Up Your Instagram Chat Agent
You can now start creating chat agents that represent people in your support team or your team as a whole.
Plus, you can even add names and profile pictures to add a human touch.
To get started, navigate to the WPChat » Agents menu in your WordPress dashboard.
You’ll see a default agent that WPChat created during the setup process.
Click on Edit to customize this agent with your information.

First, you can add a profile image for your agent. This makes visitors feel like they’re talking to a real person.
Click on Upload to select a fitting image that represents your brand or business.

This could be your logo, a headshot, mascot, or any image that helps visitors recognize your business.
Below the image, you’ll see a field where you can enter a name for your agent.
You can type in a name that suits the picture that you uploaded.

If you scroll down from here, you can find the option to edit the Instagram ID for this specific agent.
You can also change the contact info for any of the other platforms here.

Once you’ve entered all the information, click on Save Changes to connect your Instagram account.
Your chat assistant is now fully connected and ready to receive messages from visitors.
Now, you can open your website and try out the Instagram chat button to make sure everything works smoothly.

Conclusion
With WPChat, you can add Instagram chat to your WordPress website in just five simple steps – from installing the plugin to connecting your Instagram business account.
Just like that, you’ll be giving them a fast, familiar way to reach you, which leads to better customer relationships and more successful conversions.
Ready to make it easy for visitors to reach you? Get started with WPChat today!
To get more out of WPChat, check out this helpful guide on building a chat funnel to automatically generate leads.


 - WPChat")