Offering a direct line of communication to your website visitors can make a huge difference in building trust and sales.
But finding a simple way to connect with visitors in real-time can be tough. Plus, nobody wants a heavy, complex live chat system that slows down your site.
The surprising truth is you can connect with visitors instantly using an app they already have and trust on their phone: WhatsApp.
By adding WhatsApp chat to WordPress, you can create a direct, personal channel for answering questions at the perfect moment.
In this guide, I will walk you through the exact steps to add a WhatsApp chat feature to a WordPress website.
Why Add WhatsApp Chat to Your Website
Adding WhatsApp chat to your WordPress website creates a direct way for visitors to contact you instantly.
Better yet, they can reach you on a trusted platform that they’re already familiar with.
As a result, you can effectively provide customer support, answer questions, and convert your visitors.
Here are the main reasons to add WhatsApp chat to your website:
- When visitors can quickly ask questions about what you’re selling, they’re more likely to buy something instead of leaving your site.
- WhatsApp has over 2 billion users, so your customers don’t need to download anything new or learn how to use a different app.
- You can use WhatsApp to stay in touch by sharing special deals, new products, or helpful tips right to their phones.
- Since most people browse websites on their phones, WhatsApp lets them chat with you easily without dealing with small contact forms.
I’ve actually heard from many business owners that WhatsApp chat gets a lot more messages from customers than regular contact forms or phone calls.
People like the personal feel of messaging, which helps them trust your business more.
Easiest Way to Add WhatsApp Chat to WordPress Websites
Manually adding WhatsApp to your website means dealing with code, APIs, and other technical challenges that take time and effort.
For most WordPress users, this approach creates more problems than it solves.
Instead, you can use a trusted WordPress chat plugin that connects to WhatsApp for you. This eliminates the need for coding and gets your chat feature working in minutes.
Out of all the options, WPChat by Smash Balloon is the best option available for adding a chat feature to WordPress.
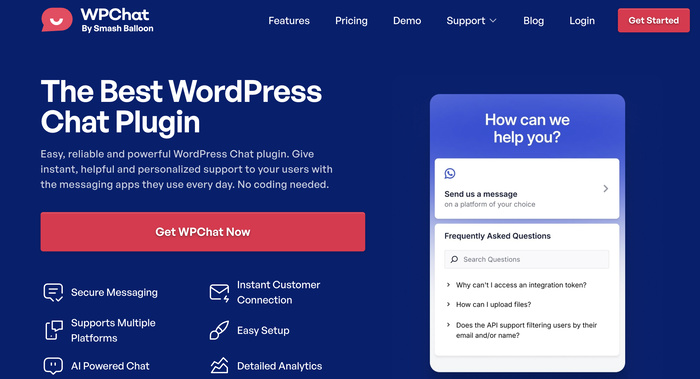
WPChat is designed specifically for WordPress users who want a professional chat solution without technical complications.
- Easy Setup: Set up your entire chat system quickly with no coding required, so you can start connecting with visitors right away.
- Multiple Platforms: On top of WhatsApp chat, you can also integrate your site with Messenger, Telegram, and Instagram.
- Control Visibility: Choose exactly where and when your WhatsApp chat appears, giving you full control over the user experience.
- Create Chat Agents: Add different team members to your chat assistant, making your customer support feel more personal and professional.
- FAQ Support: Visitors can get instant answers to common questions, which saves you time and helps customers faster.
- Set Up Chat Funnels: Guide visitors toward making purchases or taking specific actions even before they connect with your support team.
- Useful Analytics: See how your chat system performs with data on agents, FAQs, funnels, and more to track your results.
All in all, WPChat makes it easier than ever to integrate WhatsApp chat with your WordPress website — all without touching a single line of code.
Ready to connect with your website visitors instantly?
Get WPChat today and start building stronger relationships with your audience through WhatsApp.
5 Steps to Add WhatsApp Chat to Your WordPress Website
I’ll walk you through each step of adding WhatsApp chat to your WordPress website using WPChat, from installation to customization.
The entire process takes just a few minutes, and you’ll have a working chat system that connects directly to your WhatsApp account.
Step 1: Install and Activate WPChat on Your Website
First, you’ll need to get your copy of WPChat from here.
Once you’ve purchased WPChat, install and activate the plugin (see our beginner’s guide).
After activation, you’ll see a new WPChat menu item in your WordPress dashboard. This is where you’ll set up and manage your WhatsApp chat assistant.
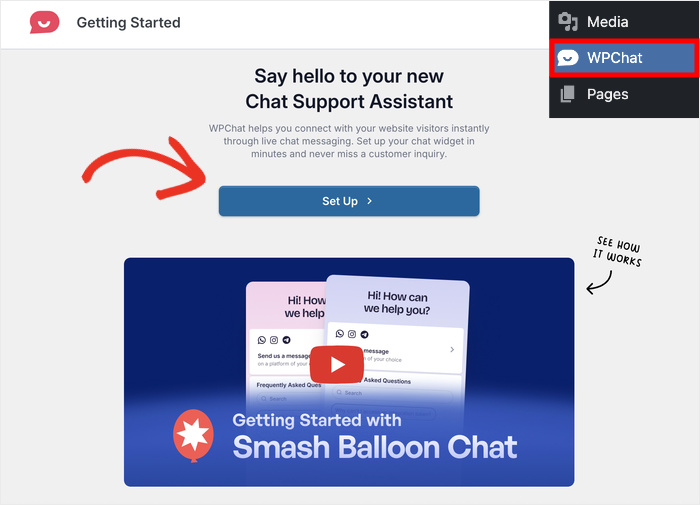
Step 2: Create a Chat Assistant
Now you’ll set up your WhatsApp chat assistant. Go to your WordPress dashboard and click on the WPChat menu.
Then click on the Set Up button to start creating your chat assistant.
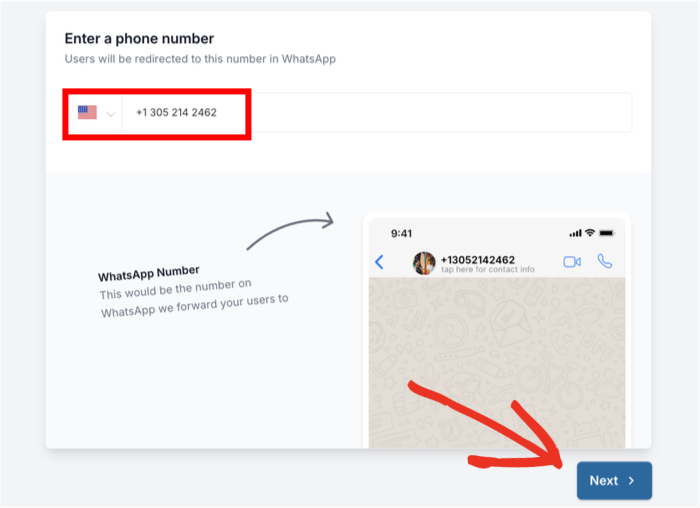
The first thing WPChat asks for is the phone number you’re using for WhatsApp.
Enter your WhatsApp phone number in the field provided and click the Next button to continue.
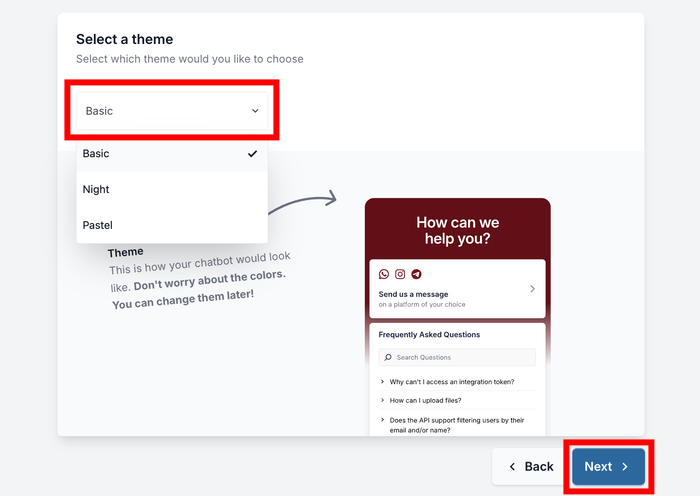
After that, you can choose a theme for your chat assistant. WPChat gives you 3 unique themes to pick from:
- Basic: The default look with all the information displayed clearly
- Night: A dark theme with striking white text that stands out
- Pastel: A light, soft design that’s easy on the eyes
Pick the theme that matches your website’s design best and click on Next.
You can always change this later if you want to try a different style.
I recommend starting with the Basic theme since it works well with most websites and provides a clean, professional appearance.
Step 3: Set Visibility for WhatsApp Chat Assistant
Next, you can pick where your WhatsApp chat assistant appears on your website. WPChat gives you 2 main options for visibility.
- Display on all pages: Shows your chat everywhere and picks specific locations to exclude if needed.
- Display only on specific pages: Lets you select exactly where you want your chat assistant to appear.
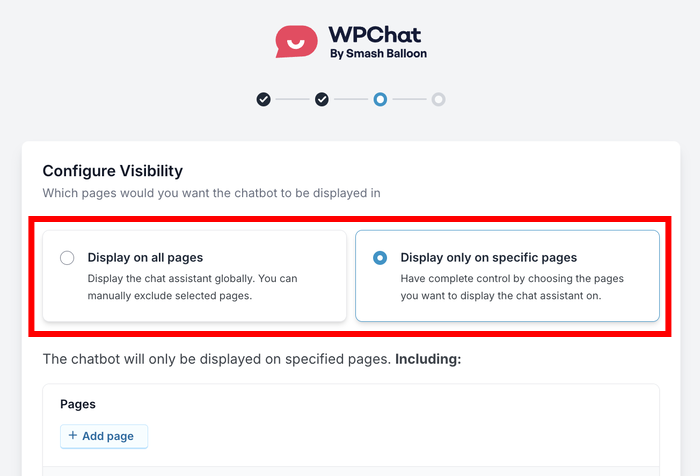
For this tutorial, I’ll use the second method and show the chat assistant on specific pages only.
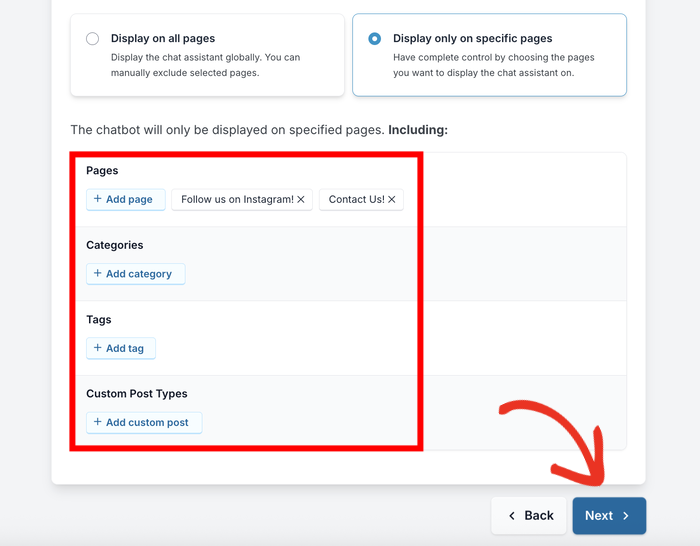
Scroll down and click the Add Page button to choose which pages should display your WhatsApp chat.
After selecting your pages, you can also pick specific Categories, Tags, and Custom Post Types where you want the chat assistant to show up.
Once you’ve made your selections, click Next to continue to the next step.
If you had decided to show the chat everywhere instead, you could use these same options to exclude certain areas of your site.
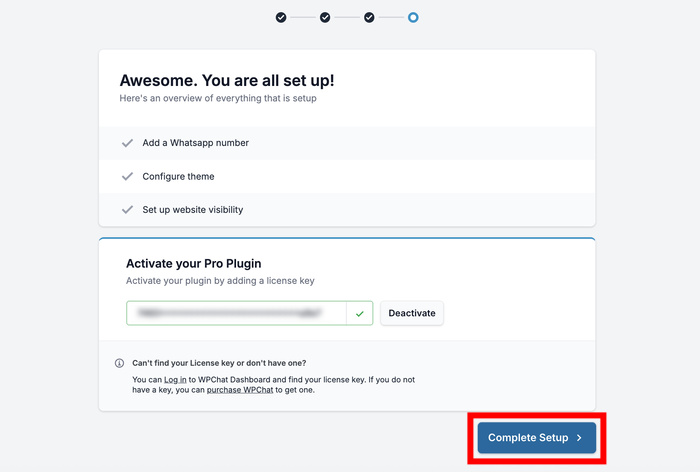
You’ll now see a field asking for your license key. Enter the license key you received from the WPChat website when you purchased the plugin.
Finally, click the Complete Setup button, and your WhatsApp chat assistant will be added to your website.
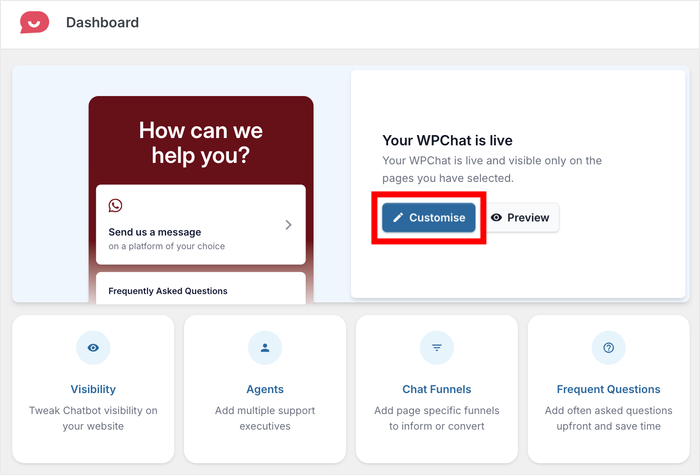
Step 4: Customize Your WhatsApp Chat Assistant
After completing the setup, you’ll be redirected to your WPChat dashboard.
From here, you can start customizing your chat analytics or check out the WhatsApp chat analytics.
Click the Customize button to open the customization interface.
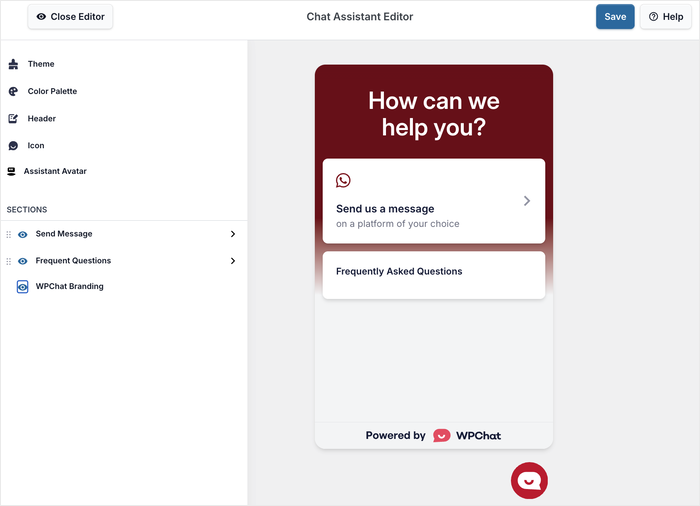
You’ll see a live customizer with all the design options on the left and a live preview of your chat assistant on the right.
This setup makes it easy to see exactly how your changes will look before you save them. I’ll show you a few customization options so you can personalize the rest yourself.
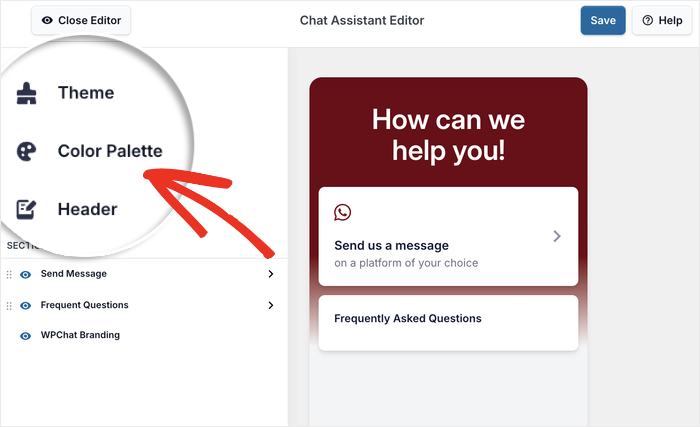
Changing Colors
You can start by clicking Color Palette on the left side of the screen.
WPChat offers several pre-selected color combinations that work well together, such as:
- Default
- Mystic Bloom
- WhatsApp Dark
- Minimal
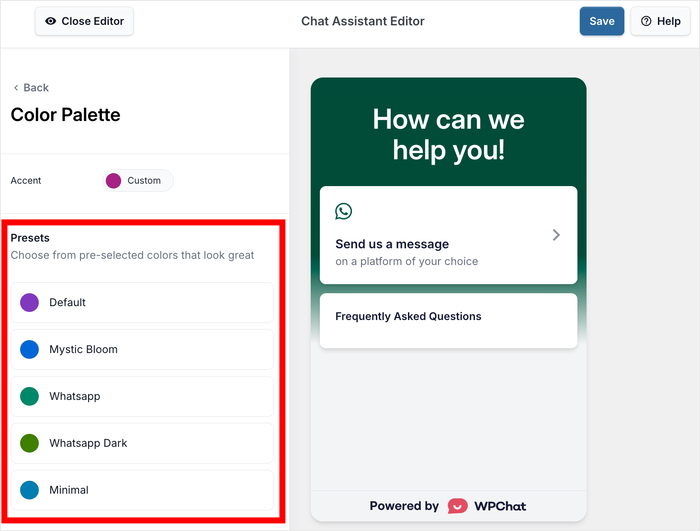
You can pick from these ready-made color schemes or manually select your color using the Custom option.
Once you’re happy with your color choice, click Save to apply the changes.
Customizing the Header
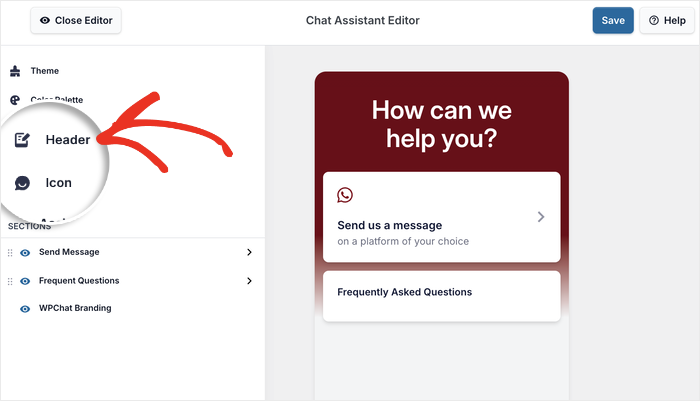
Click on the Back button on the top left to return to the main customization menu.
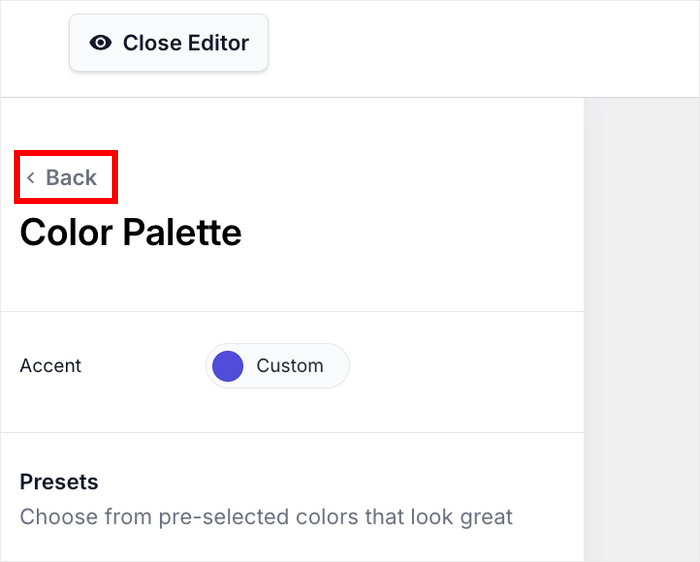
Once you’re there, click on Header to edit your chat assistant’s heading.
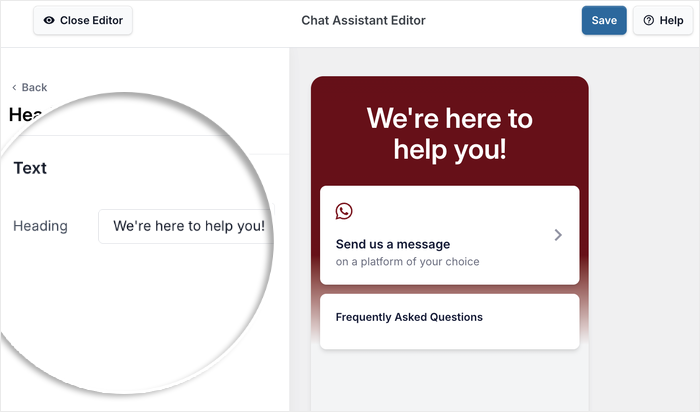
Using this option, you can edit the text that appears at the top of your chat widget.
Enter a custom heading that fits your business, such as “Chat with Us” or “Need Help?” In this tutorial, I’ll go with a simple “We’re here to help you!” message.
Click on Save once you’ve entered your preferred heading text.
More Customization Options
You can customize many other elements of your chat assistant using the same point-and-click method.
Change your chat assistant’s name, upload a custom icon, modify the intro message, and adjust other settings to match your brand.
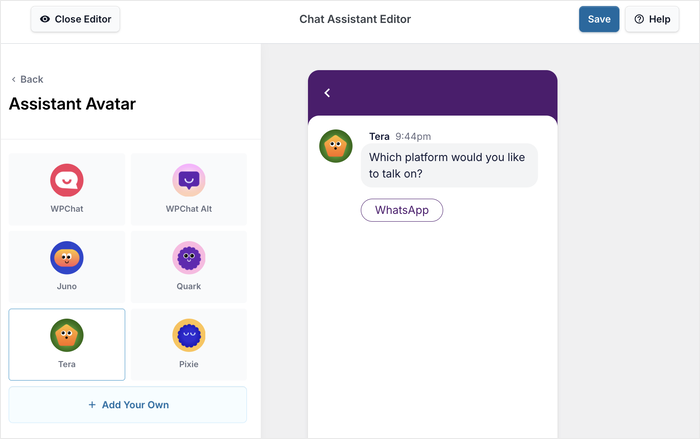
Take some time to explore these options and make changes that reflect your business style.
When you’re finished customizing, remember to click on Save to store all your changes.
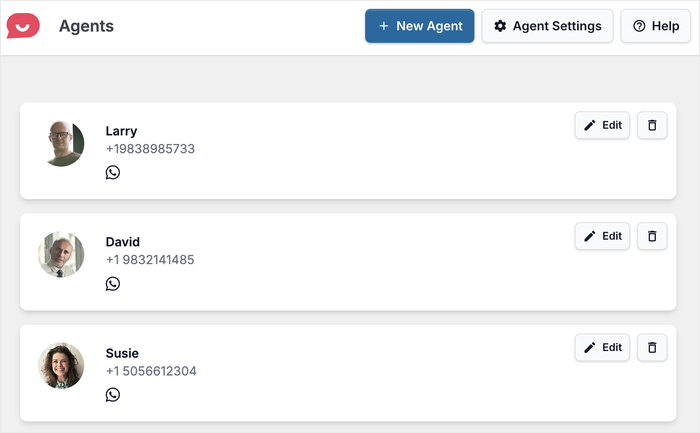
Step 5: Set up Chat Agents for WhatsApp
Setting up chat agents helps make your WhatsApp chat assistant feel more personal and professional.
You can even create individual agents for each member of your support team, which helps visitors know exactly who they’re talking to.
First, go to the WPChat » Agents menu from your WordPress dashboard to start managing your agents.
On this page, you can go ahead and Edit your default chat agent.
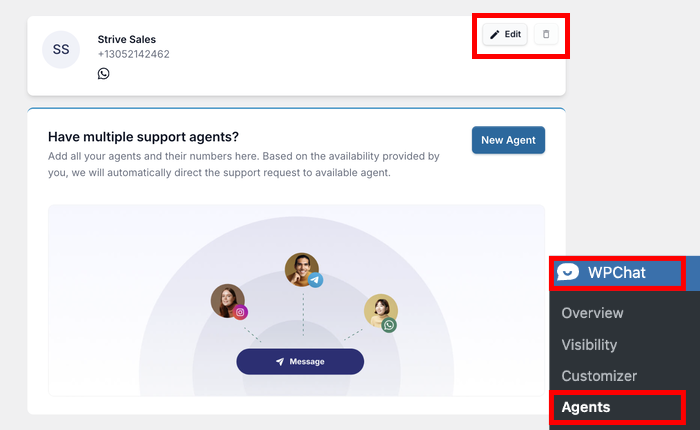
Click the Upload button to add a profile picture for your chat agent.
I’ll recommend using a professional headshot or your company logo to help visitors recognize who they’re chatting with.
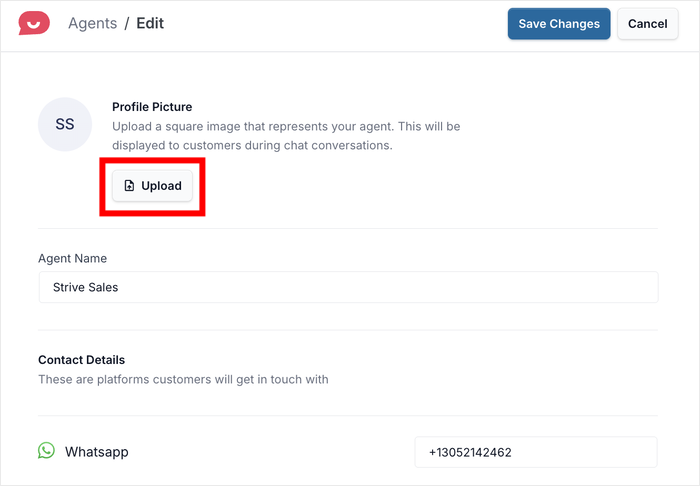
A good profile picture builds trust and makes your chat assistant feel more human and approachable.
After uploading the profile picture, you can add the agent’s name in the name field.
Use real names for your team members or a general name like “Support Team” if you prefer.
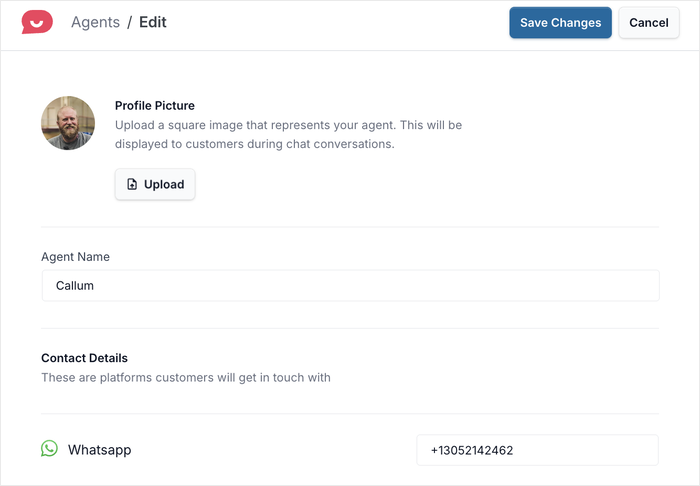
You can also change the WhatsApp phone number for each agent from here. Or, you can connect each agent to:
- Telegram
- Facebook Messenger
Once you’ve added all the details, feel free to Save your changes.
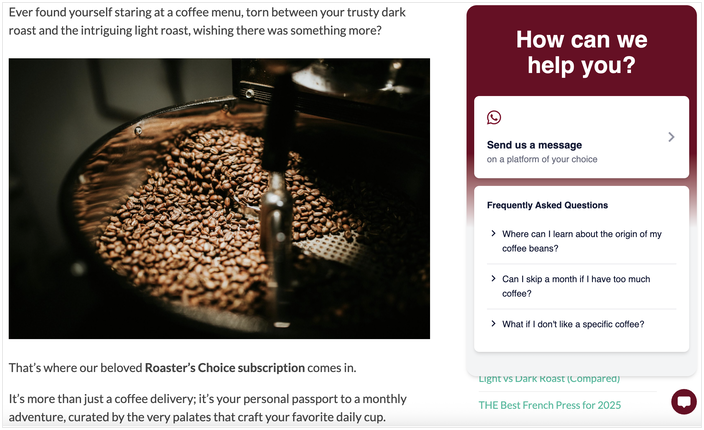
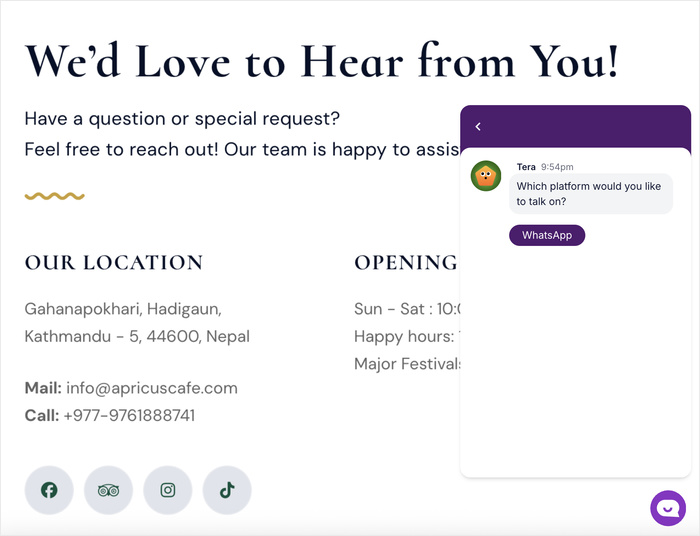
With that, you’ve got everything you need to let your visitors reach you on WhatsApp directly from your website.
If you like, you can open your website and check how your new WhatsApp chat assistant looks to visitors.
Conclusion
Just like that, you can have WhatsApp chat on your WordPress website to connect with visitors, provide customer support, and build trust.
Using WPChat, you can set up a professional WhatsApp chat system in just minutes without any coding knowledge.
With your WhatsApp chat assistant live on your website, you’ll be able to answer questions in real-time, provide better customer support, and build stronger relationships with your audience.
Going forward, you can even use WPChat to:
- Add FAQs
- Create chat funnels for conversions
- Set up schedules for agents
- And much more.
Ready to connect with your visitors and boost your conversions? Get started with WPChat today!