I’ve seen people create amazing websites with ease using Beaver Builder to draw in visitors.
However, a great design alone doesn’t guarantee that users will stick around or make a purchase.
Often, visitors leave simply because they have a quick question and don’t want to wait for an email reply.
This is where adding WhatsApp chat to your website becomes such a smart move.
It allows you to provide instant answers on a platform your users already trust and use daily. This removes the friction from the buying process and builds confidence immediately.
I will guide you through the steps to add WhatsApp to your Beaver Builder site. This simple addition can make your pages much more effective at converting traffic into customers.
Why Add WhatsApp Chat to Your Beaver Builder?
- Boost Sales: Quick answers to pre-purchase questions reduce hesitation and increase conversions. When visitors can get instant clarification about your products or services, they’re far more likely to complete their purchase.
- Tap into a Massive User Base: You can leverage 2+ billion existing WhatsApp users without requiring them to download any new apps. Your visitors already have WhatsApp on their phones, making the connection instant.
- Enable Post-Sale Engagement: Share updates, deals, or tips directly to customer phones. This keeps your business top-of-mind and builds long-term relationships beyond the initial sale.
- Mobile-Friendly Support: Simple chat interaction is easier than filling out small forms, especially for mobile users. On a phone, tapping a chat button is much simpler than navigating a complex contact form.
- Build Trust: Personal messaging increases customer confidence and message volume compared to traditional forms. When people can chat with you directly, they feel more connected to your business and are more likely to reach out.
The best part is that setting this up on your Beaver Builder site doesn’t require any coding knowledge or technical expertise.
Simplest Way to Add WhatsApp to Beaver Builder
While you could technically add WhatsApp chat to your Beaver Builder site through manual coding, that approach is too technical and time-consuming.
It involves writing custom code, working with APIs, and dealing with potential compatibility issues that can break your site.
I recommend using a WordPress chat plugin instead. This saves you hours of work and eliminates the risk of coding errors.
The best plugin for this job is WPChat. It’s specifically designed to make adding chat features to WordPress simple and straightforward, even if you’ve never done anything like this before.
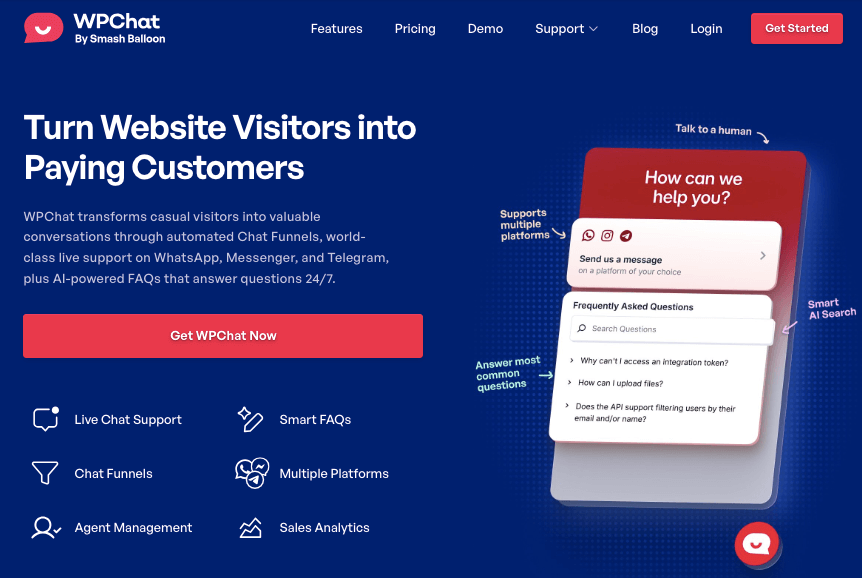
Here’s what makes WPChat stand out:
- Easy Setup: You can get WhatsApp chat running on your site in minutes with no coding required. The plugin walks you through each step with a simple setup wizard.
- Multiple Platforms: WPChat supports WhatsApp, Facebook Messenger, Telegram, and Instagram. This means you can offer your visitors multiple ways to connect with you, all from one plugin.
- Control: You choose exactly where and when the Beaver Builder site. For example, you might want it on product pages but not on your blog posts.
- Create Chat Agents: You can add different team members for personalized support. This makes it easy to route questions to the right person on your team.

- FAQ Support: The plugin lets you provide instant answers to common questions. This reduces repetitive inquiries and helps visitors get answers even faster.
- Set Up Chat Funnels: You can guide visitors toward specific actions, like booking a consultation or making a purchase. The chat becomes a tool for driving conversions, not just answering questions.
- Useful Analytics: Track performance data to see how many people are using your chat and which pages generate the most conversations.
With WPChat handling all the technical details, you can focus on what matters most: connecting with your visitors and growing your business.
Ready to integrate the biggest messaging apps with your site? Get started with WPChat here!
How to Add WhatsApp Chat to Your Beaver Builder Website
With that, I’ll go ahead and show you how to use WPChat to add support for WhatsApp chat to your website.
It’s perfectly compatible with Beaver Builder, or any major page builder for WordPress. Let’s get started!
Step 1: Install and Activate WPChat on Your Website
The first thing you’ll need to do is get your copy of WPChat here.
Once you have the plugin file, you’ll need to install and activate it on your WordPress site.
If you’re new to installing plugins, you can follow this beginner’s guide on how to install a WordPress plugin.
After activation, you’re ready to set up your WhatsApp chat assistant.
Step 2: Create a Chat Assistant
Now that WPChat is installed, it’s time to create your first chat assistant. This is what your visitors will see when they want to contact you through WhatsApp.
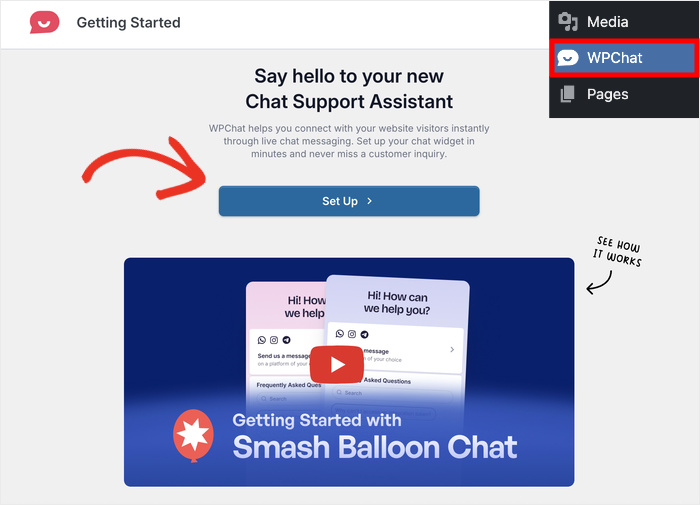
Go to your WordPress dashboard and click on the WPChat menu. You’ll see the main WPChat dashboard.
Click the Set Up button to start the configuration wizard.
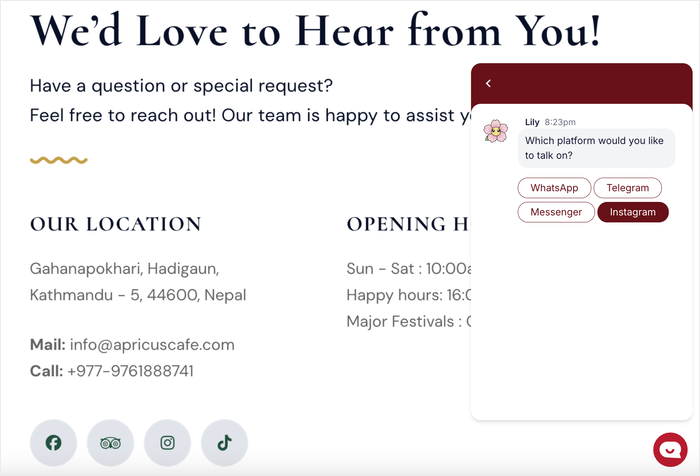
In the first field, enter your WhatsApp phone number. Make sure you include your country code (for example, +1 for the United States).
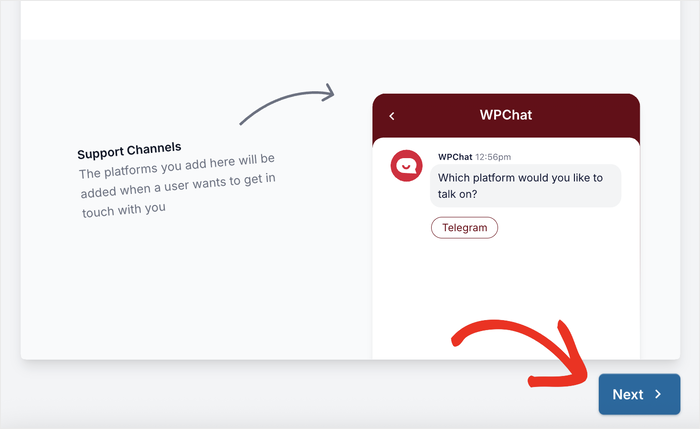
You can also add a Telegram phone number or usernames to connect Instagram or Messenger.
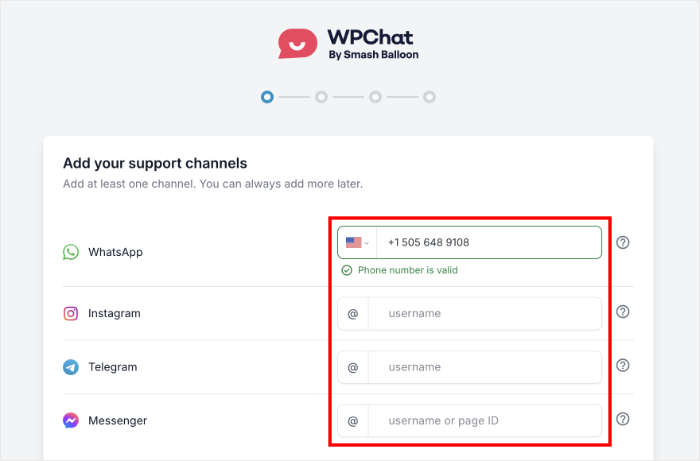
That way, your visitors can choose other popular social media chat apps to reach you if they like.
After that, scroll down and click on Next to move forward.
On the next screen, you’ll choose from 3 themes for your chat assistant:
- Basic: Default look that makes everything clear
- Night: Dark look that can grab people’s attention
- Pastel: Pleasant colors that look beautiful on your site
Pick a theme you like and click on Next.
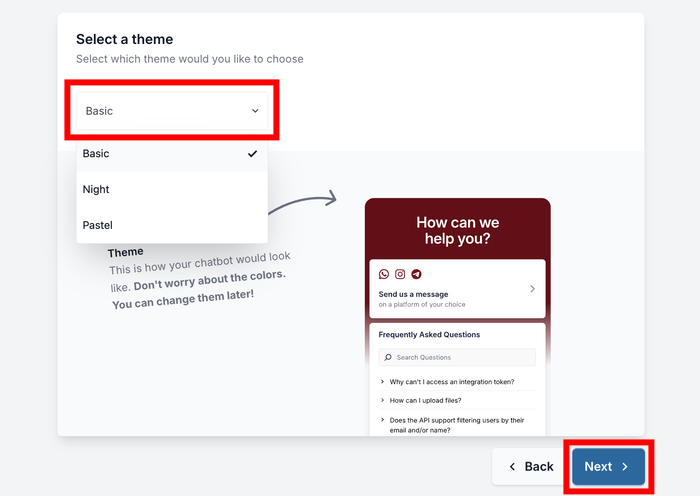
Plus, you can always change this later if you want to try a different look.
Step 3: Select Where WhatsApp Chat is Visible
This step is where you decide exactly where the WhatsApp chat button appears on your Beaver Builder website.
You have 2 main options: display it everywhere or only on specific pages.
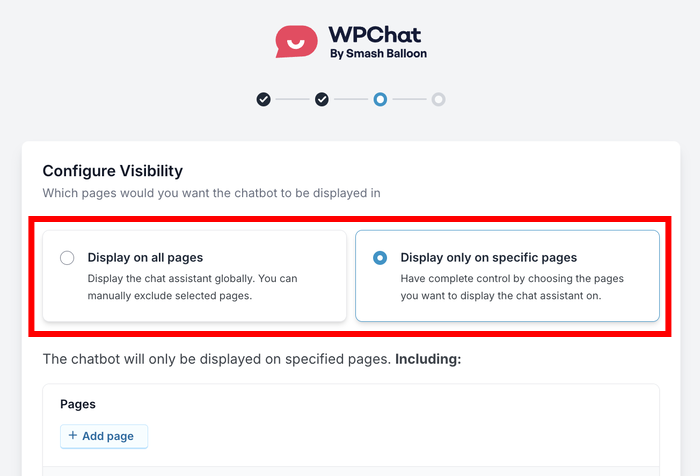
If you want the chat to be available across your entire site, select Display on all pages.
This ensures visitors can reach you no matter where they are on your website.
Alternatively, if you only want the chat on certain pages, select Display only on specific pages. This gives you more control over where the chat appears.
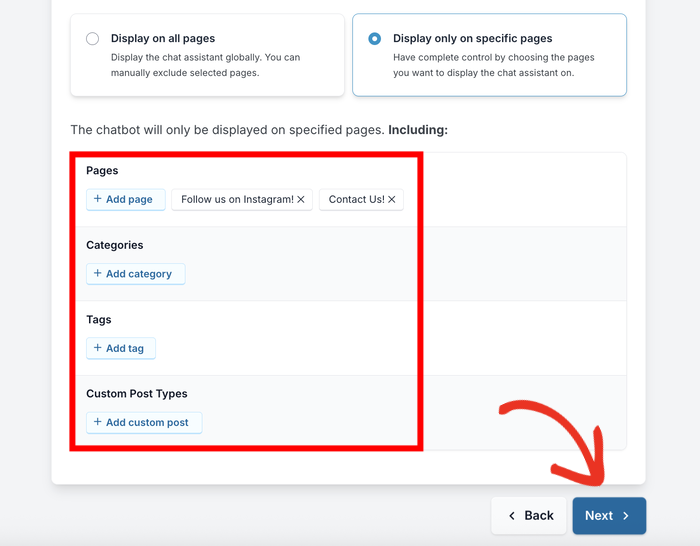
After making your selection, scroll down to see the filtering options.
Here you can choose to include or exclude specific Pages, Categories, Tags, and Custom Post Types.
After making your selection, click on the Next button.
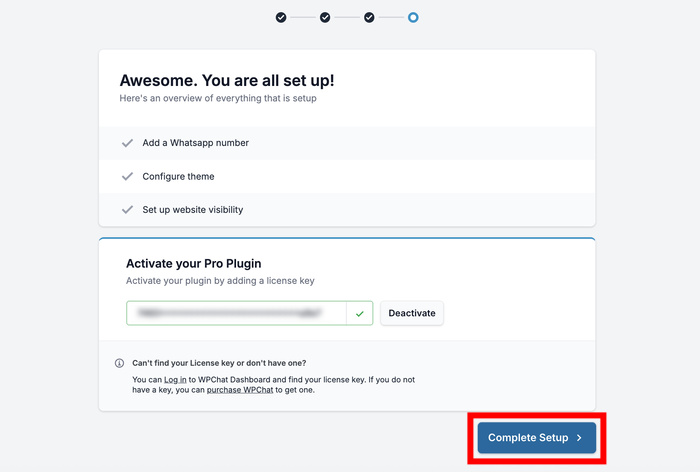
Now you’ll need to enter your WPChat license key. You can find this on your WPChat site dashboard.
Just paste the license key into the field here and click on Complete Setup.
Step 4: Customize Your WhatsApp Chat Assistant
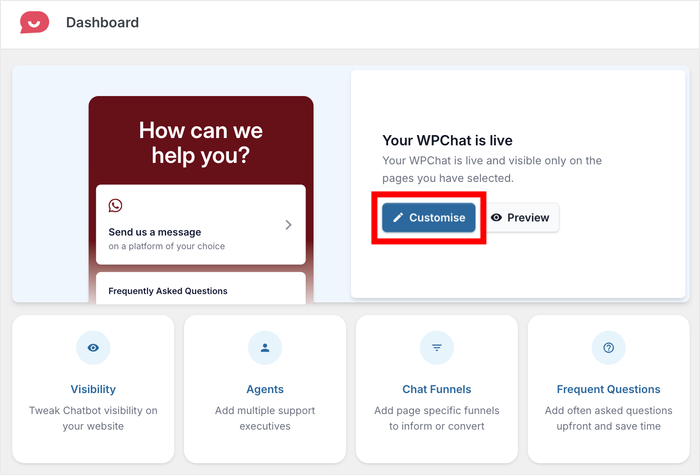
After completing the setup, it’s time to fine-tune the appearance of your chat assistant so it matches your Beaver Builder website.
On the dashboard, click the Customize button to access the customization options.
You’ll see a menu on the left side with different customization categories.
On the right, you can keep track of the changes using a live preview.
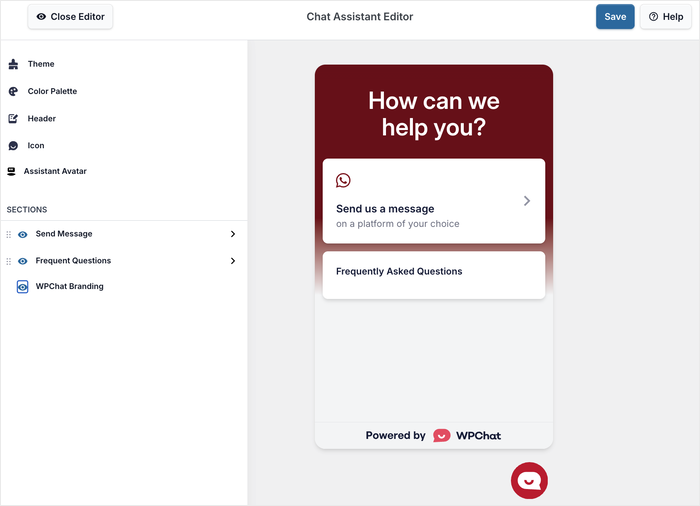
I’ll demonstrate a few different customization options so you can explore the rest of them on your own.
First, click Color Palette from the left-hand menu.
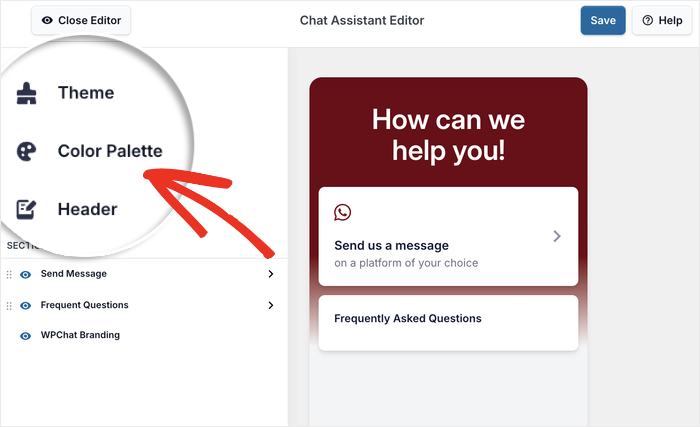
Here you can choose from preselected color schemes or create your own custom palette.
WPChat offers several ready-made options that you can pick from.
Alternatively, you can also click on Custom to pick a color palette yourself.
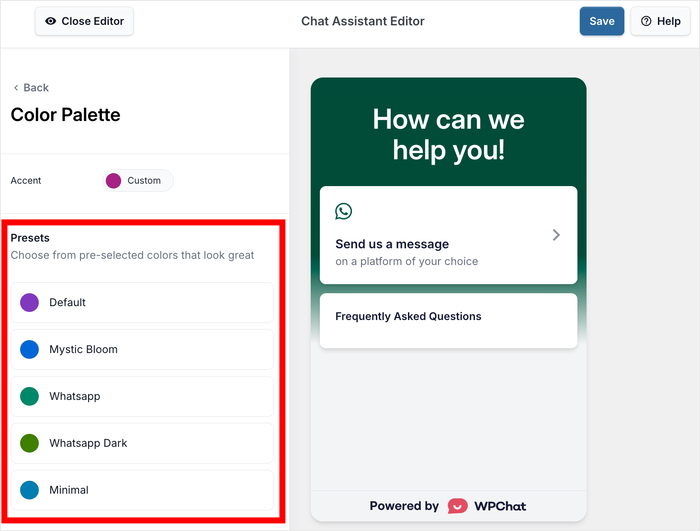
After you pick your colors, click on Save to confirm your changes.
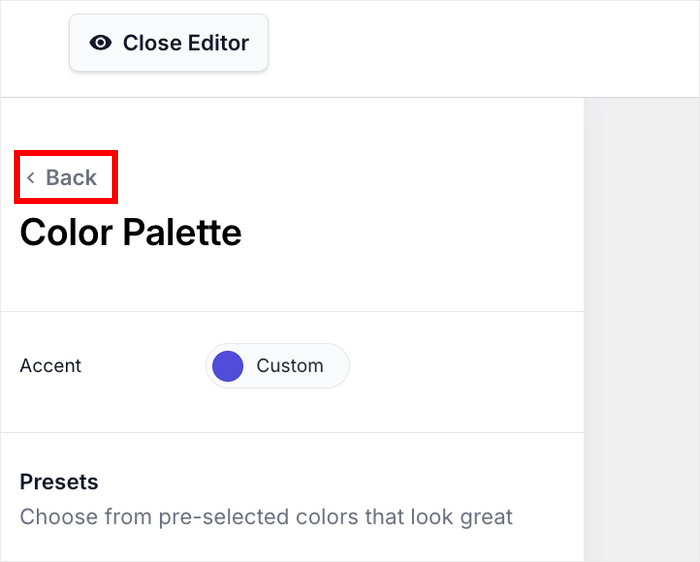
Now click the Back button to return to the main customization menu.
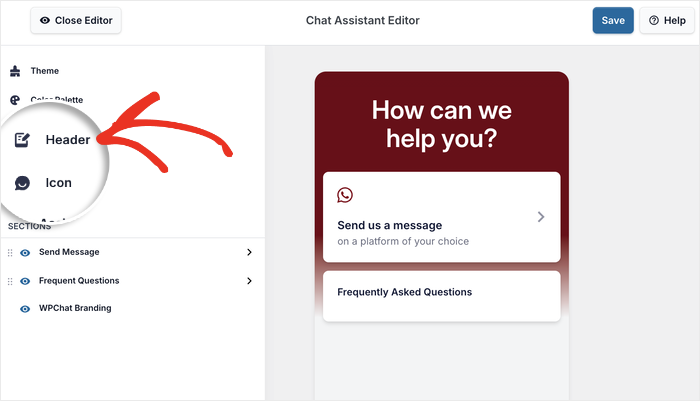
For the next option, click on the Header option from the left menu.
This is where you can personalize the greeting that visitors see when they open the chat window.
Just enter a quick greeting into the Heading field here.
For example, you might use “We’re here to help you!” or “Have a question? Let’s chat!”
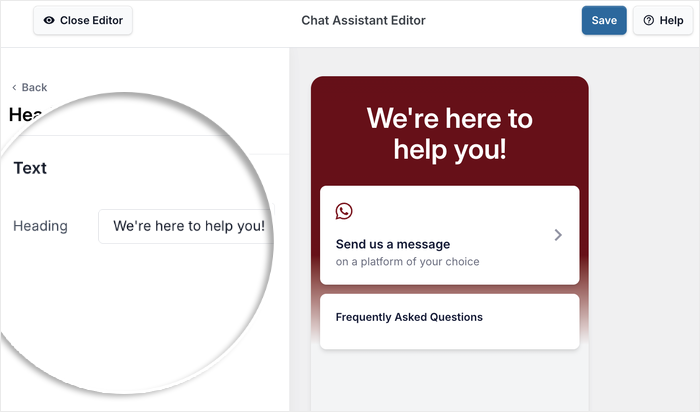
Like before, click on Save to keep your new heading.
Take some time to explore the other customization options available. You can change the chat assistant’s name, upload a custom icon, and modify the intro message that appears before visitors start chatting.
Each of these small touches helps make the chat feel more personal and aligned with your brand.
When you’re happy with all your customizations, click Save to store all changes.
Step 5: Create Chat Agents for Your Website
Chat agents are the people on your team who will respond to messages from visitors.
Setting up agents properly makes sure that conversations go to the right person and that your visitors see a professional, personalized experience.
From your WordPress dashboard, go to the WPChat » Agents menu.
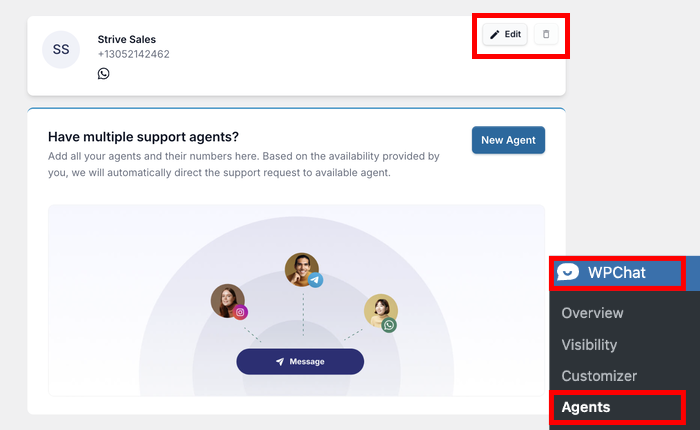
You’ll see a default chat agent that WPChat created during setup. Click on the Edit button here.
First, you’ll want to add a profile picture for the agent. Click the Upload button to select an image from your media library or upload a new one.
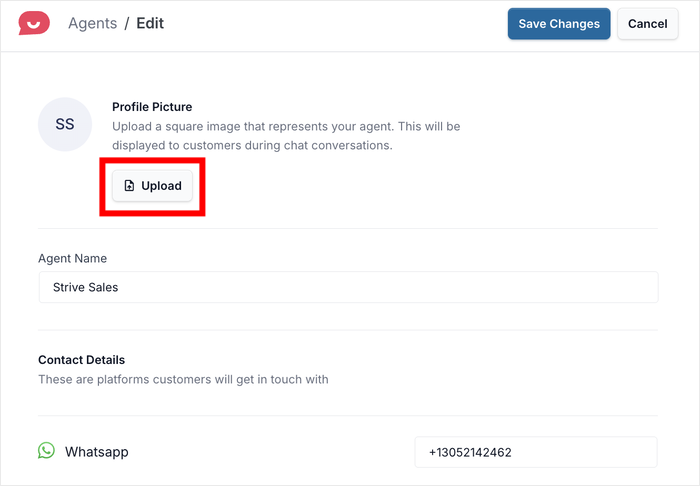
I recommend using a professional headshot or your company logo. This helps visitors feel like they’re talking to a real person or an official company representative.
Next, add the agent’s name in the name field.
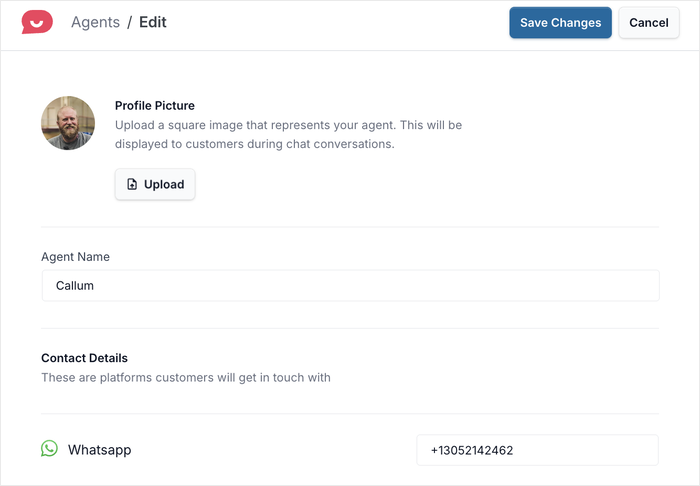
You can use the actual name of the person who will be responding to chats, or use your business name if you prefer.
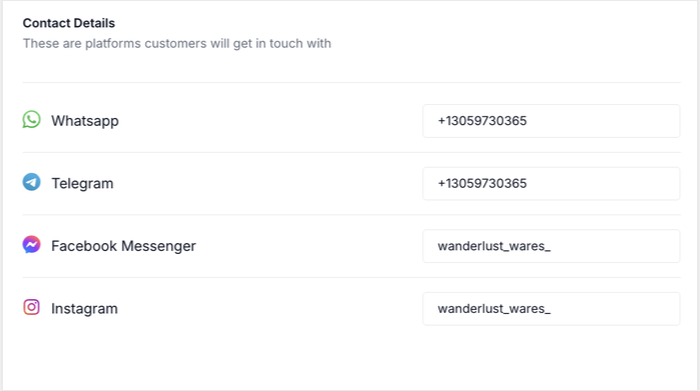
By default, the agent will use the WhatsApp phone number you entered during setup.
However, you can change the contact info for this specific agent from here if you like.
Once you’ve filled in all the agent information, click on Save Changes.
If you have multiple team members who need to respond to chats, you can create additional agents by clicking the Add New Agent button and repeating this process.
After you’ve set up your agents, feel free to open your Beaver Builder website and try out the WhatsApp chat assistant.

Conclusion & Final Thoughts
Just like that, you’ve successfully added WhatsApp chat to your Beaver Builder website using WPChat. And you didn’t have to write a single line of code to do this!
Now your visitors can reach you instantly with questions, which lets you create better customer support experiences and build stronger relationships with your audience.
Ready to take your Beaver Builder site to the next level? Get started with WPChat today and start having meaningful conversations with your visitors.
As the next step, you can also learn how to create chat funnels to guide visitors toward specific actions and generate leads.