Running a website often feels like a 24/7 job, especially when customers expect instant answers at all hours.
I used to worry constantly about missing important customer queries during dinner or while I was sleeping.
The reality is that slow response times can kill your conversion rates faster than almost anything else. Visitors today expect instant answers, and they will simply go to a competitor if you keep them waiting.
You shouldn’t have to choose between a good night’s rest and happy customers. This is why you need to learn how to create an auto-reply chatbot for your website.
Many beginners avoid this because they fear it requires hiring expensive developers or writing complex code. I am here to tell you that is no longer the case.
In this guide, I will walk you through 5 simple steps to set up an auto-reply chatbot that works for you around the clock.
How Auto-Reply Chatbots Help Your Customer Service Problems
Auto-reply chatbots solve your customer service problems by providing instant responses 24/7, reducing wait times, and freeing up your support team to handle more complex issues.
The reality is that modern website visitors expect immediate answers to their questions. When visitors have to wait, many simply leave your site and go to a competitor.
I’ve found that auto-reply chatbots offer several key benefits that can transform your customer service:
- Keeps Visitors Engaged: Visitors get immediate answers to common questions, which keeps them on your site longer and increases the chances they’ll convert into customers.
- 24/7 Availability: Your chatbot works while you sleep, ensuring that international visitors or night owls always get responses, no matter what timezone they’re in.
- Reduce Load for Support Team: By handling common questions automatically, your support team is free to focus on complex issues that genuinely need a personal touch.
- Scalability: If your site suddenly gets a surge of visitors, your chatbot can handle unlimited conversations simultaneously without getting overwhelmed.
Think of it as having a tireless team member who never needs breaks, never has a bad day, and can handle hundreds of conversations at once.
Easiest Way to Add Auto-Reply Chatbots to WordPress
The easiest way to add auto-reply chatbots to WordPress is by using the WPChat plugin.
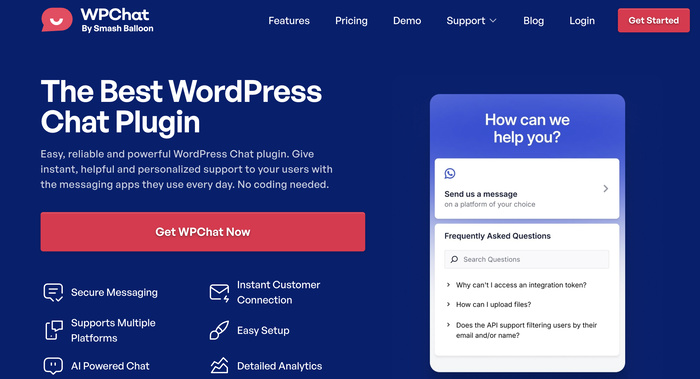
WPChat is a WordPress plugin that connects WhatsApp Business to your website, letting you create automated chat conversations.
I recommend WPChat because you can set up your entire chatbot system through a simple point-and-click interface in your dashboard — no coding needed.
To help you build auto-reply chatbots with ease, WPChat comes with features like:
- No Coding Required: Set up your entire chatbot system through a simple point-and-click interface in your WordPress dashboard.
- Chat Integration: To let visitors reach you, you can connect your chatbots to the biggest messaging platforms out there — WhatsApp, Telegram, Instagram, and Messenger.
- Easy Chatbot Builder: Create conversation flows by adding common questions and responses, and connecting them together.
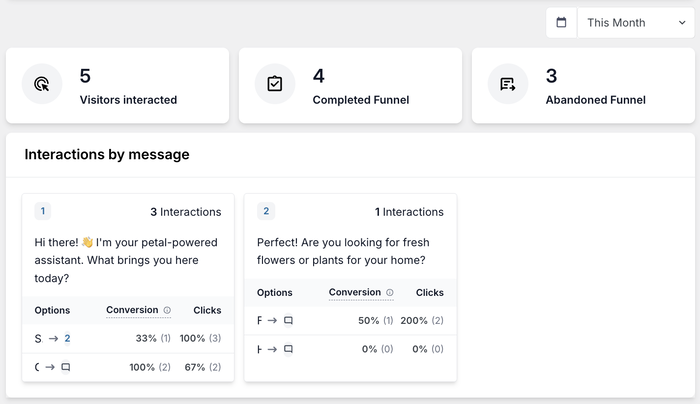
- In-Depth Analytics: Get detailed insights about your chatbot so you can find common questions and issues your visitors have.
How it Works:
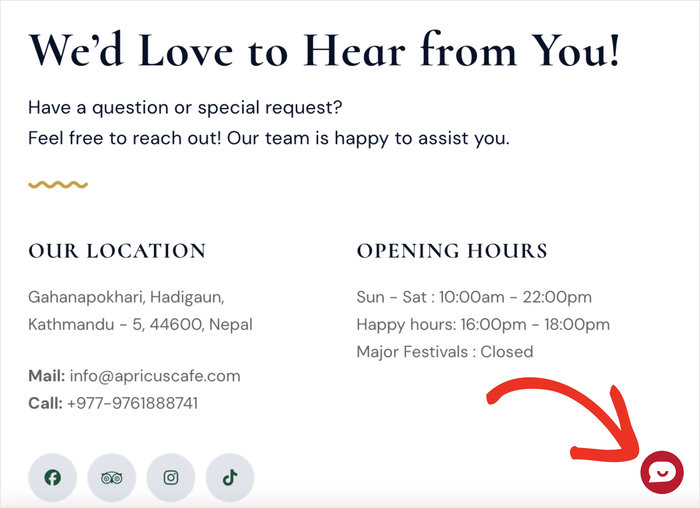
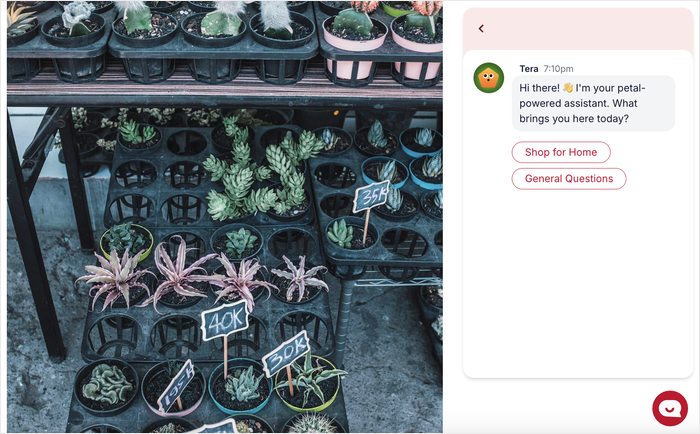
After the setup, WPChat adds a floating icon to your site that your visitors can use to start the conversation.
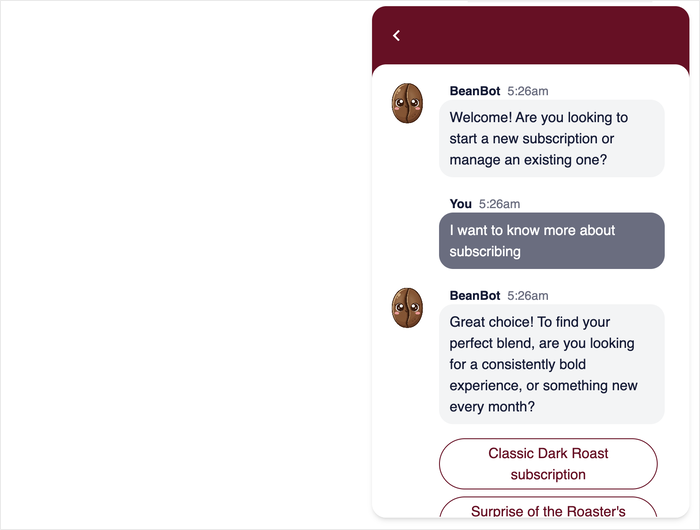
Once they open the chatbot, they can select the question or issue they have in mind from the options.
Then, the plugin will showcase the answer you prepared for that question along with more options. Just like that, your visitors can go through a conversation funnel with auto-reply answers.
Ready to add chatbots to interact with visitors? Get your copy of WPChat today!
How to Create an Auto-Reply Chatbot for Your Website
Now I’ll walk you through the process of setting up your auto-reply chatbot with WPChat.
Just go through each step one-by-one, and you’ll be done in just minutes.
Step 1: Install and Activate WPChat
First, you’ll need to get WPChat from here and add the plugin to your website.
In case you need help installing and activating a plugin, you can check out this beginner’s guide here.
Step 2: Set Up Your Chatbot
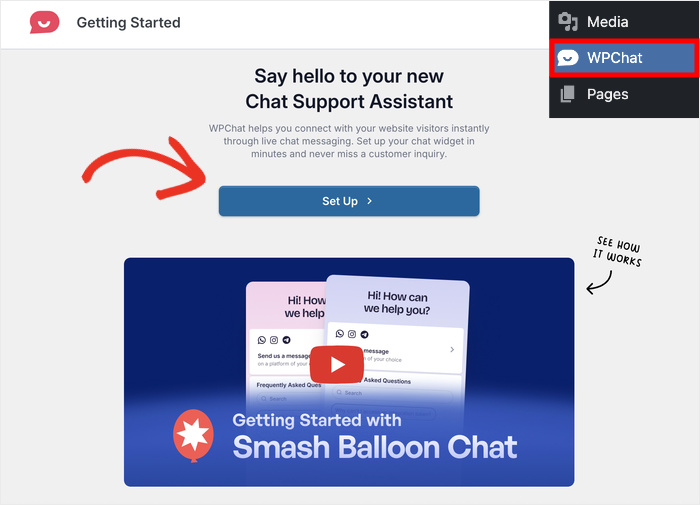
Start by clicking on the WPChat menu in your WordPress dashboard. This takes you to the main plugin settings area.
Next, select the Set Up option to begin the configuration wizard.
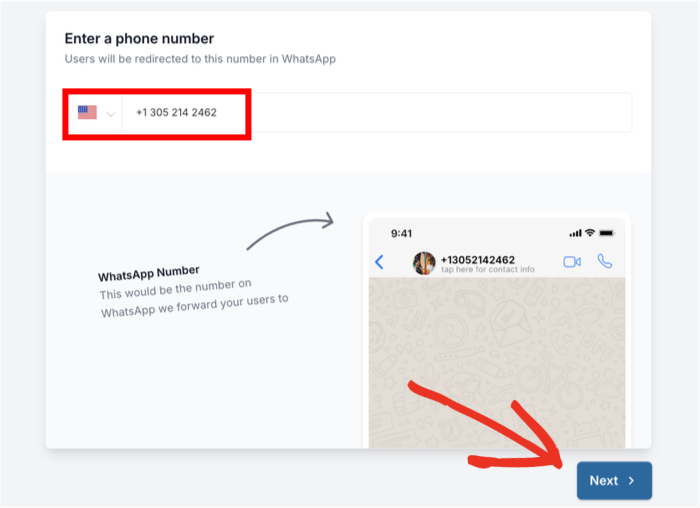
On the next page, enter your WhatsApp number in the provided field.
This lets your visitors directly connect with you in case the chatbot doesn’t solve their query.
After entering the number, click on Next.
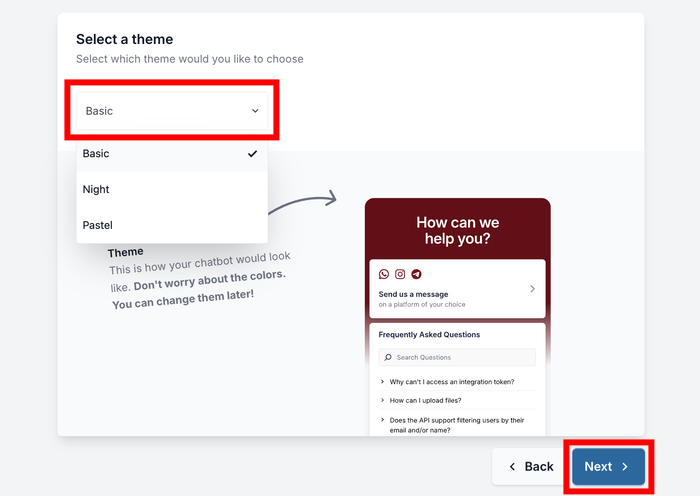
Now you’ll select a theme for your chat widget, which determines how the chatbot button appears on your website.
Use the dropdown menu to choose a theme that matches your brand colors and website design.
Click on Next again to continue.
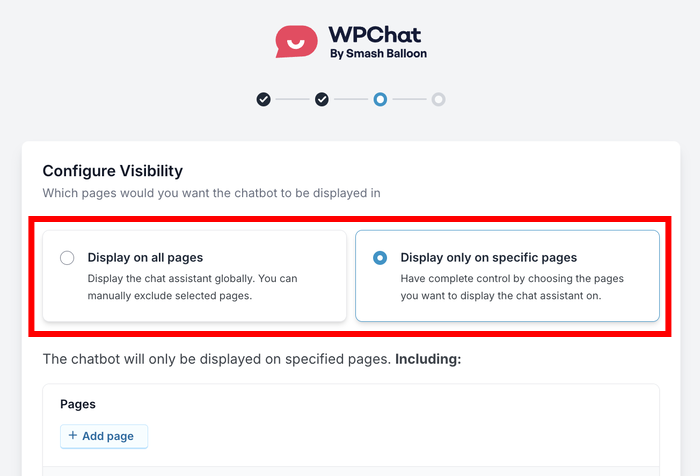
Set Chatbot Visibility Options
You can now choose where and how the chat widget appears on your pages:
- Display on all pages
- Display only on specific pages
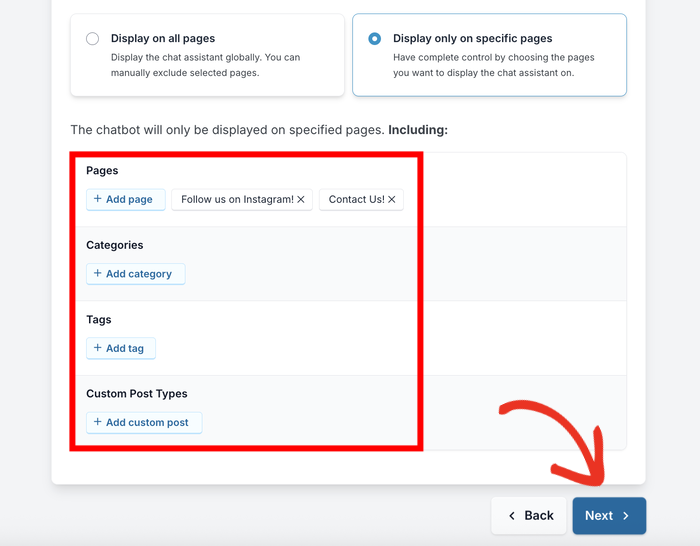
If you want more control, use the filters to include or exclude specific pages, tags, categories, and custom post types.
This ensures your chatbot only appears where it makes sense for your visitors.
After setting up filters, click on Next one more time.
Now, you can enter your WPChat license key into the field.
You can find this key on your WPChat account dashboard here.
Finally, click on Complete Setup to finish the initial configuration.
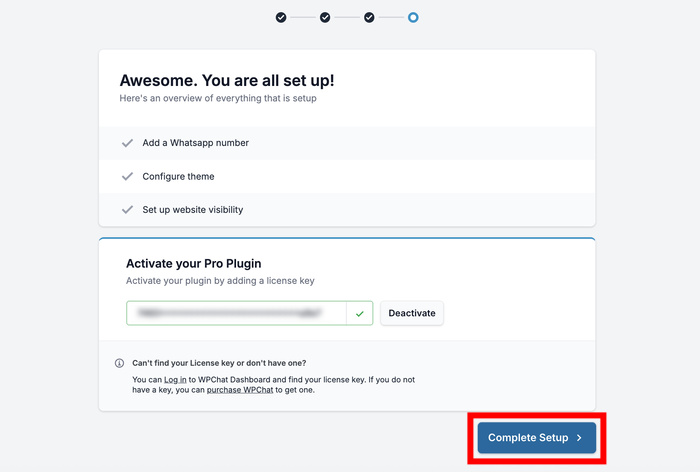
Your chatbot widget is now active on your website, though you still need to set up the automated responses
Step 3: Set Up Automatic Responses
Now it’s time to create the automated conversation flow that will respond to your visitors.
This is where you design what your chatbot says and how it guides visitors through different options.
Go to WPChat » Chat Funnels in your WordPress dashboard. Chat funnels are the conversation sequences that make your chatbot interactive and helpful.
Click on the New Funnel button to create your first automated conversation.
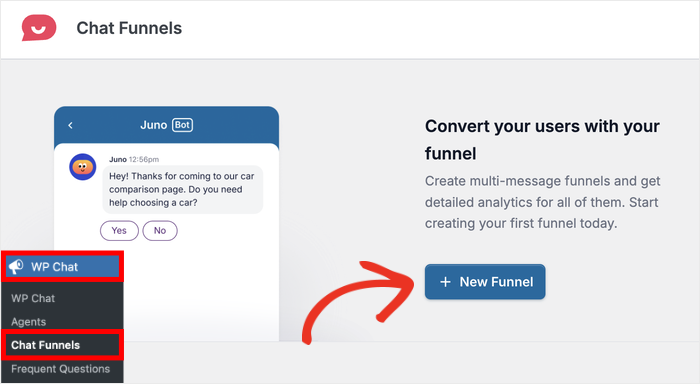
This opens the funnel builder where you’ll design your chatbot’s dialogue.
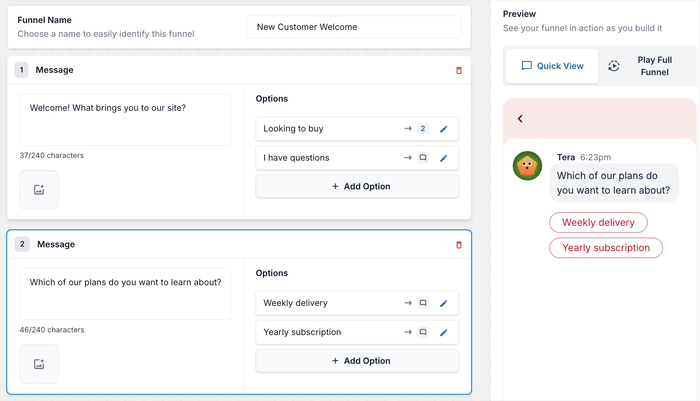
Enter a descriptive name in the Funnel Name field, such as “Customer Support” or “Product Inquiry.”
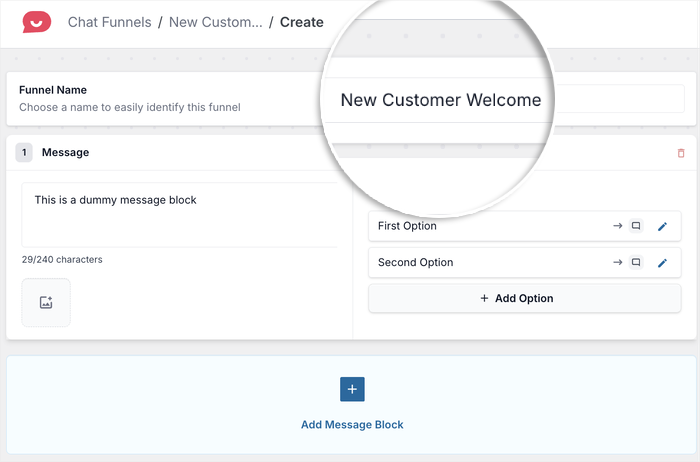
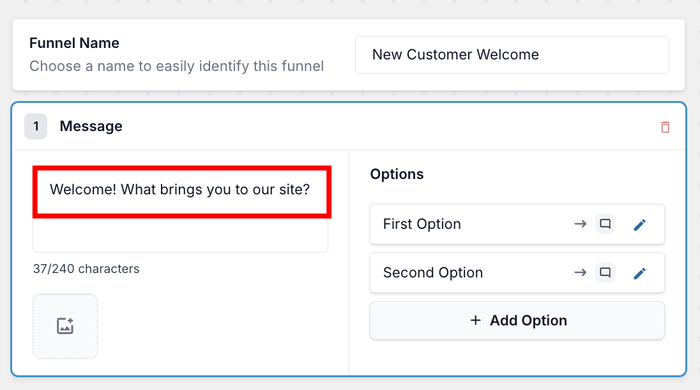
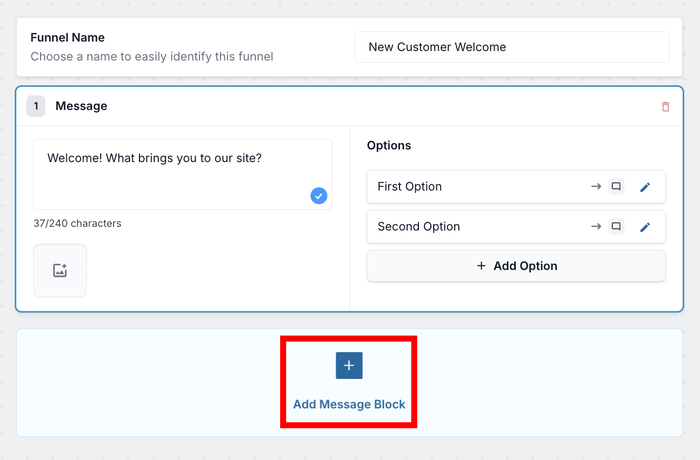
Next, enter the first message your chatbot will send to visitors.
This is typically a greeting like “Hi! How can I help you today?” that sets a friendly tone.
Click the Add Message button to create your second message.
This could be a follow-up question or provide options for visitors to choose from.
Just like before, enter your second message text.
If you want to make your chatbot more engaging, click the Image icon and upload a photo.
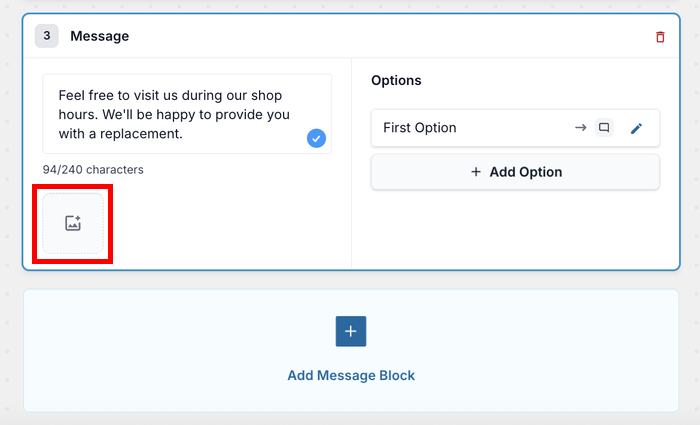
Adding images like product photos or helpful diagrams can make responses clearer and more professional.
Step 4: Link Different Responses Together
Creating a conversation flow means connecting your messages so visitors can navigate through different options based on their responses.
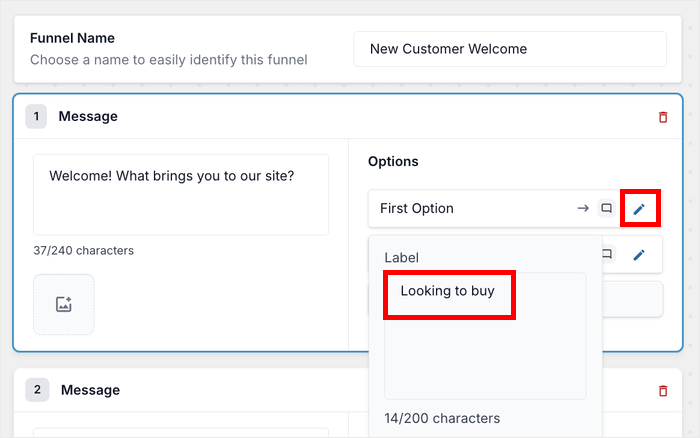
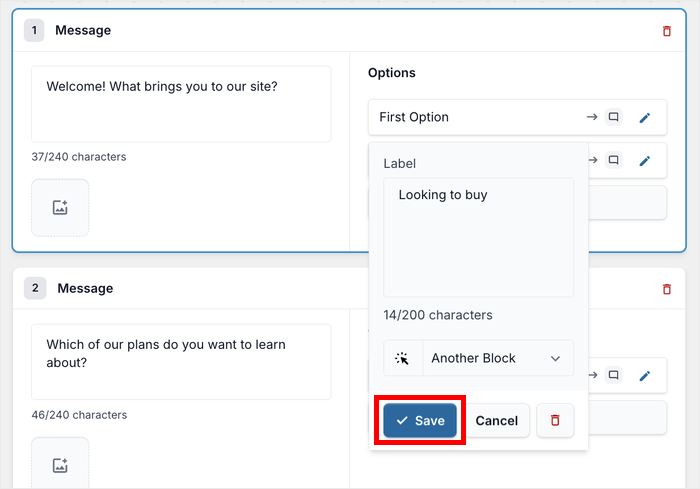
First, click on the Edit icon next to a reply option in your funnel.
Enter the text for the response option that visitors will see. Make it clear and action-oriented, like “Check Order Status” or “Request a Quote.”
Next, you can use the dropdown menu to decide where the response will lead.
You can direct visitors to another message, a specific page on your website, or even connect them to a live agent.
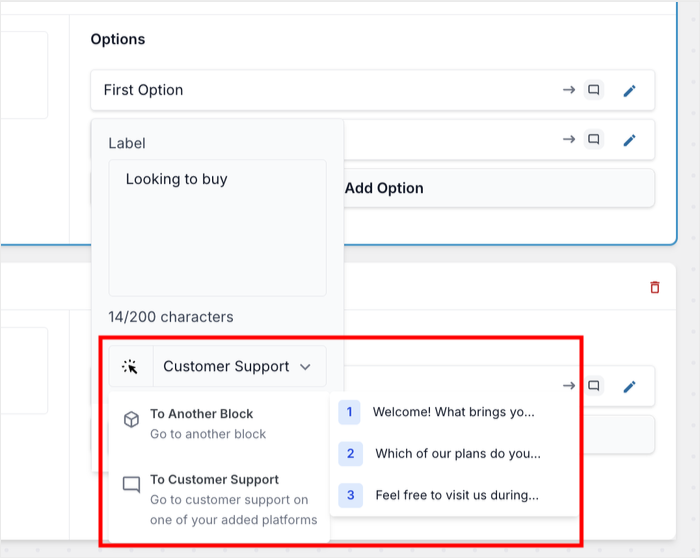
After picking where this response will lead, click on Save to store your changes.
Just like that, the connection between messages is properly established.
You can repeat these steps to add more response options and messages.
Building out multiple paths lets your chatbot handle different types of visitor inquiries automatically.
Remember to check the live preview on the right side of your screen. This shows you exactly how visitors will experience the conversation flow, helping you catch any confusing parts.
Once you’re satisfied with how everything connects, click on Save Changes.
Step 5: Select Visibility Options for Chatbot
The final step is controlling where the conversation flow you just created will appear on your website.
That way, you can tailor the auto replies for specific pages, then create new conversation flows for other parts of your site.
Use the filter options to select specific Pages, Categories, Tags, and Custom Post Types where you want the chatbot to appear.
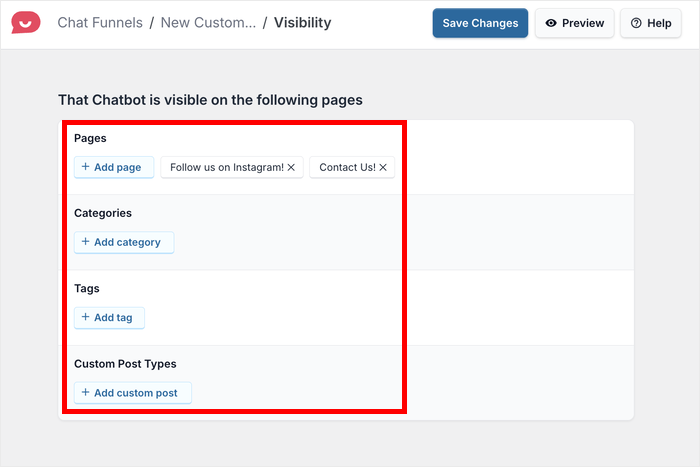
For example, you might want it on product pages but not on your blog posts.
I recommend starting with high-traffic pages like your homepage, contact page, and product pages.
Finally, click on Save Changes to apply your visibility settings. Your auto-reply chatbot is now fully configured and working on your WordPress website.
Moving Forward & Best Practices
Now that your auto-reply chatbot is up and running, you’ll want to continuously improve it based on real visitor interactions.
WPChat provides analytics tools that help you understand how people are using your chatbot.
Here are some best practices to get the most out of your chatbot:
- Review your chat logs regularly to see which questions come up most often, then add or refine automated responses to handle them better.
- Visitors prefer quick, scannable responses over long paragraphs, so break complex information into multiple short messages.
- As your business changes or new questions arise, adjust your chatbot responses to stay current and relevant.
- Regularly go through the entire conversation flow yourself to catch any confusing paths or broken links.
Conclusion
Setting up an auto-reply chatbot for your website doesn’t have to be complicated or expensive.
With WPChat, you can create a professional chatbot system in just a few simple steps without writing any code.
This means you can finally stop worrying about missing important customer inquiries and focus on growing your business.
Ready to transform your website with a chatbot? Get started with WPChat today!
Want to make your chatbots even more engaging? Check out our beginner’s guide on customizing your chat assistant.