Many website owners spend a lot of time creating great content, only to see visitors leave without taking any action.
Too often, it’s because the site leaves visitors to figure things out on their own.
The goal is to create an automated, helpful conversation that guides them to the right solution, just like a friendly store clerk would.
That’s exactly how a chat funnel can help your website. It guides your visitors to a specific goal while making it feel like a natural conversation.
In this guide, I will show you exactly how to build your first chat funnel using WPChat.
We’ll go through it step-by-step, and you’ll be able to start generating more leads in no time.
Why Create a Chat Funnel in WordPress
Chat funnels are pretty simple — they’re a series of connected messages that guide visitors towards a goal.
Each message has clickable responses that visitors can choose from. Depending on their choice, you can lead them to other messages or have them reach your support team.
Here’s why adding chat funnels to your WordPress site makes such a difference:
- Increase visitor engagement with conversations: Instead of hoping visitors find what they need, you can actively direct them to the right solution.
- Capture more leads with interactive questions: People are more likely to respond to a friendly chat than fill out a long contact form.
- Reduce bounce rates: When someone clicks through your chat options, they’re investing time in your site, which is great for SEO.
- Provide instant support: Your chat funnel can answer common questions and provide solutions without increasing workload for your support team.
- Track visitor preferences: You’ll see exactly which paths visitors take and where they need the most help.
With the help of chat funnels, you guide your visitors toward specific actions, like making a purchase, signing up for your newsletter, or contacting your support team.
Instead of leaving visitors to navigate your site alone, chat funnels act like a helpful assistant that’s available 24/7.
How to Create Your First Chat Funnel Using WPChat
Below, I’ll show you how to get WPChat configured and create your chat funnels with ease — all in just a few minutes.
It’s a pretty simple process, and you won’t have to touch a single line of code. Let’s get started:
Step 1: Install and Activate WPChat
First, you’ll need to install and activate the WPChat plugin on your website.
If you want to learn how to do this, there’s a beginner’s guide on installing WordPress plugins that you can check out.
Step 2: Set Up WPChat on Your Website
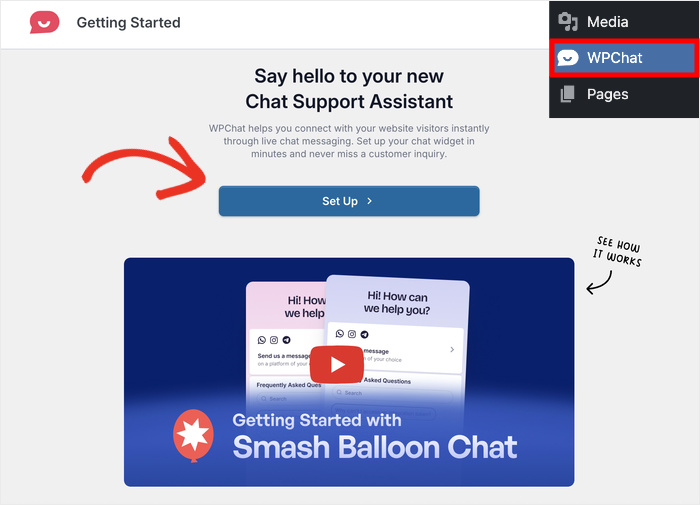
You’ll know the plugin is active if you can see a new WPChat menu on your dashboard.
Click on it, then select the Set Up option on the page.
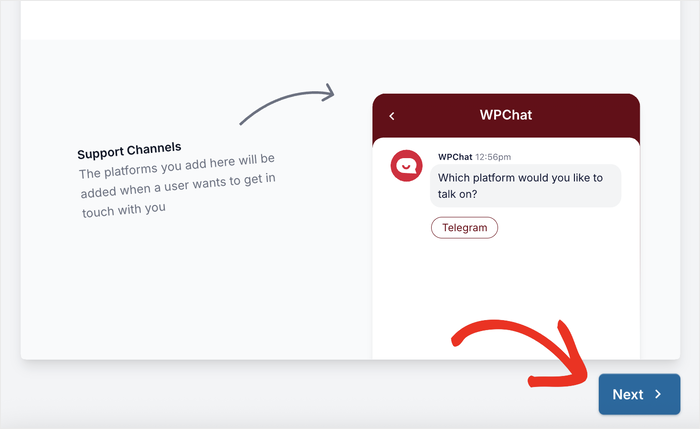
Next, you can connect this chat widget to the biggest social media messaging apps:
- Telegram
- Messenger
In the fields here, add your phone number and usernames.
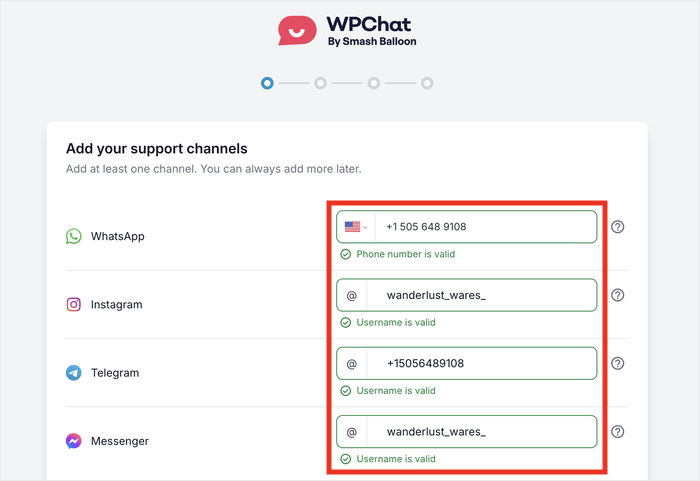
This lets you guide people on your chat funnels to customer support so you can directly answer their questions.
Finally, you can scroll down and click on Next to proceed.
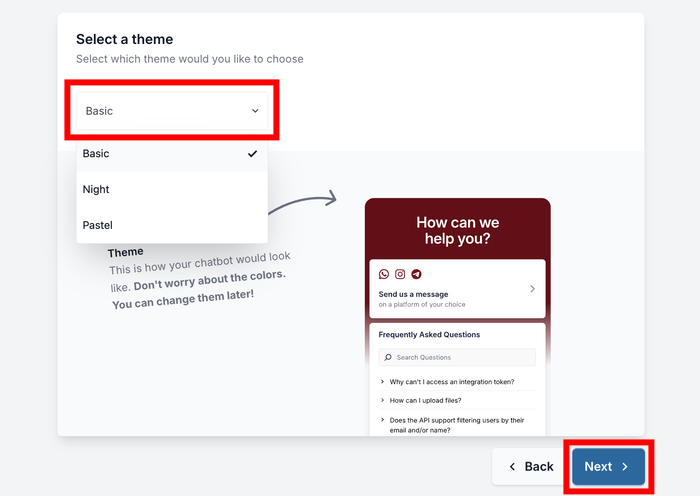
You can now choose a theme for your chat funnels. WPChat offers three options: Basic, Night, or Pastel.
Pick the one that best matches your website’s design and click on Next.
The visibility settings come next. This will let you decide where the chat widget appears on your site.
You can choose to display your chat funnel on all pages or only on specific pages.
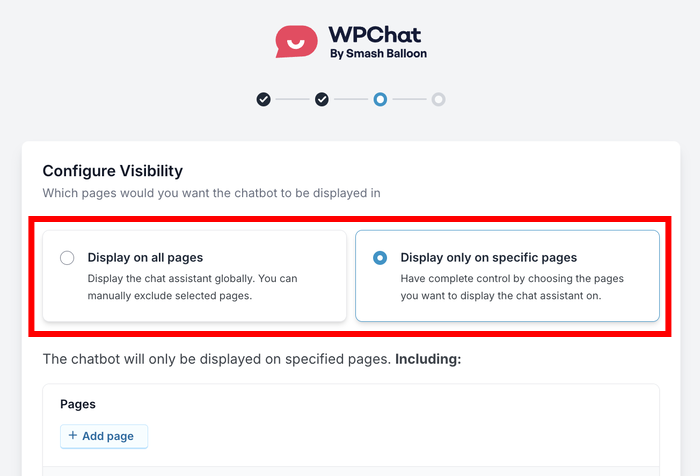
For most websites, I recommend starting with specific pages so you can control exactly where visitors see your chat options.
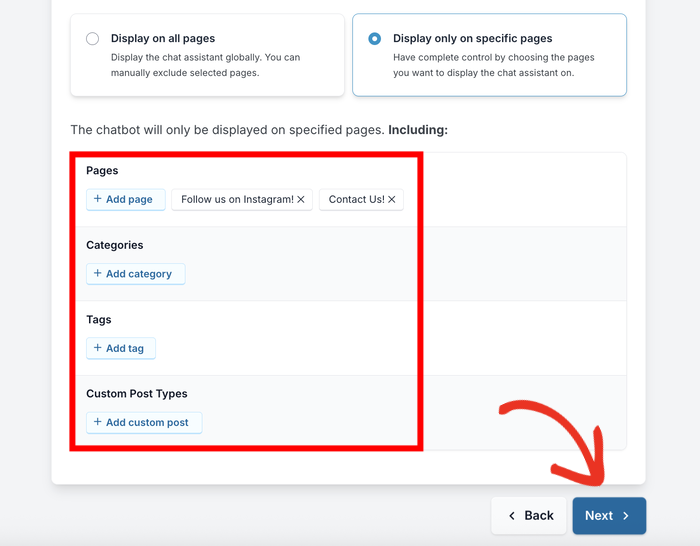
If you selected specific pages, you’ll now filter which pages, tags, categories, and custom post types should show the chat widget.
But if you decided to show the widget everywhere, you can filter out locations here.
After adding your filters, click on Next to continue.
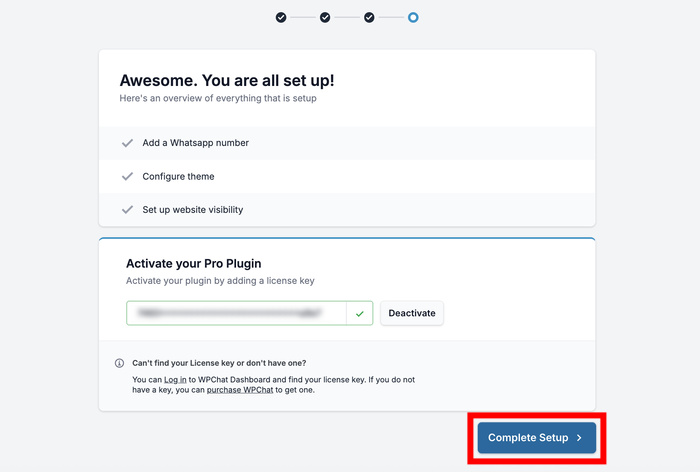
Finally, enter your WPChat license key and click on Complete Setup.
Just like that, your plugin is now ready to create chat funnels.
Step 3: Start a New Funnel
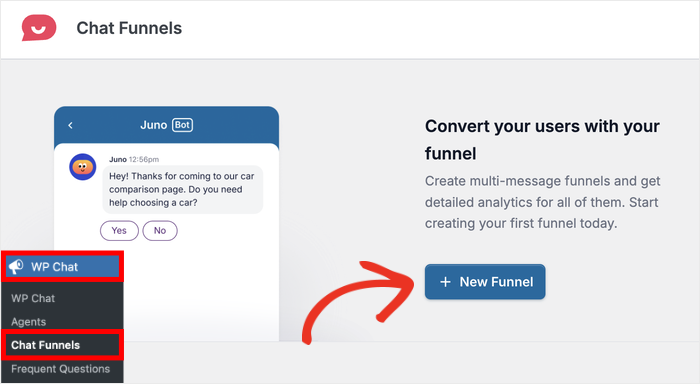
To start creating your funnels, open the WPChat » Chat Funnels menu from your WordPress dashboard.
You’ll see your chat funnels management page, which will be empty if this is your first time.
Click on the New Funnel button to get started.
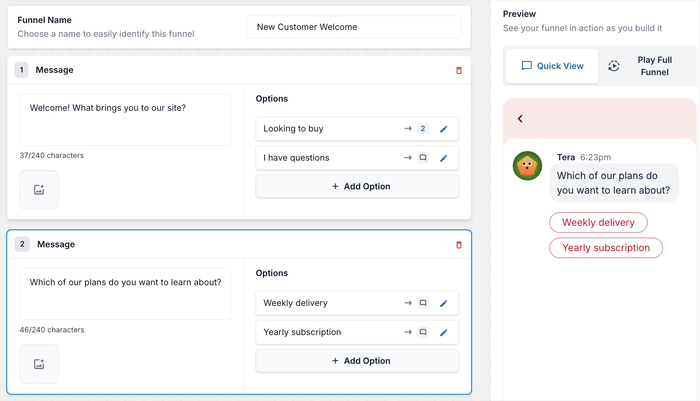
First, enter a fitting name in the Funnel Name field.
If you’re not sure, just choose something descriptive that helps you remember what this funnel is for, like “Product Support” or “New Customer Welcome”.
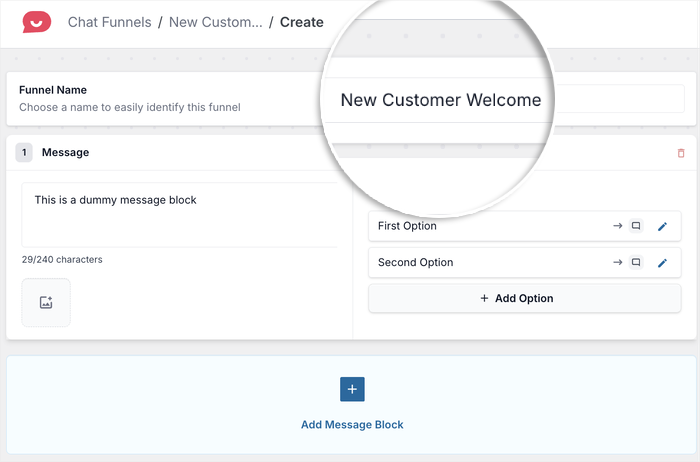
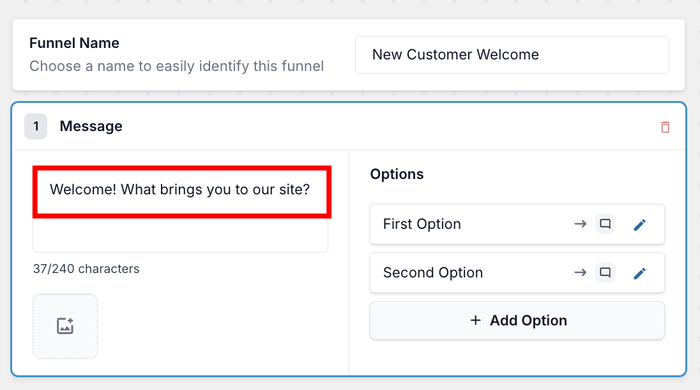
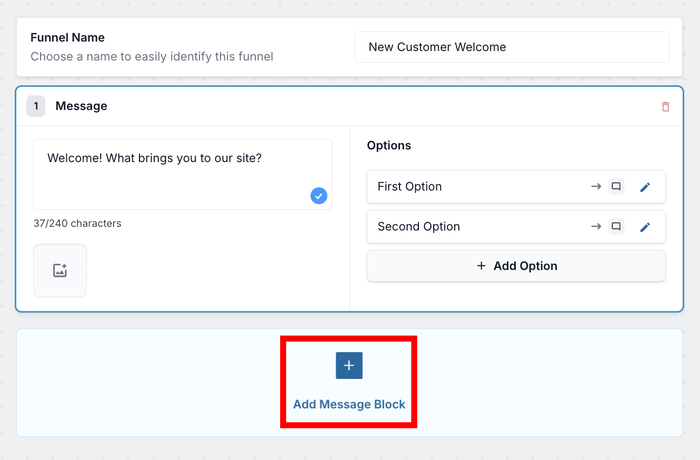
Next, you’ll create your first message. Enter the opening message in the Message field.
For the first message in your funnel, it can be a simple greeting like “Hi! How can I help you today?” or “Welcome! What brings you to our site?”
Now that you have the first message in the funnel, you can create a follow-up message.
First, click on the Add Message button below.
After you do that, enter your follow-up message for your chat funnel.
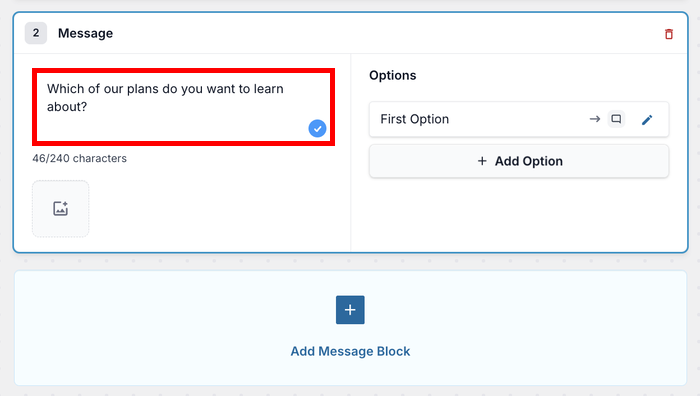
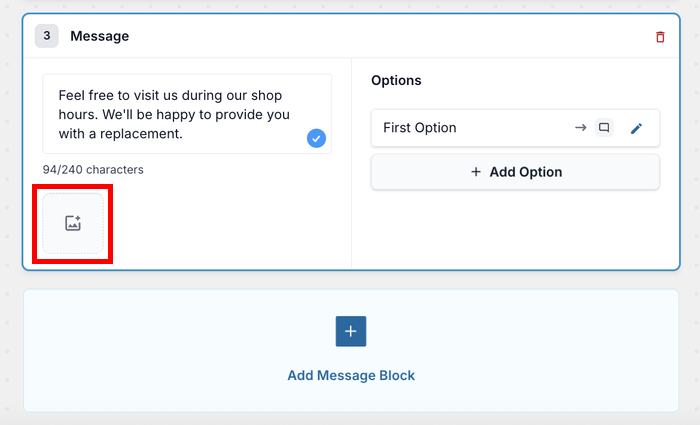
To make your messages clearer, you can also use the Image icon to attach a picture to the message.
Remember to keep your messages short and conversational so visitors can follow along easily.
Step 4: Connect Messages in Your Chat Funnel
Now that we have multiple messages in the funnel, we can connect them into a conversation flow.
You can do this by adding reply options for each message.
Go back to the first message in your funnel and click on the Edit icon for the first response option.
Here, you’ll enter the text that visitors will see as a clickable response.
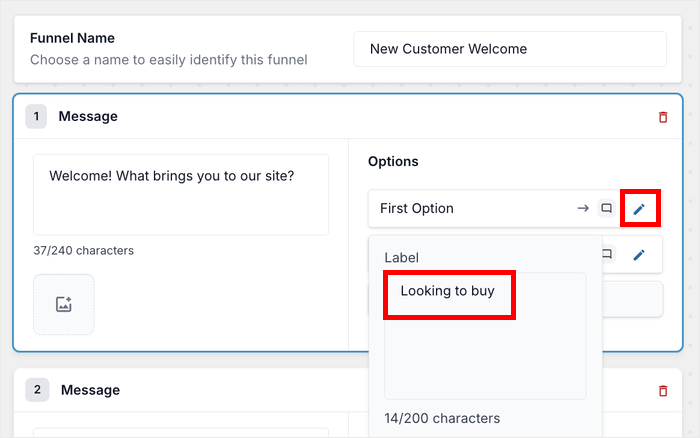
For example, if your opening message asks, “What brings you to our site?” your response options might be “I have a question” or “Looking to buy”.
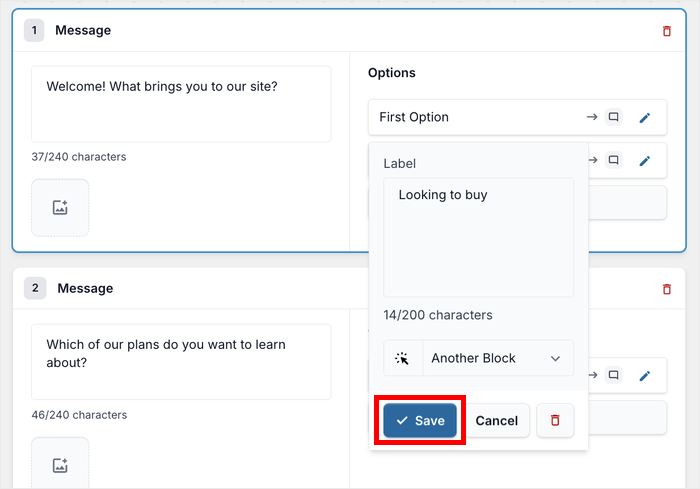
Next, you can use the dropdown menu below to choose where this response connects. You have 2 main options:
- To Another Block: Visitors will be sent to another message on this chat funnel if they click
- To Customer Support: Visitors can message your support on WhatsApp if they click here
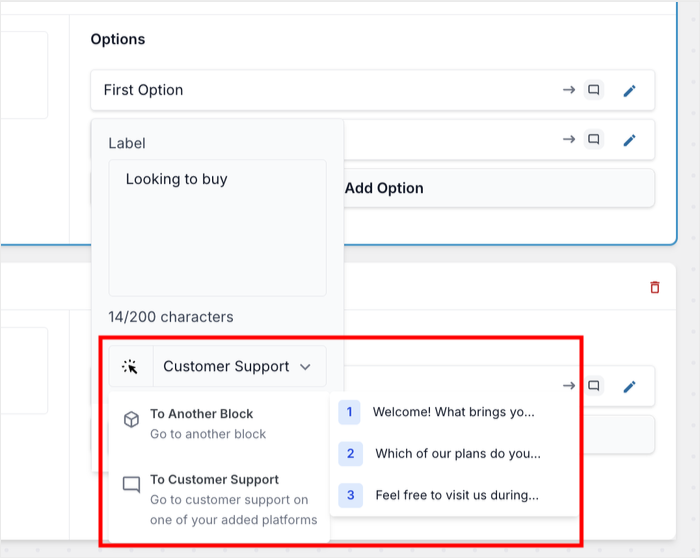
Click Save when you’re done with that response option.
Repeat these steps to add response options for each message in your funnel.
Feel free to check the live preview on the right and see how your chat funnel looks.
You can connect each response option to either another message in your funnel or to customer support for more complex issues.
When you’re finished setting up all the connections, click Save Changes.
Step 5: Configure Chat Funnel Visibility
After setting up your chat funnel, it’s time to decide where it will appear on your website.
You can use the filters here to select the specific pages, categories, tags, and custom post types where the funnel should appear.
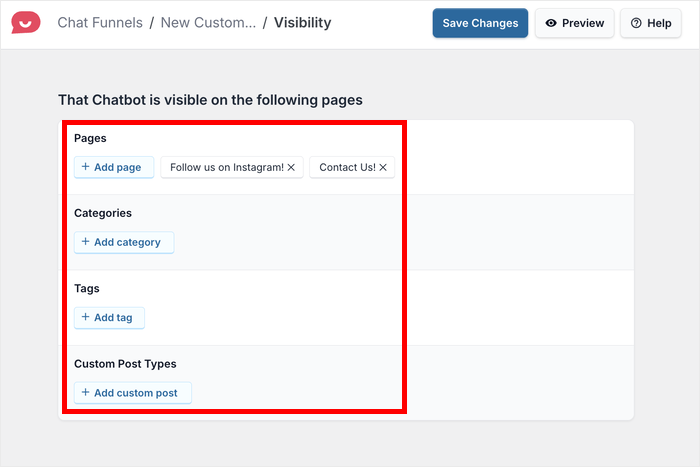
That way, your visitors can see the most relevant chat funnel for their current location on your site.
For example, you might want a product support funnel to show only on your product pages or a general help funnel to appear on your main service pages.
Once you’ve selected the locations for your funnel, click Save Changes to apply these visibility settings.
Check Out Your Chat Funnel
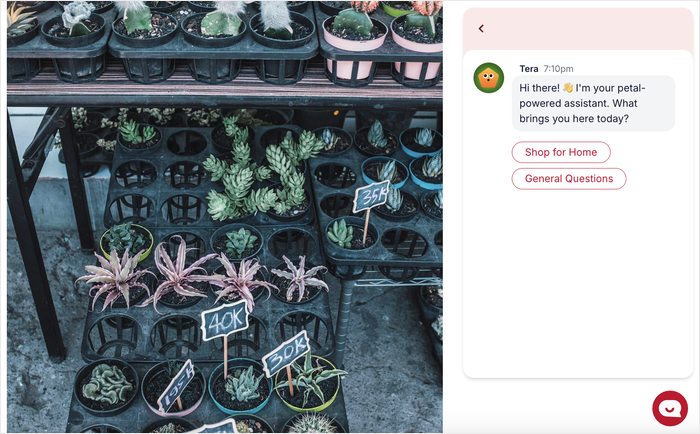
Now that your chat funnel is live on your website, you can check how it looks to your website visitors.
First, open one of the pages where you configured the chat funnel to appear. You should see your chat widget on the bottom-right corner.
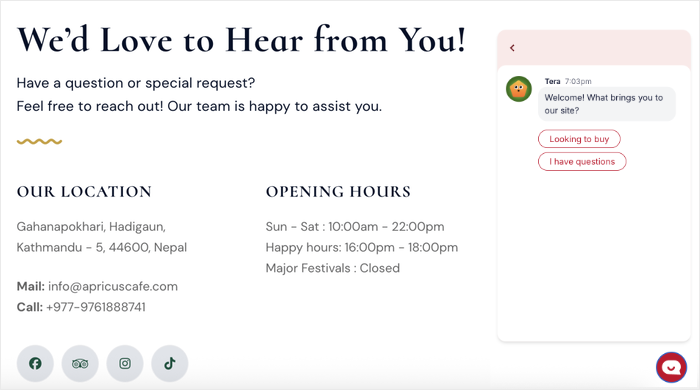
Just click through the different response options to see how the funnel guides visitors along different paths.
Here are a few ways to make your chat funnels even more effective:
- Look at the messages from a visitor’s point of view. Does each message lead naturally to the next? Are the response options clear and helpful?
- Maybe ask a friend or colleague to check out the funnel to get feedback about your chat funnel.
- Allow visitors to reach your support team from the funnel so they can get clarification in case they need help.
- Feel free to add images instead of adding large paragraphs of text that people might skim through.
Analyzing Funnel Performance
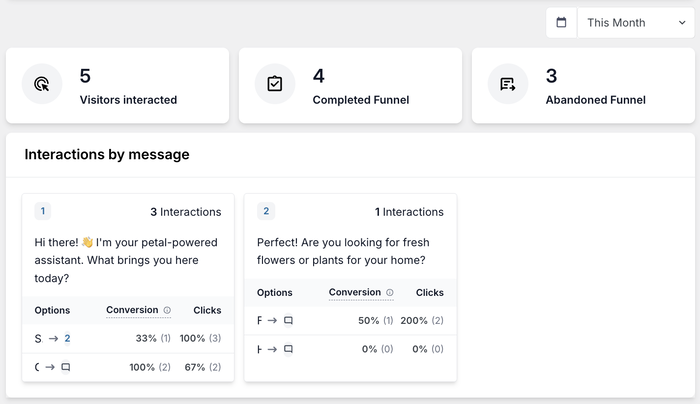
Once your chat funnel is live and visitors are using it, you’ll want to track how well it’s performing.
WPChat provides built-in analytics that show you exactly how visitors interact with your funnel.
To view your funnel analytics, go to WPChat » Chat Funnels in your WordPress dashboard.
You’ll see a list of all the chat funnels that you’ve created so far.
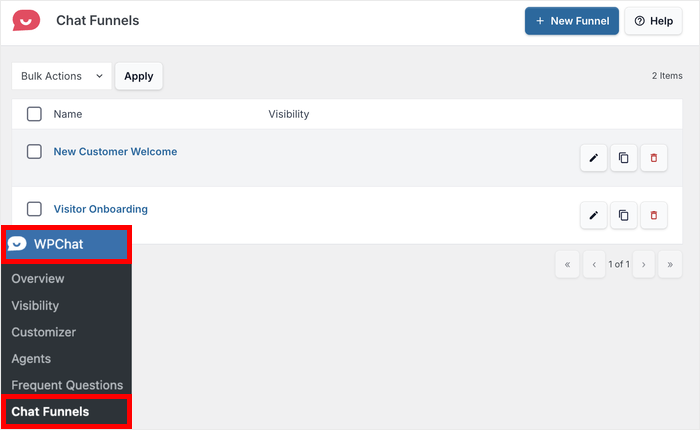
Click on any funnel name to access its detailed analytics page.
That way, you can understand what’s working well and where you might need to make improvements.
And there you go!
Chat funnels are one of the most effective ways to turn website visitors into engaged customers.
Instead of hoping people find what they need on their own, you can guide them through helpful conversations that lead to real results.
WPChat makes this process simple with its user-friendly chat funnel builder and built-in analytics. You can have your first chat funnel running in just minutes, and start seeing better engagement rates.
Ready to turn your website visitors into conversations? Get started with WPChat today!
Frequently Asked Questions About Chat Funnels in WPChat
What is a chat funnel in WPChat?
A chat funnel in WPChat is an automated conversation system that guides your website visitors through a series of interactive messages.
Each message offers clickable response options that lead to either more messages or direct contact with your support team.
How can I track the success of my chat funnels?
You can track chat funnel success through WPChat’s built-in analytics dashboard, which shows conversation completion rates, visitor paths, and response option popularity.
What’s the best way to design an effective chat funnel?
The most effective chat funnels start with a friendly greeting, offer clear response options, and keep conversations short and focused.
Design your funnel paths to match common visitor questions, and always provide an easy way to reach human support when needed.
What other features can I get with WPChat?
The great thing about WPChat is that you get lots of useful features to boost the quality of your customer support. You can add FAQs to your chat widget for convenient answers.
On top of that, you can link your WordPress site to the biggest messaging apps, like WhatsApp, Telegram, Facebook Messenger, and Instagram.