As your business grows, you’ll have a lot of curious website visitors with questions about your products or services.
The problem is that many don’t really want to reach out to a support team just for a simple question.
Bottom line – a lot of potential customers might be leaving your website with their questions unanswered.
The good news is that a well-placed FAQ widget can be a perfect solution here.
Just like that, you can make it easy for people to find the information they need, right on the page they are visiting..
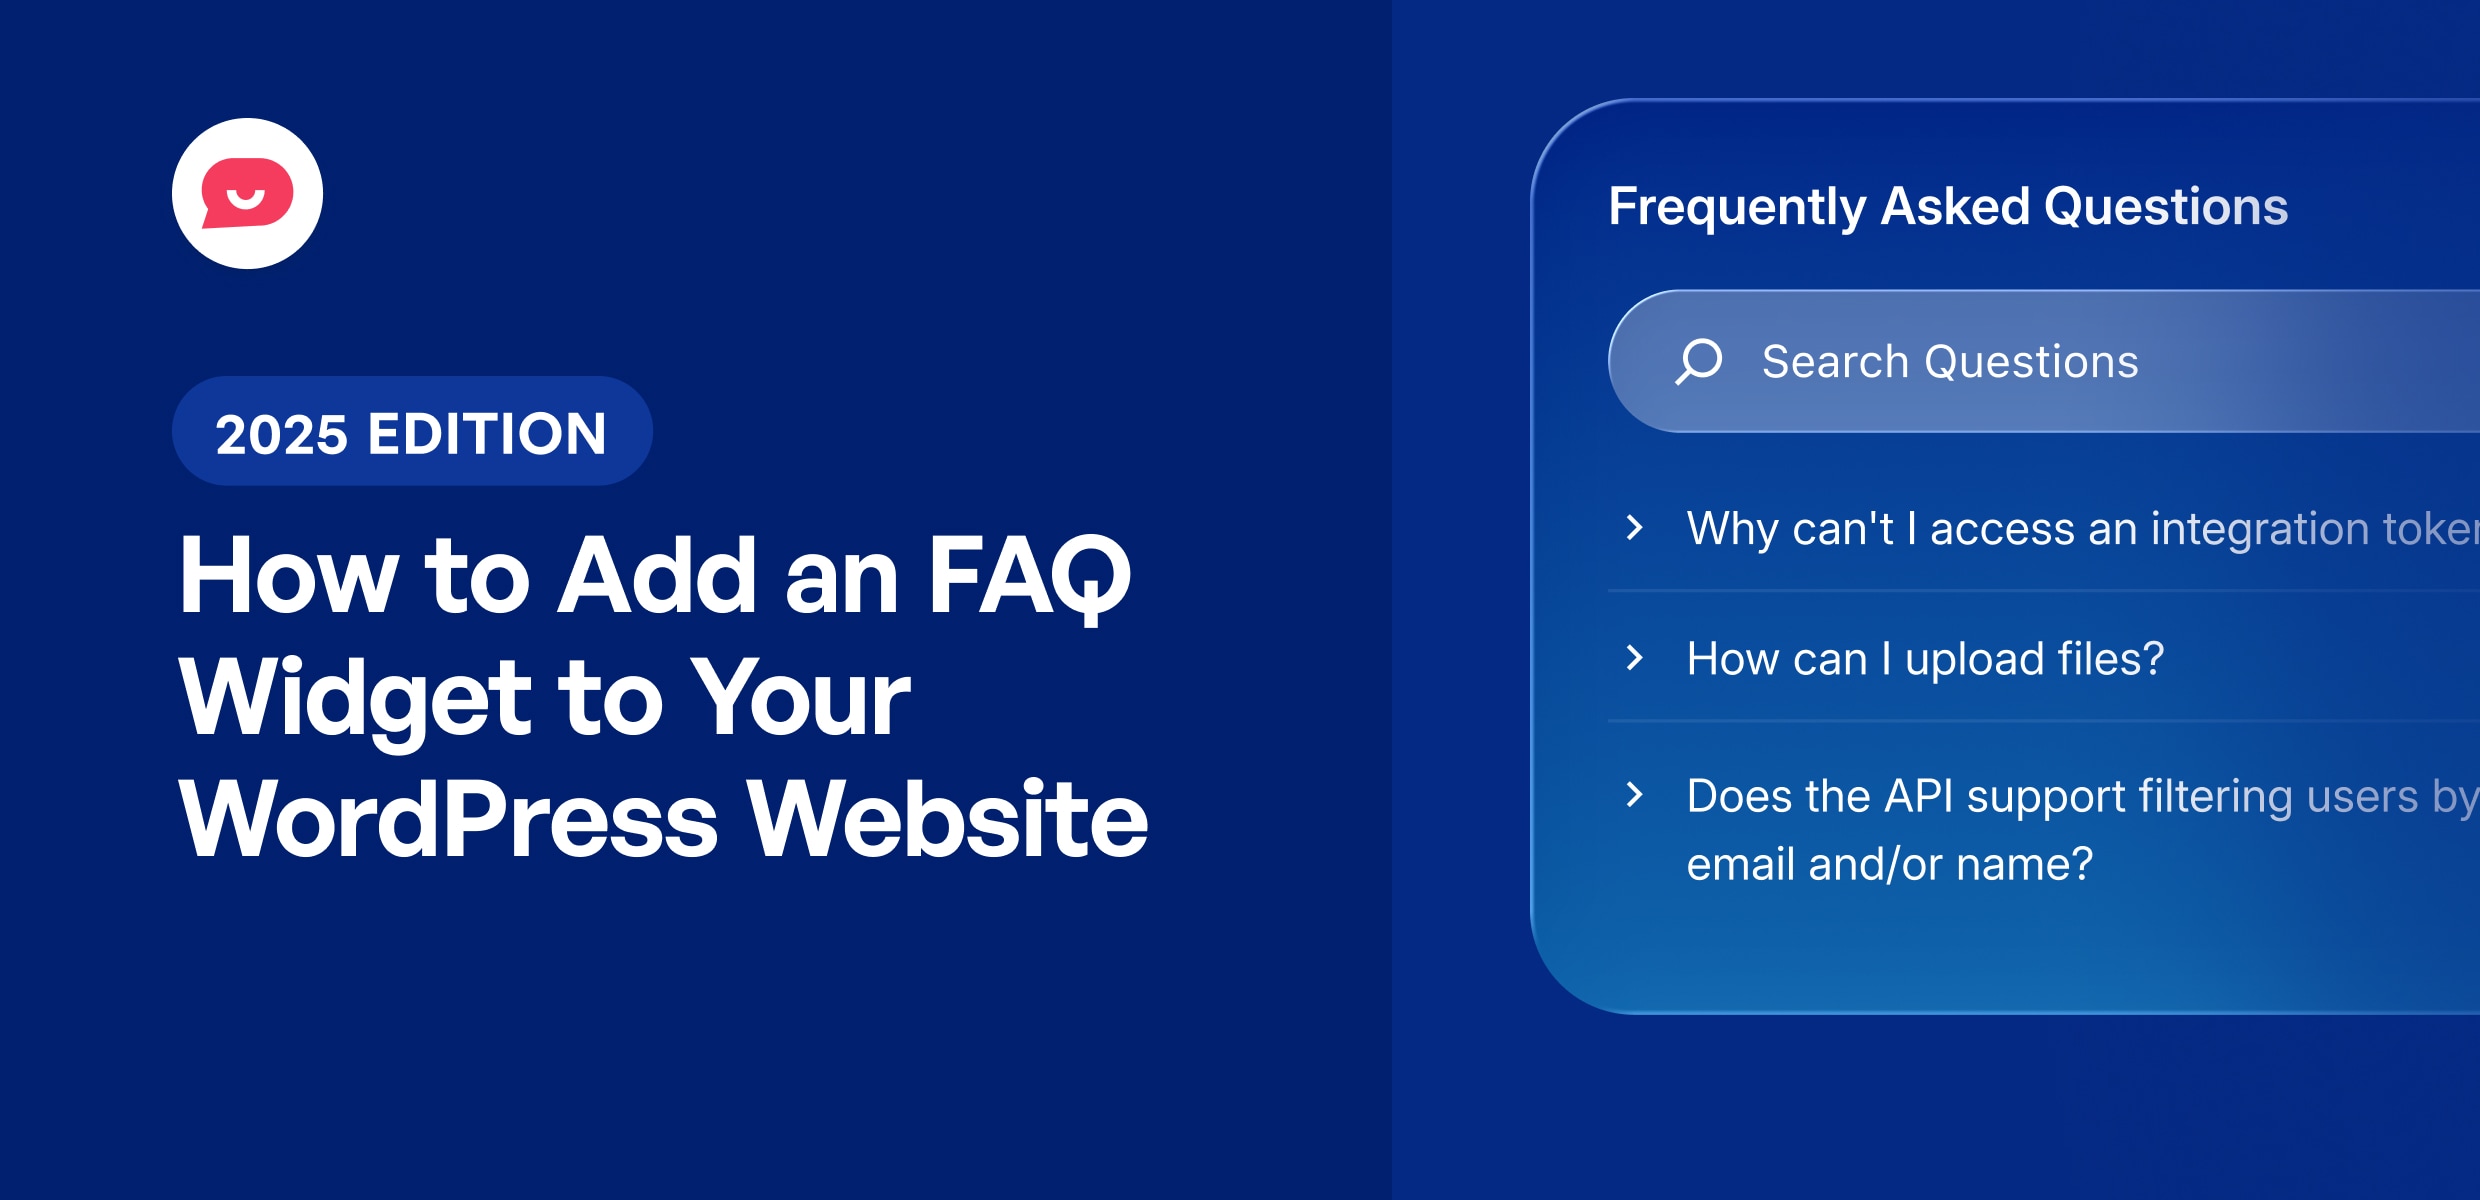
In this article, I’ll show you a quick and easy way of adding an FAQ widget to your website — no coding needed.
Why Add FAQ Widgets to Your WordPress Site
Adding FAQ widgets to your WordPress site can transform how you handle customer questions and support requests.
Instead of asking visitors to leave the page or contact your support team for simple answers, an FAQ widget provides instant solutions right where they need them.
Here are the key benefits of using FAQ widgets on your website:
- Quick Answers: Provides immediate solutions to common user questions without any waiting time or page redirects.
- Reduce Support Load: Decreases the volume of repetitive customer service inquiries, freeing up your team to handle more complex issues.
- Boost Conversions: Addresses any doubts people might have about making a purchase at the exact moment they’re considering it.
- Save Time: Allows users to self-serve instead of waiting for email responses or phone calls from your support team.
- Build Trust: Shows that you pay attention to questions from your customers and care about their experience on your site.
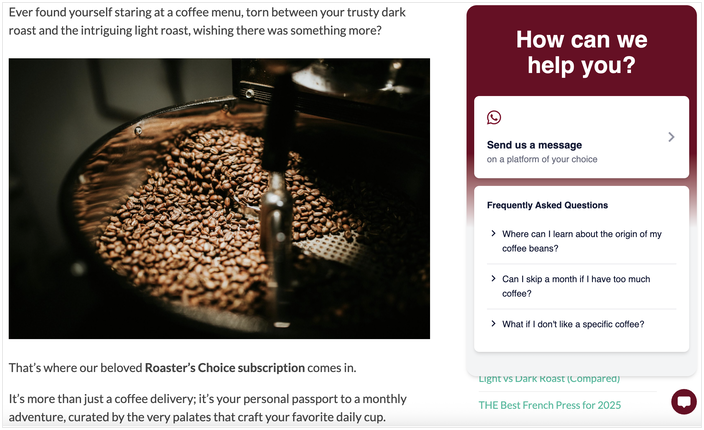
In my experience, FAQ widgets work particularly well on pricing pages, checkout flows, and product descriptions.
FAQ Widgets vs. FAQ Pages: Which One to Pick?
When it comes to answering customer questions, you have two main options: creating a dedicated FAQ page or adding an FAQ widget to your site.
Both approaches have their place, but they serve different purposes.
With FAQ pages:
- Simple to implement since it’s just a basic WordPress page with questions and answers.
- Can be as long as you want since you have a whole page to work with.
With FAQ widgets:
- Better User Experience: Instead of asking users to open a separate page, you can show them the answer without interruption.
- In-Context Support: You can show them on important pages (like a pricing or checkout page) to answer questions at the moment of doubt.
- Streamlined UX: They present information concisely in an accordion or popup, keeping the main page clean and uncluttered.
- Mobile-Friendly Design: They often provide a better, less scroll-intensive experience for mobile users than a single, long FAQ page.
While they’re not as great as FAQ widgets, there’s nothing wrong with adding a page for FAQs on your website.
But overall, it’s clear that FAQ widgets are the best option if you want to answer people’s questions effectively.
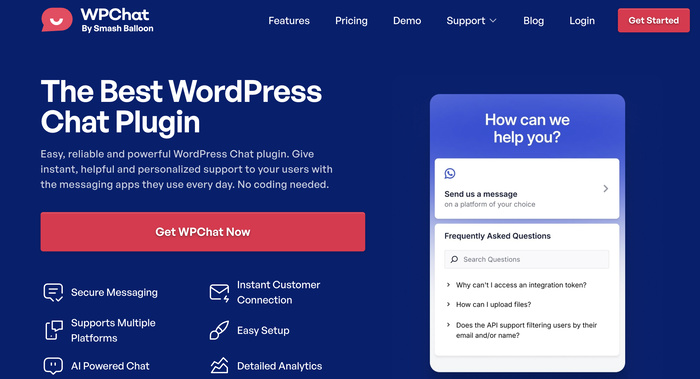
If you’re using a plugin like WPChat by Smash Balloon, you can get even more features for your FAQ widgets.
Here’s why WPChat is perfect for adding FAQ widgets to WordPress:
- Smart Analytics: Track which questions get asked most frequently so you can focus on the content that matters most to your visitors.
- Complete Customization: Match the widget perfectly to your brand with full control over colors, fonts, and design elements.
- Support Assistant Creation: Build different support personalities for different parts of your business or website.
- Direct Team Integration: Connect the widget to your support team so visitors can escalate to live help when needed.
- Advanced Targeting: Choose exactly where your FAQ appears – on specific pages, categories, post types, tags, or maybe everywhere on your site.
- Visual Answers: Attach images to your answers to make complex explanations crystal clear.
- Chat Integration: Allow users to message you on WhatsApp, Messenger, Instagram, or Telegram for clarification.
Plus, WPChat is incredibly lightweight, so your website will load as fast as ever, even with your FAQ widget active.
Ready to add a professional FAQ widget to your WordPress site? Grab a copy of WPChat here!
How to Add an FAQ Widget to Your WordPress Website
Now, I’ll walk you through the process of adding FAQ widgets to your WordPress site. The entire setup takes less than 5 minutes, and you won’t need any coding skills.
For this guide, we’ll be using WPChat to create a professional-looking FAQ widget that integrates seamlessly with your existing website design.
Let’s get started!
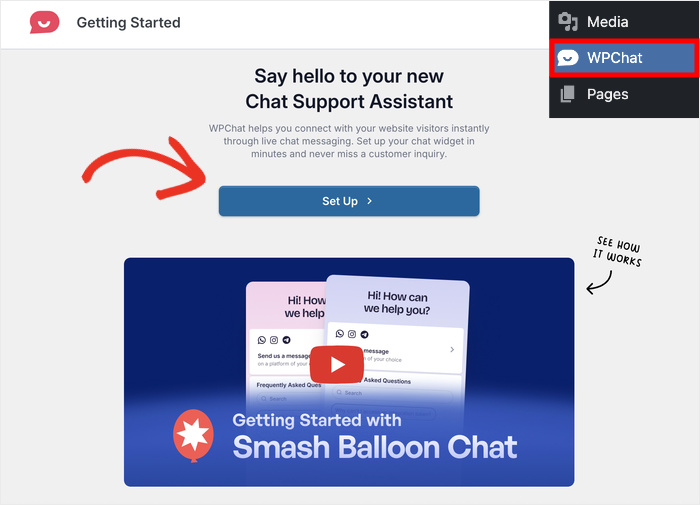
Step 1: Install and Activate the WPChat Plugin
The first step is getting WPChat installed on your WordPress website. You can get the WPChat plugin directly from here.
Once you’ve downloaded the plugin file, install and activate it.
If you need help, you can check out this beginner’s guide on how to install WordPress plugins.
Step 2: Create a New Widget
From your WordPress dashboard, click on the WPChat menu.
This is where you’ll configure and manage your FAQ widget and manage all your questions and answers.
To get started, just click on the Set Up button.
On the next screen, you can connect your FAQ widget to the biggest social media messaging apps:
- Telegram
- Messenger
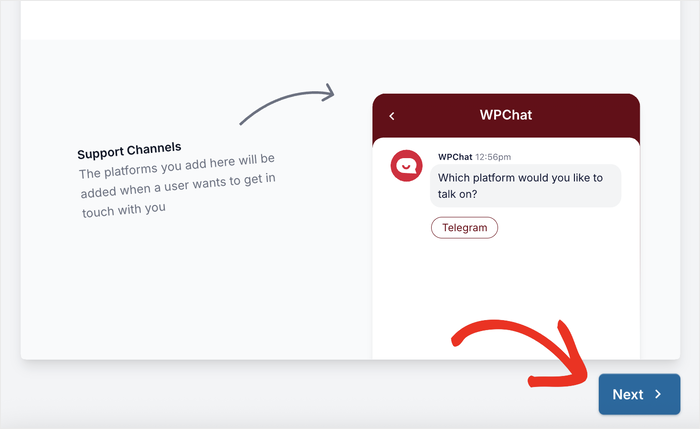
You can connect to whichever platforms you prefer here. Just enter your phone number or username in the fields.
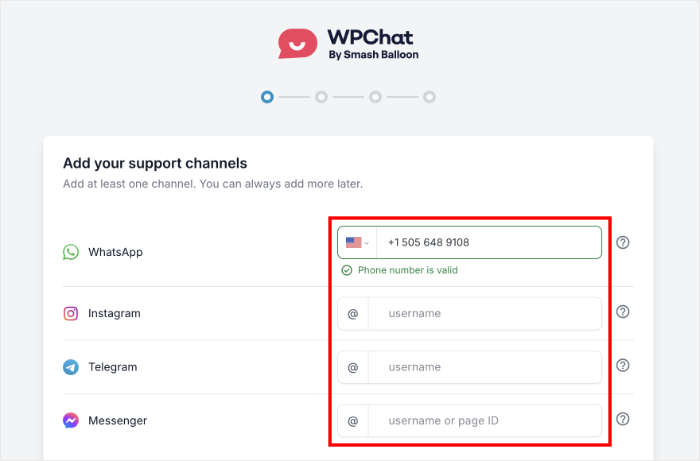
This allows users to reach out for additional help if they can’t find what they’re looking for in your FAQ.
Once you’ve entered your contact info, scroll down and click on Next.
After doing that, you can choose how the FAQ widget will look on your website. You have 3 pre-designed themes to choose from:
- Basic: The default clean look that works well with most WordPress themes
- Night: A dark theme with white text that’s perfect for modern, dark-themed websites
- Pastel: A light and soft design that creates a friendly, approachable feel
Pick a theme from the options and click on Next.
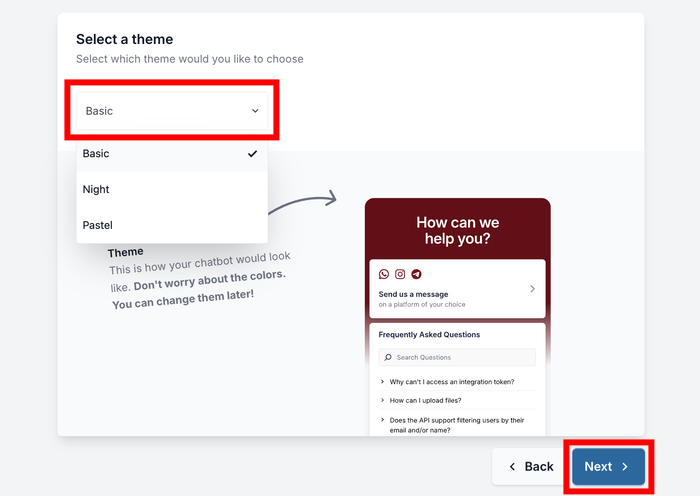
And don’t worry — you can freely customize your widget’s design, theme, and colors later on.
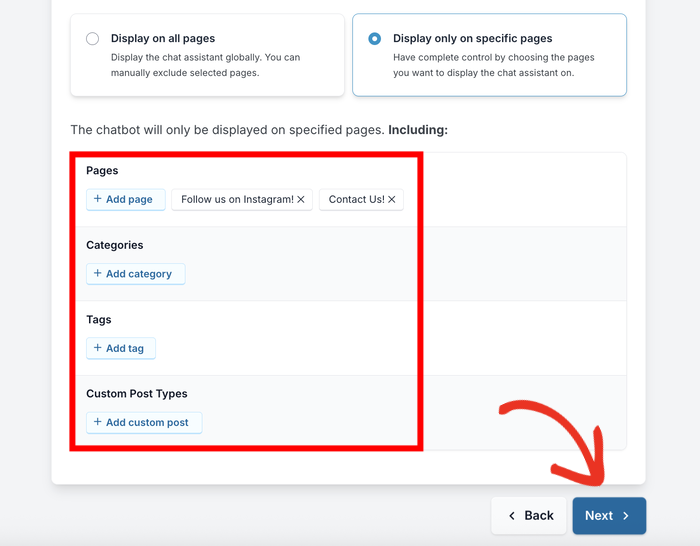
Step 3: Set Visibility for FAQ Widget
Now you need to decide where your FAQ widget will appear on your website.
WPChat gives you flexible options to control exactly which pages display your widget and which ones don’t.
You’ll see two main visibility options:
- Display on all pages: Displays your FAQ widget on every page of your site, but lets you hide it from specific pages where it might not be relevant.
- Display only on specific pages: Gives you precise control over where the widget appears on your website.
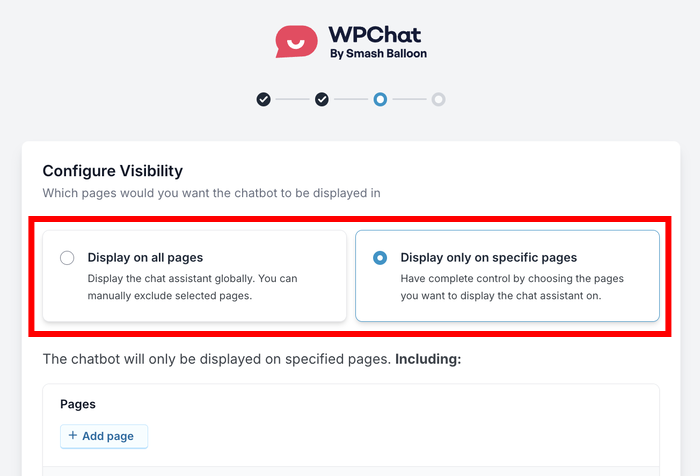
For this tutorial, I’ll show the widget on specific parts of my WordPress website.
Once you scroll down, you can pick the specific Pages, Categories, Tags, and Custom Post Types where you want to display the FAQ widget.
If you decided to show the widget everywhere instead, you can use these same options to exclude specific parts of your site where the FAQ wouldn’t be helpful.
After configuring your visibility settings, click Next to continue.
You’ll then need to enter your WPChat license key to properly activate the plugin here.
Just paste the license key you got from the WPChat website and click on Complete Setup.
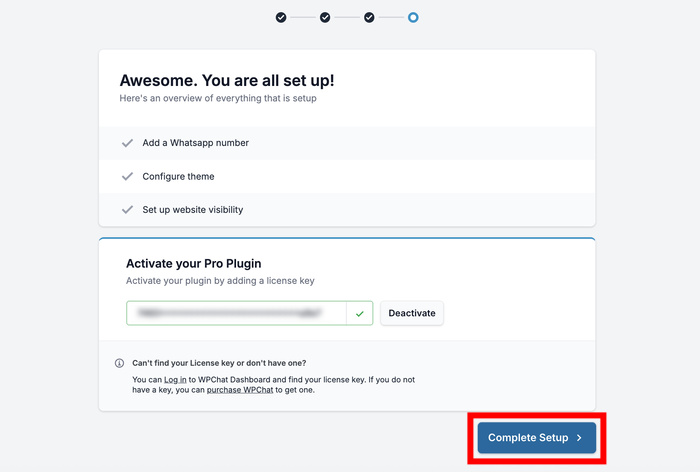
Your basic FAQ widget setup is now complete, but it doesn’t have any questions yet. That’s what we’ll tackle in the next step.
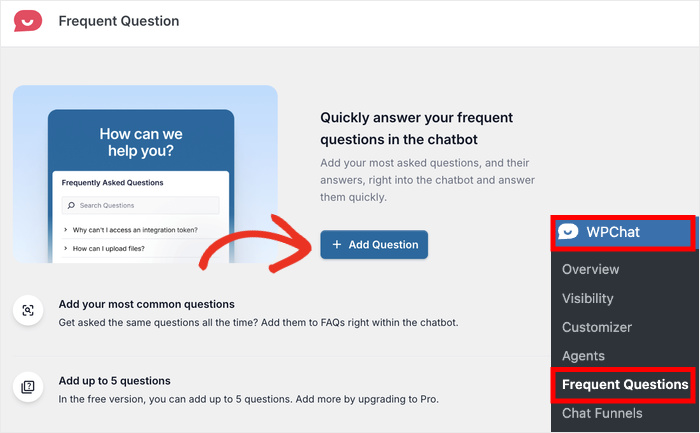
Step 4: Add Questions and Answers to the Widget
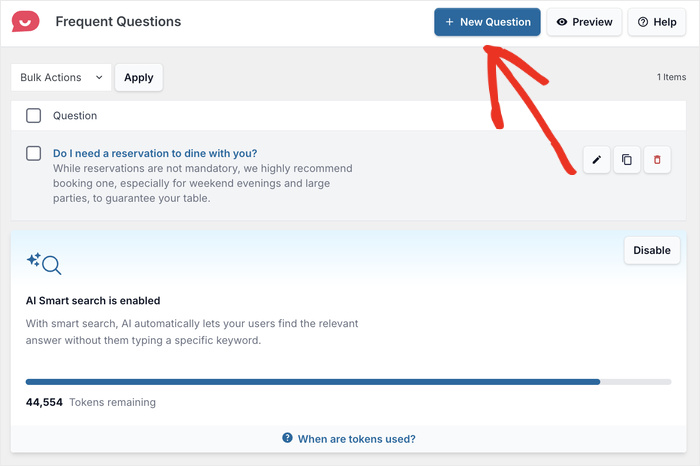
In your WordPress dashboard, navigate to WPChat » Frequent Questions.
This is your FAQ management area where you can add, edit, and organize all your questions.
From here, click on the Add Question button to create your first FAQ entry.
You’ll see a split screen where you can add your question and answer content on the left.
On the right side, you can preview exactly how the FAQ will look on your website in real time.
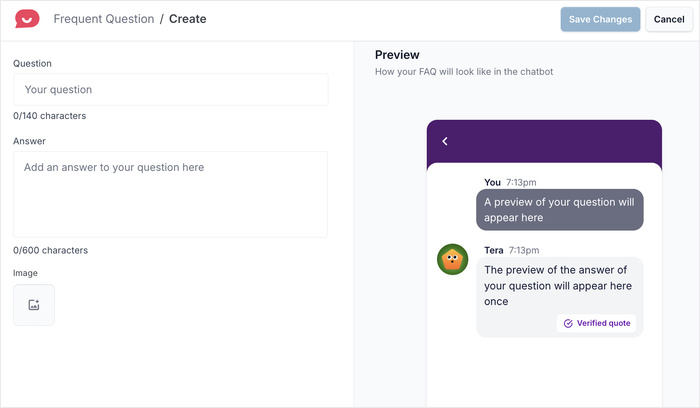
Start by adding your question in the Question field.
Remember to write questions the way your customers would actually ask them.
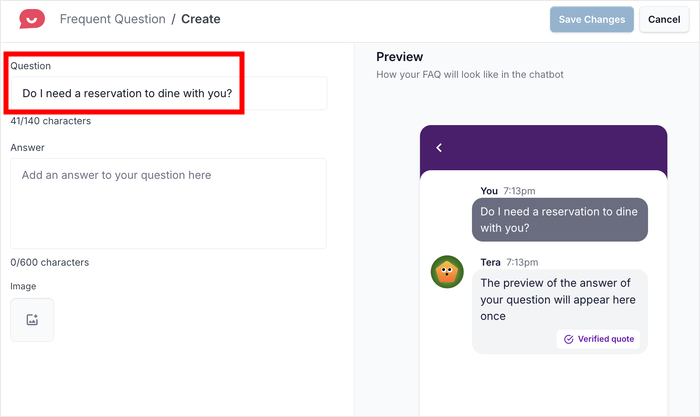
Next, enter your answer in the Answer field below.
Don’t forget that most visitors are looking for direct and straightforward answers.
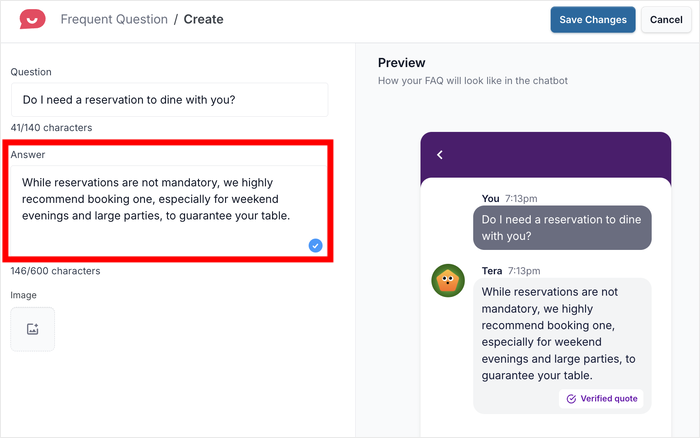
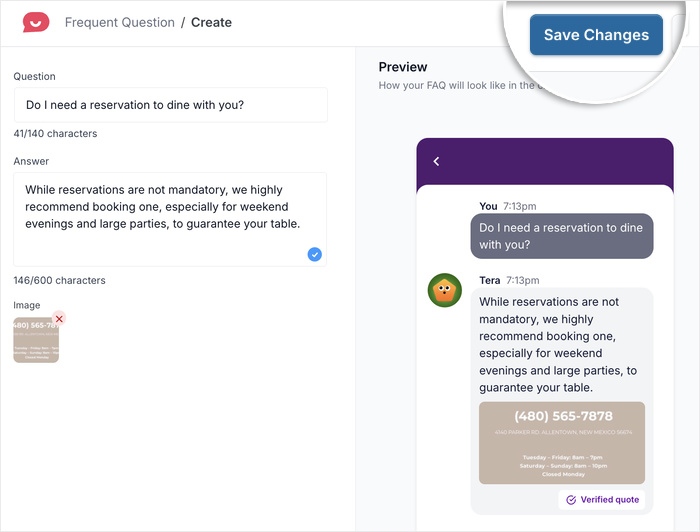
If your answer would benefit from a visual explanation, click on the “Image icon”.
This lets you upload screenshots, diagrams, or photos that make your answer even clearer.

As you type, the preview on the right will update automatically. This lets you see exactly how your FAQ will appear to visitors.
Once you’re satisfied with how everything looks, click Save Changes to add this question to your FAQ widget.
Step 5: Manage Your FAQ Widget
After adding your first question, you’ll want to build out a complete FAQ section with multiple questions.
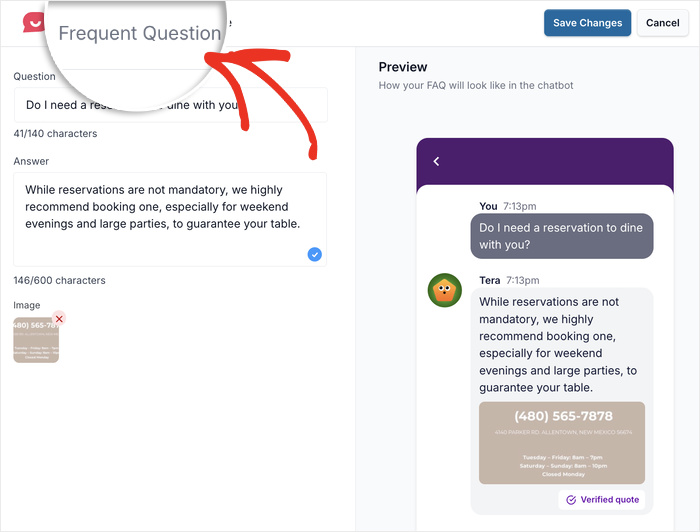
To get started, click on the Frequent Questions navigation button on the top left corner.
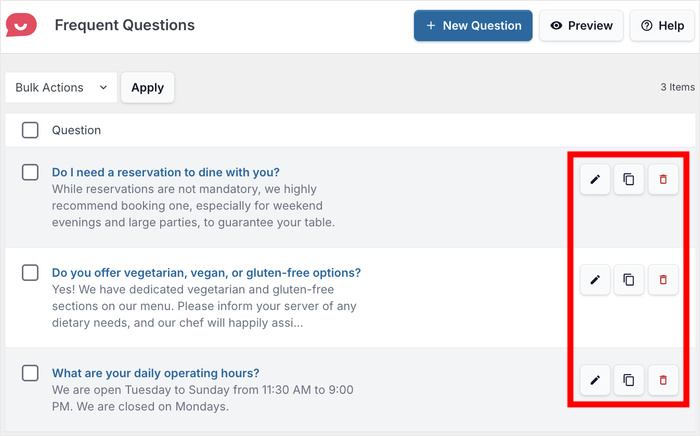
Now that you’ve added a question, you’ll find it listed in an organized format on this page.
To add more questions to your FAQ widget, simply click on New Question and repeat the process from Step 4.
From your list of existing questions, you have several management options for each entry:
- Edit: Click to modify the question text, answer content, or attached images
- Clone: Duplicate a question to create a similar one with slight variations
- Delete: Remove questions that are no longer relevant or helpful
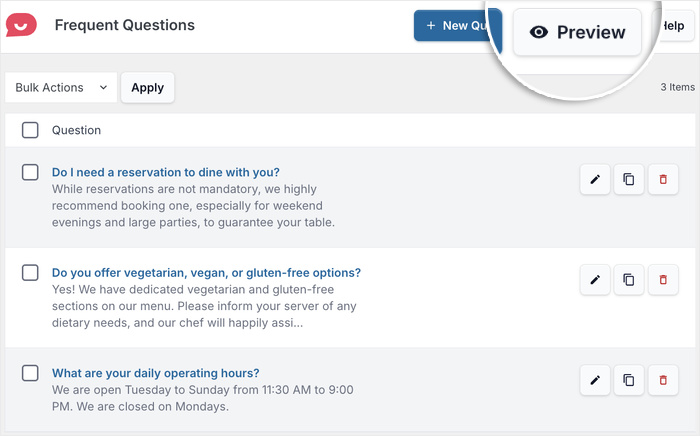
If you want to see how your complete FAQ widget looks to your visitors, click on the Preview button.
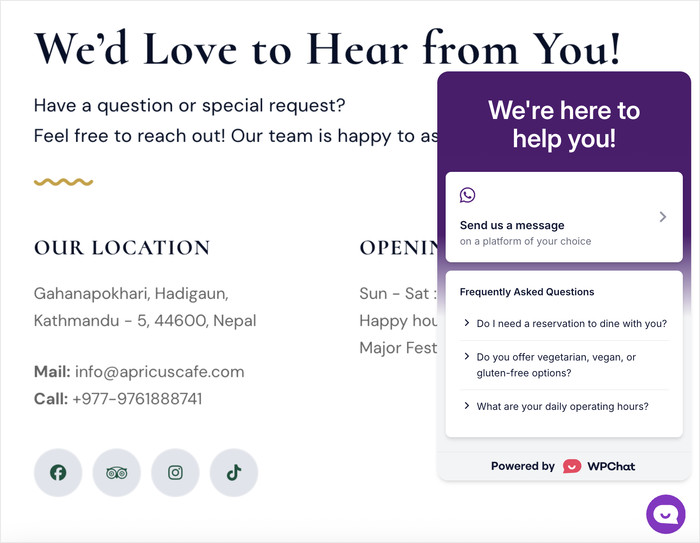
This opens a preview of your widget exactly as people will see it on your website.
Your FAQ widget is now ready to help visitors find answers quickly and reduce the number of support requests you receive.
Remember, you can always come back and add more questions or edit existing ones as your business grows and customer needs change.
Conclusion & Key Takeaways
Going forward, you can take your FAQ widget even further by customizing its appearance to match your brand perfectly.
WPChat also offers advanced features like chat funnels that can guide visitors toward conversion, turning your FAQ from just a support tool into a sales asset.
Just like that, you’ve built a professional FAQ widget that works 24/7 to answer visitor questions and reduce your support workload.
This means fewer abandoned purchases, happier visitors, and more time for you to focus on growing your business instead of answering the same questions repeatedly.
Ready to get started with your FAQ widget? Get your copy of WPChat here.
Want to build a robust support system on your website? You can check out our guide on how to add WhatsApp chat to your WordPress website.