Running a special promotion or have an important announcement?
Sometimes you need a way to make sure every single person who lands on your site gets the message.
While adding the message to the header can work, a lot of people have developed “banner blindness” and simply ignore these static messages.
This means your important update or special offer gets completely overlooked.
Imagine if your message could start a friendly conversation instead, guiding visitors through an interactive chat popup. This approach feels more personal and is far more engaging than a simple heading.
I’ll show you my favorite way to set up a message for visitors on your website using this exact strategy.
It’s a simple change that makes a huge difference in getting your visitors to actually listen.
What Are Website Messages and Why Do You Need Them?
Website messages are interactive pop-ups, chat widgets, or notification bars that appear on your site to communicate directly with visitors.
They’re designed to grab attention and guide people toward specific actions, like making a purchase, signing up for your newsletter, or getting help.
I’ve seen many beginners struggle with getting their important announcements noticed on their websites. Unlike static banners that people often ignore, interactive messages create genuine engagement with your audience.
In fact, studies show that interactive chat widgets can increase conversion rates by up to 45%.
Instead of hoping visitors will notice your static content, these messages actively reach out to start conversations.
Best Way of Adding Messages for Your Website Visitors
While there are several ways to communicate with your website visitors, not all methods work equally well.
Messages in headings have significant drawbacks. Many visitors will simply scroll past static announcements at the top of your page.
Your important updates get completely overlooked, no matter how eye-catching you try to make them.
In comparison, interactive messages have the best response rates because they feel more like conversations than advertisements.
When a friendly chat bubble appears or a helpful popup offers exactly what someone needs, visitors are much more likely to engage.
People are more engaged when they feel like they’re having a real interaction with your business.
With all that in mind, the easiest way to add messages to visitors is by using WPChat.
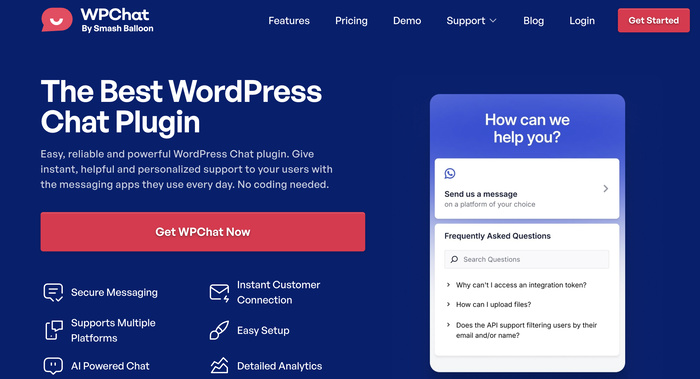
This WordPress plugin lets you create interactive chat experiences without any coding knowledge.
Here’s what makes WPChat perfect for website messaging:
- Easy to Use: Set up professional chat widgets in minutes without touching a single line of code.
- Interactive messages: Create conversation flows that guide visitors through multiple steps.
- Built-in FAQs: Add frequently asked questions that visitors can access instantly to get solutions to common questions.
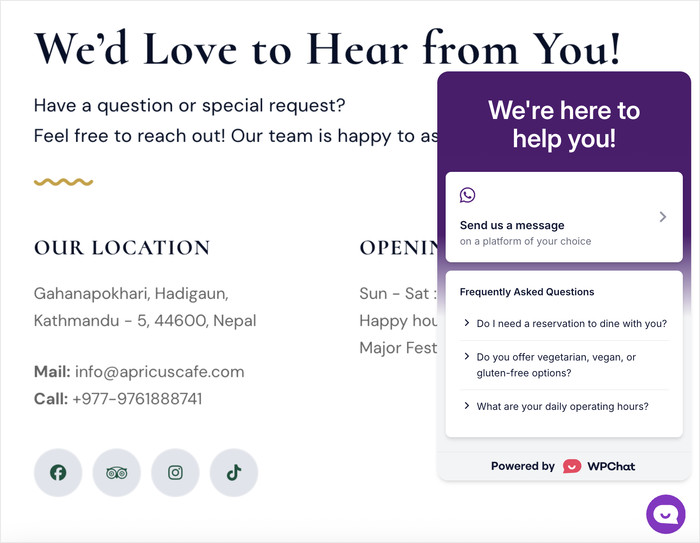
- Chat Integration: Connect your site directly to the biggest messaging platforms (WhatsApp, Messenger, Instagram, Telegram).
- Customization Options: Customize colors, fonts, and styles to match your website design perfectly.
- Useful Analytics: Check how your website messages are performing by checking the in-depth analytics.
With WPChat, you can transform static announcements into engaging conversations that actually get results.
Ready to add messages for your website visitors? Get started with WPChat today!
How to Set Up Website Messages for Visitors (Step-by-Step)
Now I’ll walk you through the complete process of setting up interactive messages on your WordPress site.
This method will give you a professional chat system that engages visitors and guides them toward taking action.
Step 1: Install and Activate WPChat
First, you’ll need to get WPChat from the official website.
Once you’ve downloaded the plugin to your computer, you can just install and activate it on your website.
For more details, check out this step-by-step guide on installing WordPress plugins easily.
Step 2: Set Up WPChat on Your Website
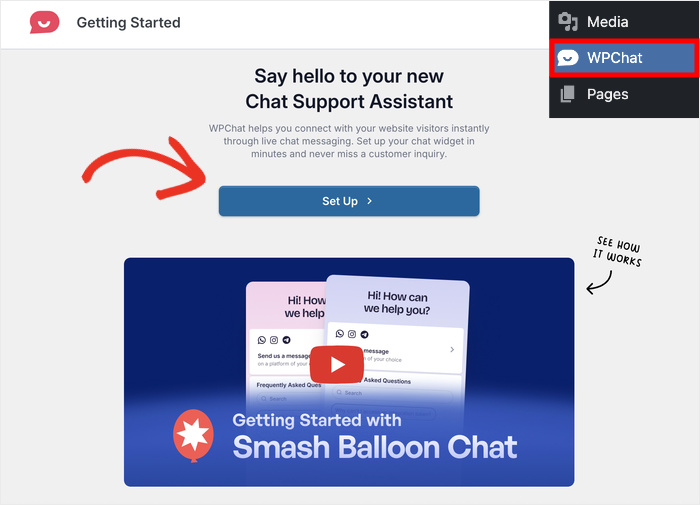
If you return to your WordPress dashboard, you’ll see a new WPChat menu on the left.
Click on it and select the Set Up option to proceed.
The setup process starts by connecting this widget to a messaging app so visitors can reach out to you:
- Telegram
- Messenger
Enter your phone number or username in the fields below.
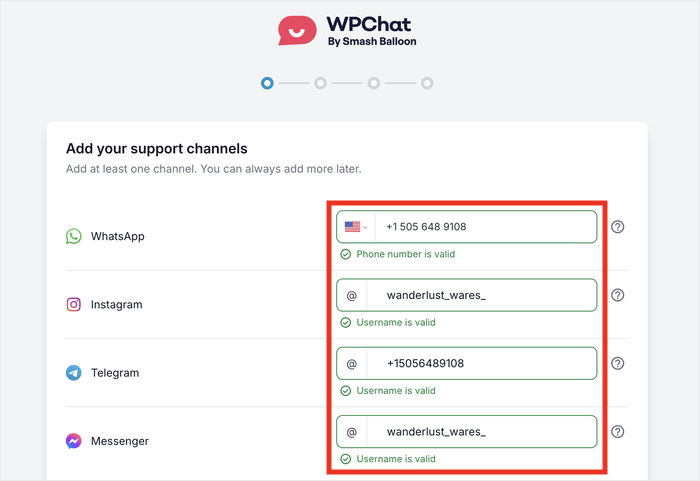
You don’t have to connect all the platforms; just choose the ones you want to use.
Finally, scroll down and click on Next to proceed.
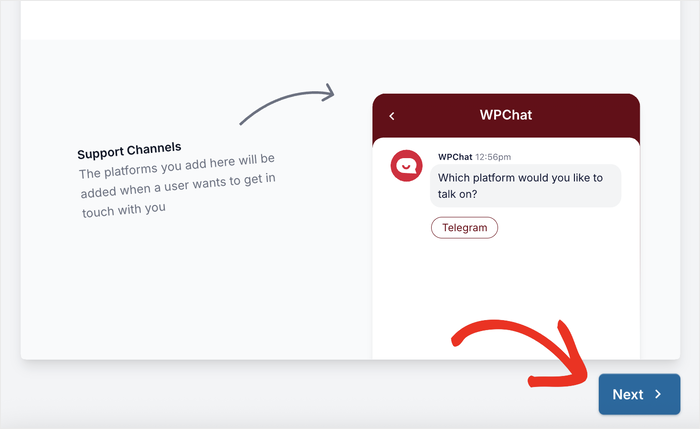
By adding your info here, you can let visitors continue conversations directly if they want to.
Next, you’ll pick from 3 visual themes for your chat widget:
- Basic: Clean, minimal design that works with most websites
- Night: Dark theme perfect for modern, professional sites
- Pastel: Soft colors ideal for creative or lifestyle brands
Click on Next after selecting the theme you prefer.
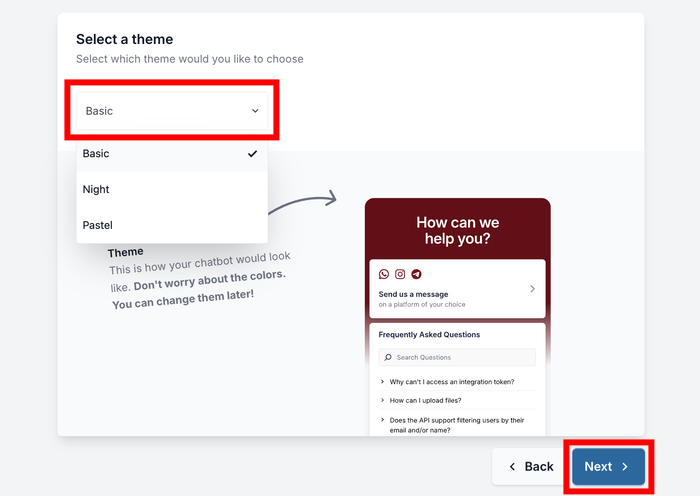
Don’t worry, you can freely customize the colors and other parts of your message widget if you like.
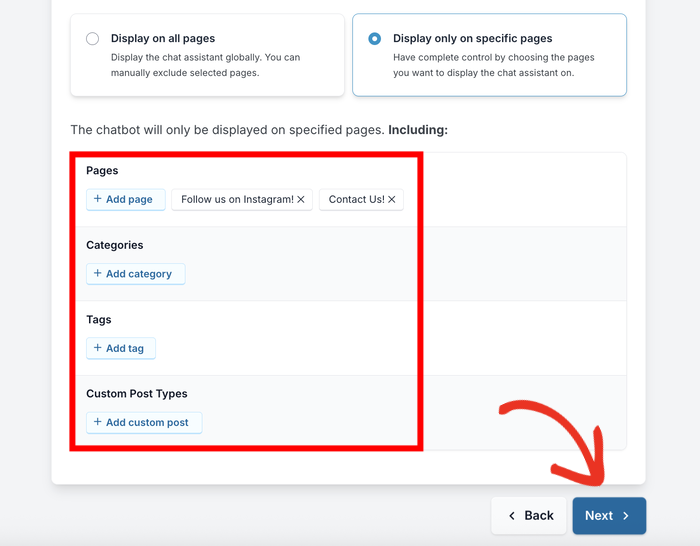
Finally, it’s time to select where to display your message widget. You have two main options:
- On all pages: Your chat widget will appear sitewide, giving every visitor access to your messages.
- Only on specific pages: This lets you target specific areas of your site where messages will be most effective.
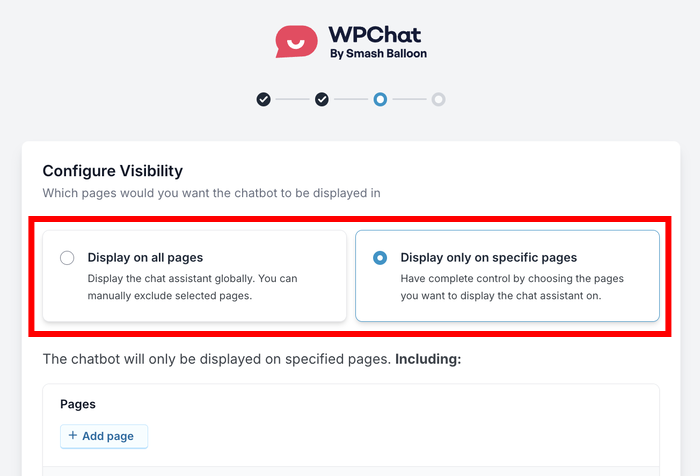
After you pick an option, you can use the filters below to include or exclude particular pages, tags, categories, and custom post types.
This can make sure your messages appear where they’ll have the biggest impact.
Click on the Next button when you’ve made your selection.
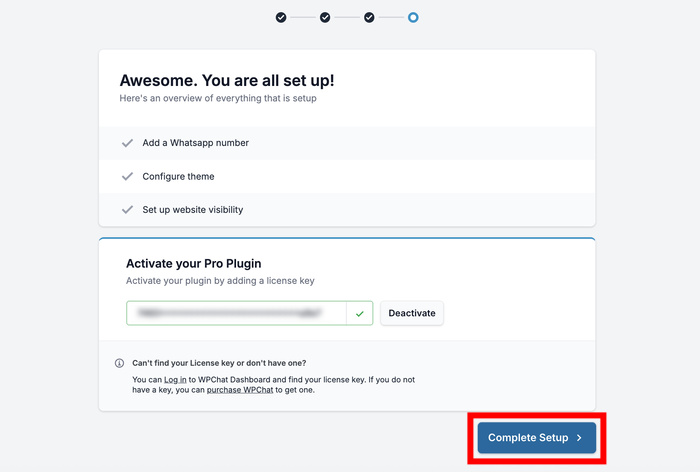
Finally, enter your WPChat license key in the field provided and click on Complete Setup.
Step 3: Create a Chat Funnel
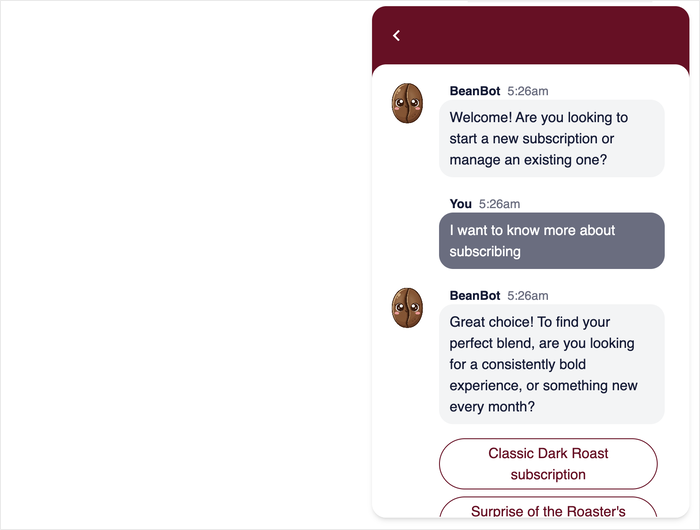
This is where WPChat really shines – instead of showing one generic message to everyone, you can create interactive paths that adapt based on what visitors are looking for.
A chat funnel is a series of messages that will offer multiple choices to visitors at each step, creating a personalized experience.
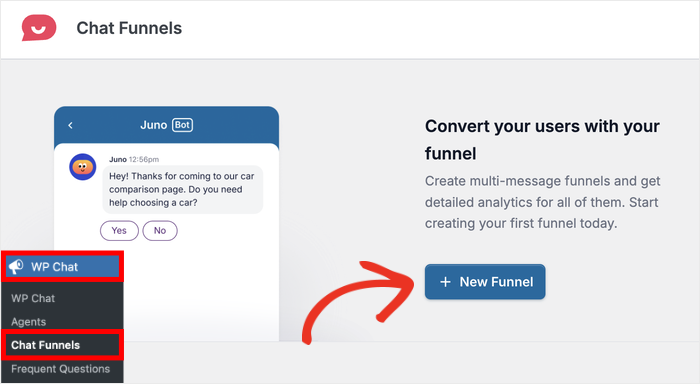
To get started, open the WPChat » Chat Funnels menu from your WordPress dashboard.
Click on the New Funnel button to create your first message sequence.
Enter a name in the Funnel Name field. Since visitors can see this name, pick something that’s clear and memorable.
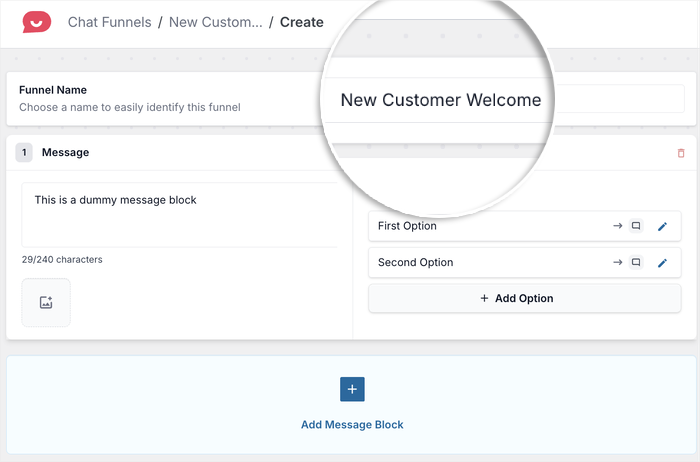
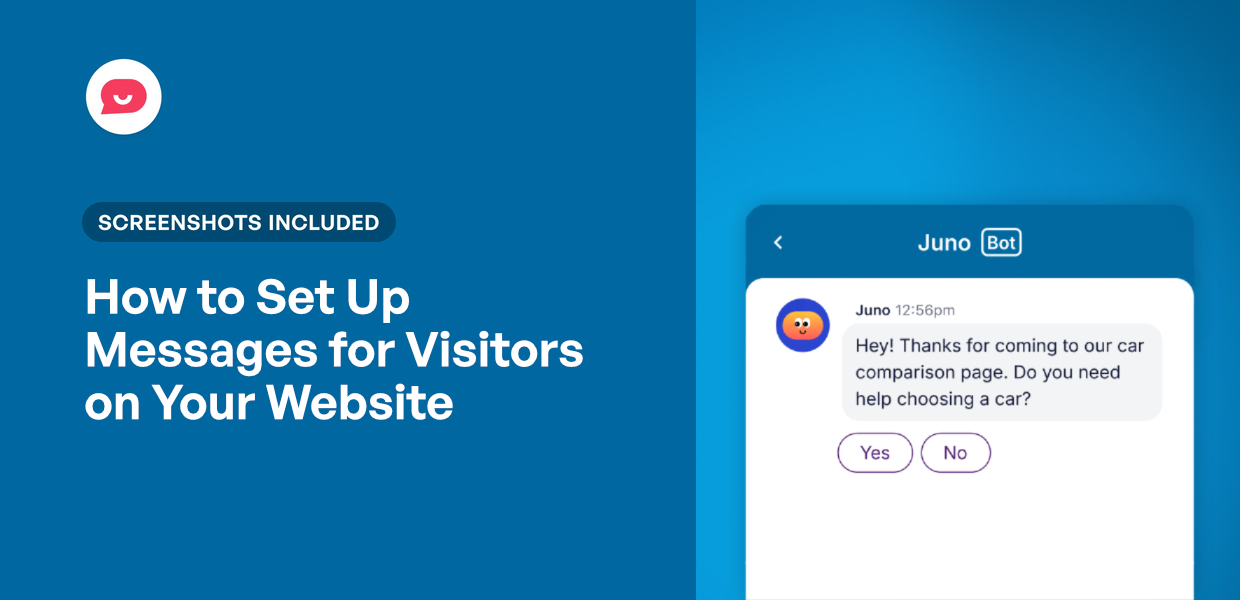
Next, enter the first message for your visitors in the field below.
This opening message can be simple and welcoming. Remember to avoid making it too long so visitors will actually read it.
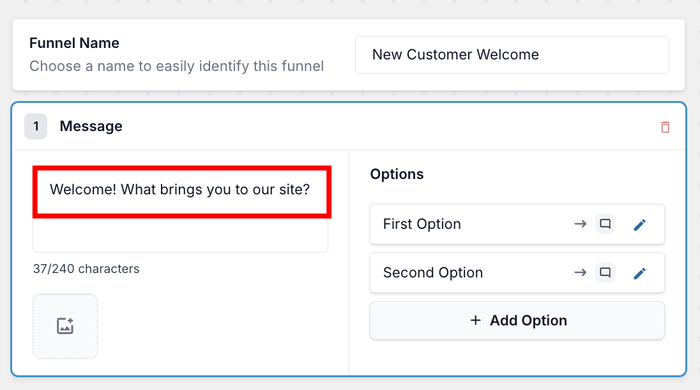
For each message, you can give visitors multiple options to choose from.
These response options can lead visitors to a second message or redirect them directly to customer support.
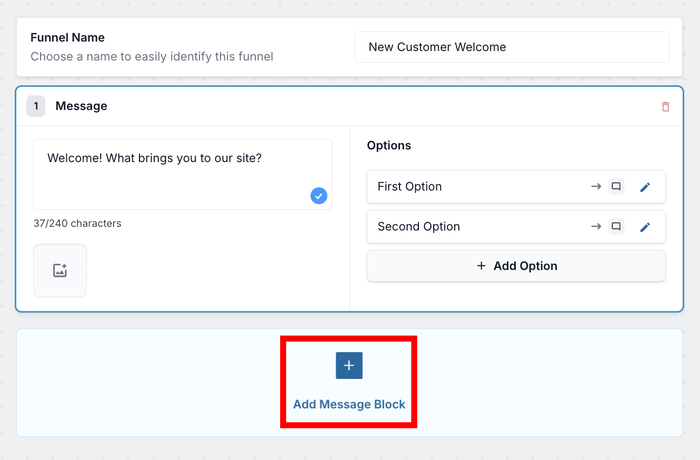
Let’s create the second message before linking the two together.
Click on the Add Message button below your first message.
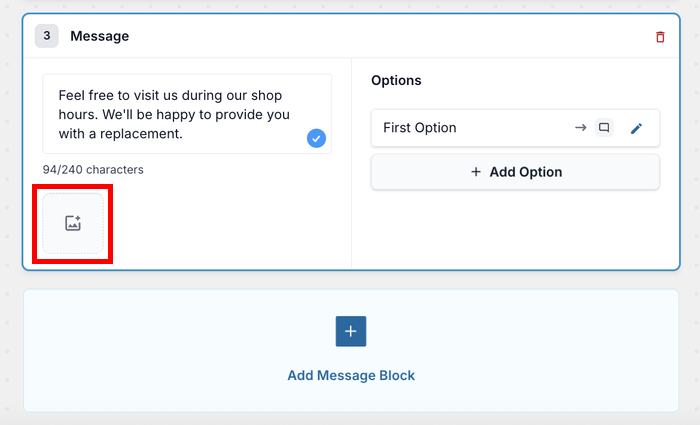
Enter your second message just like before. This message should build on whatever choice the visitor made in the first step.
You can use the Image icon to add photos if you want to make your messages more visually engaging.
Step 4: Link the Messages for Your Visitors
Now it’s time to connect your messages together to create smooth conversation flows to guide your visitors.
You can add reply options for each message that visitors can select from. These options appear as clickable buttons that make it easy for people to respond.
Click on the Edit icon on the reply option you want to customize.
Enter the text that visitors will see as a response option.
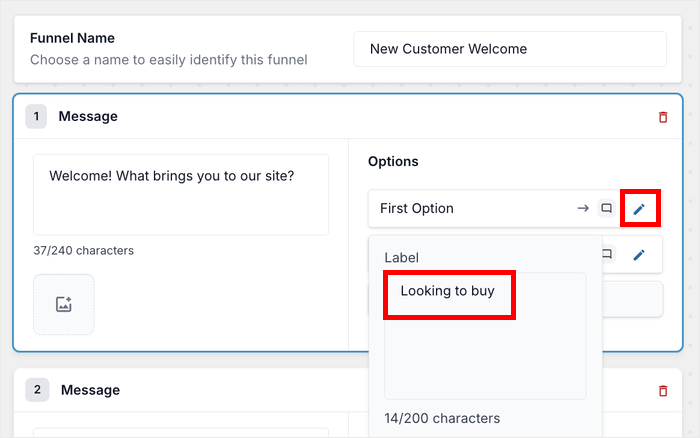
Make this text clear and specific – for example, “I need pricing information” or “I want to schedule a demo.”
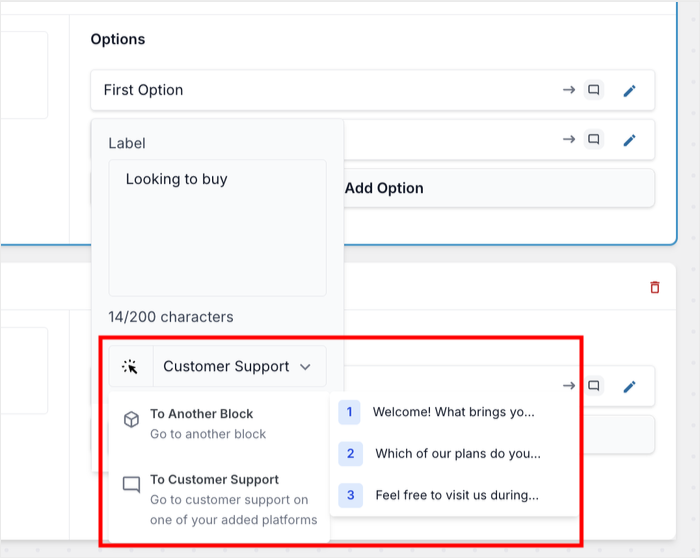
Use the dropdown menu to choose where this response will lead your visitors. You have two main options:
- To Another Block: This sends visitors to another message in your funnel, continuing the conversation.
- To Customer Support: This connects visitors directly with your support team or redirects them to your contact information.
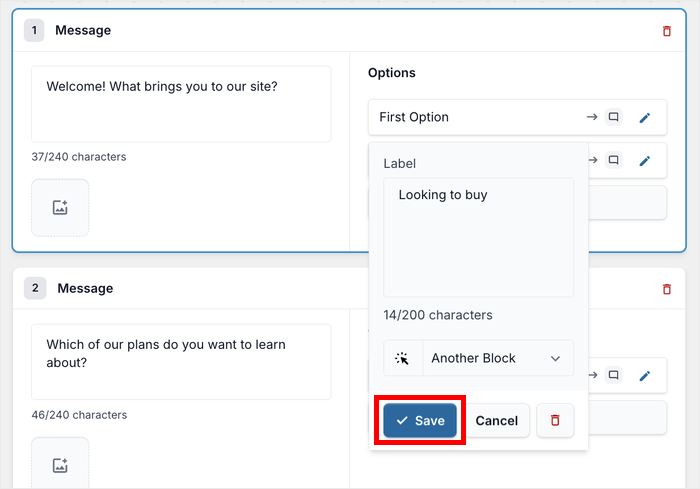
Let’s link this response to the second message in our funnel. Select the second message from the dropdown menu.
Click on Save to confirm this response option.
Repeat these steps to add more responses to your messages.
After that, check the live preview on the right to make sure everything looks right.
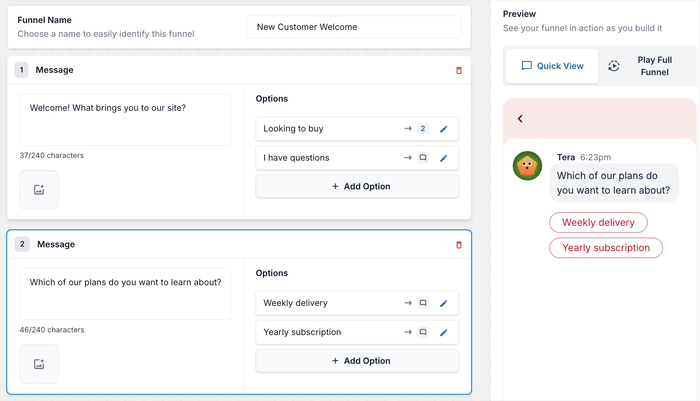
When you’re finished setting up all the connections between your messages, click on Save Changes to continue.
Step 5: Pick the Location of the Messages
The final step is selecting where these messages will be visible on your website.
To get the best results, make sure the messages fit the location where they’re shown. The context matters a lot for engagement rates.
For example, on the checkout page you can have messages telling people about your refund policy or delivery services.
Here are some strategic placement ideas that work well:
- Homepage messages for general inquiries and navigation help
- Product pages for specific questions about features or compatibility
- Blog posts for content-related discussions or newsletter signups
- Contact pages for immediate support options
Select the pages, categories, tags, and custom post types where you want to show the messages.
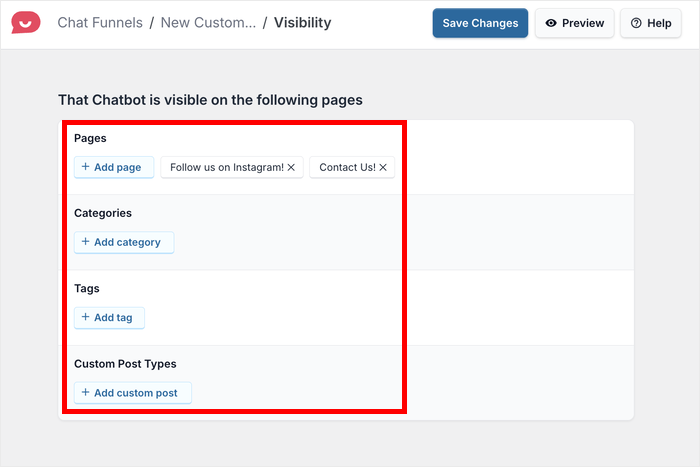
Finally, click on Save changes to finish creating your funnel of visitor messages.
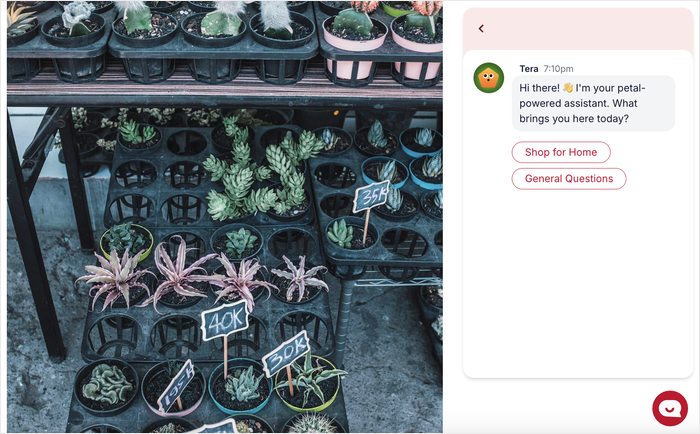
Your visitors will now see a floating widget on the bottom-right corner of the selected pages.
Clicking on the widget will reveal the funnel that’ll guide them through the messages you’ve created.
Conclusion & Going Forward
Setting up interactive messages for your website visitors transforms how you communicate with your audience.
Instead of hoping people notice static announcements, you can create engaging conversations that guide visitors exactly where they need to go.
With WPChat, the whole process is super easy to manage and customize. Plus, there are more features to explore as your messaging strategy grows and evolves.
Ready to start engaging your website visitors with interactive messages?
Try WPChat today and see the difference interactive messaging can make.
Want to provide even more instant help to your visitors? Check out our tutorial on adding FAQs to your website with WPChat.