
Here’s a story I’ve seen often: A store owner adds a WhatsApp button expecting to reach customers, but nothing happened.
No messages. No clicks.
Usually, they’ve pasted a wa.me link into a widget, or grabbed the first free plugin they found, and called it done. But this setup comes with a lot of problems.
A basic wa.me link can be hard to find and doesn’t work properly on desktop. On top of that, most tutorials don’t even tell you to set availability hours.
I’ve tested the common approaches, including the manual method along with plugins designed for WooCommerce to figure out what exactly works.
In this guide, I’ll walk you through the simplest way to add WhatsApp chat to your WooCommerce store and start connecting with visitors, generate sales, and build trust with customers.
- Can You Add WhatsApp to WooCommerce? (Quick Answer)
- Why WhatsApp Chat Is Worth Adding to Your WooCommerce Store
- How WPChat Connects Your Store to WhatsApp?
- Step-by-Step: Adding WhatsApp Chat to WooCommerce
- Where to Show Your WhatsApp Button on WooCommerce (Placement Guide)
- Frequently Asked Questions
- Start Adding WhatsApp Chat to Your WooCommerce Store Now
- More Online Marketing Tutorials and Guides
Can You Add WhatsApp to WooCommerce? (Quick Answer)
Yes, the fastest way to add WhatsApp chat to your WooCommerce store is to use the WPChat plugin.
It takes about five minutes, needs zero code, and works on mobile and desktop right out of the box.
Keep reading for the full step-by-step, including where to place the button on your store to actually get clicks.
Why WhatsApp Chat Is Worth Adding to Your WooCommerce Store
Every day, visitors land on your store with questions and if they can’t get a quick answer, they leave.
WhatsApp is where most of those customers already are. Meta reports that WhatsApp has over 2 billion monthly active users worldwide, making it one of the biggest messaging apps out there.
It’s not just used for regular chat either. Over 200 million businesses already use WhatsApp to connect with customers.

According to a Nielsen survey commissioned by Facebook, 64% of consumers say they’d rather message a business than call.
Your customers don’t want to pick up the phone, they want to send a quick message and get on with their day.
A WhatsApp chat button gives them exactly that. It removes the friction between a question and a purchase.
Before You Start: Do You Need WhatsApp Business?
No, you don’t need WhatsApp Business to add a chat button to your store. A personal WhatsApp number works perfectly fine.
That said, WhatsApp Business is free and gives you some genuinely useful extras.

Things like a business profile, away messages, and quick replies make managing customer conversations much easier.
Here’s a quick comparison to help you decide:
| Feature | Personal WhatsApp | WhatsApp Business |
|---|---|---|
| Cost | Free | Free |
| Business profile | No | Yes |
| Away messages | No | Yes |
| Quick replies | No | Yes |
| Required for chat button | No | No |
I recommend downloading WhatsApp Business if you haven’t already. It takes two minutes to set up and the away messages feature alone is worth it
To learn more, we’ve also got a guide that compares WhatsApp Business vs WhatsApp Business API.
How WPChat Connects Your Store to WhatsApp?
Here’s the actual flow: a customer clicks on a floating icon to open the chat assistant.

From there, your visitors can choose WhatsApp from the available messaging platforms.
Doing that will instantly open WhatsApp on their phone or web browser, ready to send you a message.

When a customer sends you a message, it arrives like any normal WhatsApp message.
What You’ll Need to Get Started
Before you get started, make sure you have the following in place:
- A Running WooCommerce Store: Your store should already be set up and live
- The WPChat Plugin: Created by the Smash Balloon team, trusted by over 1.75 million users
- A WhatsApp Business Number: See our guide on getting a WhatsApp Business number.
Step-by-Step: Adding WhatsApp Chat to WooCommerce
WPChat is the easiest way to add a professional WhatsApp chat button to your WooCommerce store.

It handles desktop and mobile visitors automatically, and you get WooCommerce-specific rules for where and when to show it.
That means the button only pops up when and where it actually helps your customers.
Let’s get started and see how you can add WhatsApp chat feature to WooCommerce using this plugin.
Step 1: Install and Activate WPChat
Get a copy of WPChat from here and download it on your computer.
After that, the plugin can be installed and activated like any other plugin.
In case you need help doing that, check out this guide on how to install WordPress plugins.
Once you activate it, you’ll see a new WPChat menu on your dashboard.
Step 2: Run the Initial Setup
Once WPChat is activated, click WPChat in your WordPress admin sidebar, then click on Set Up.

The first screen asks you to add info for different messaging apps.
Find the WhatsApp field, and enter your phone number along with your country code.

Once you’re done, click on Next.

Next, the plugin asks you to select a theme.
Use the dropdown menu to choose a style that fits your store’s look, then click on Next again.

The third screen lets you control where the chat button appears.
You can choose either Display on all pages or Display only on specific pages.

If you decide to display it everyone, you can use the filters below to exclude parts of your website.
In case you choose to show it in specific pages, you can use them to select where its visible.
After setting up visibility and filters, click on Next to continue.

Finally, paste your license key into the field and click on Activate.
Once your license is confirmed, click on Complete Setup to finish.

Step 3: Enable Agent Timings
Now, you can set up the business hours for your WooCommerce store.
To enable this option, go to WPChat » Agents and click on Agent Settings.

Scroll down to the Timings section and click on the dropdown menu.
Select Enable to turn on business hours for your agents.

Just below that, you’ll see the Off hours rules setting. This controls what happens when your agents are offline. You have two options:
- Disable contact option: Hides the chat button completely when you’re offline
- Redirect to an off-hours agent: Sends customers to a specific agent you choose from the dropdown

Feel free to pick whichever option you and your support team are comfortable with.
Once you’ve made your selection, click on Save Changes.
Step 4: Set Your Agent Hours
Now that agent timings are enabled, you can set the actual hours your chat button will be active.
Go to WPChat » Agents and click Edit on your agent.

Next, scroll down to the availability hours section.
Use the Start time and End time dropdowns to set your working hours.
Next, click the day buttons to toggle which days you’re available.

I recommend using your actual business hours here rather than guessing. After all, setting honest hours sets honest expectations.
Finally, scroll down to the Contact Details section.

From here, you can set up specific contact details for specific agents.
You can connect this agent to other messaging platforms if you like, or just confirm your WhatsApp phone number is correct.
Once everything looks right, click on Save Changes.
Step 5: Customize the WhatsApp Chat Button
Go to WPChat » Customizer to open the live customizer for your WhatsApp chat button.

Once the editor opens, you can see the different customization options on the left.
Let’s see how the customization works with a quick demonstration.
To start, click on the Icon in the left panel.
You’ll see a grid of icon options to choose from.
Click the icon you want to use and you’ll see the preview on the right update as well.
When you’re happy with your choice, click Save in the top bar.
After that, click on the Back button to return to the main options.

Just like that, you can use the remaining customization options to design different parts of your chat button.
Since branding for a WooCommerce store is really important, there’s enough options here to make the button feel like a part of your site.
With that, you can open your website and check out how the chat option looks and works for your visitors.
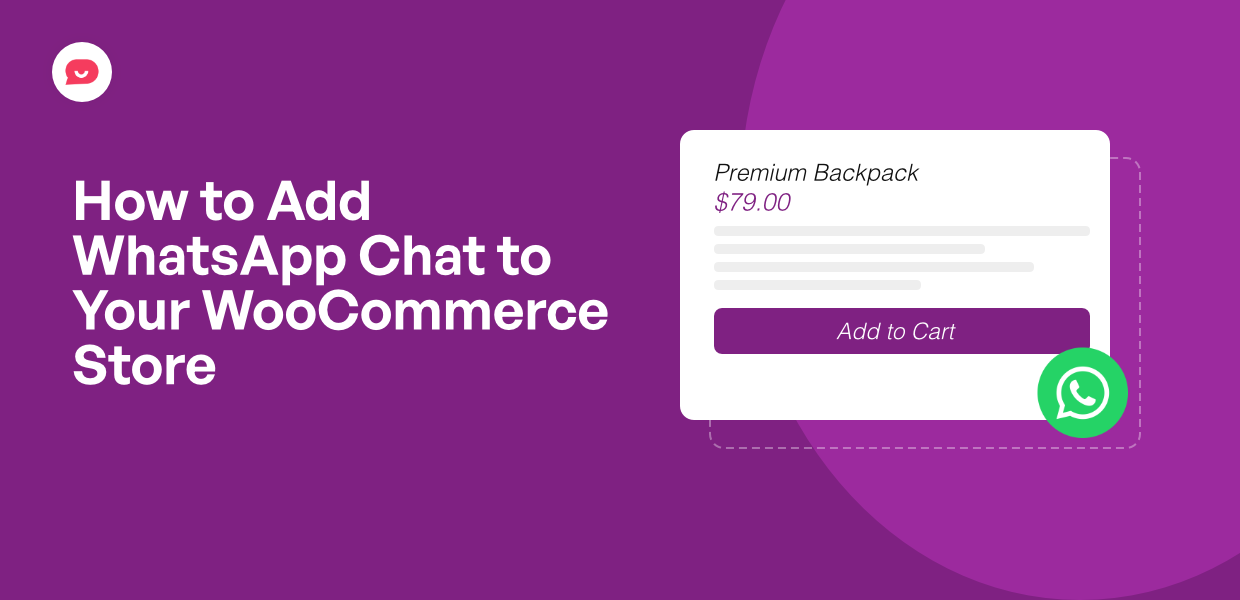
Where to Show Your WhatsApp Button on WooCommerce (Placement Guide)
Adding the chat button is only half the job. Where you place it matters just as much.
A visitor on your product page has a buying question. Someone on your cart page might be about to abandon it.
Showing your chat button at those exact moments turns a potential exit into a conversation.
Here’s a simple guide to help you decide:
| WooCommerce Page | Show Chat Button? | Why |
|---|---|---|
| Product pages | Yes | Buying questions happen here |
| Cart page | Yes | Abandonment risk is highest here |
| Checkout page | Yes | Payment anxiety peaks here |
| Shop / Category pages | Optional | Lower intent so test before committing |
| Blog posts | Optional | They’re reading but might want more info |
| About page | No | Low intent here as well |
| Thank you / Order confirmation | No | Purchase is done so no action needed |
Your product pages are where most buying decisions get made. A quick question answered here can be the difference between a completed order and a bounce.
The cart and checkout pages are where hesitation peaks. A visible chat button at these stages tells the customer that help is one tap away.
Will WPChat Slow Down My WooCommerce Store?
No, WPChat is designed to be lightweight and makes sure your store loads as fast as ever.
It loads a small script that just connects visitors to a full chat platform which they’re already familiar with.
This is what makes WPChat different from full live chat plugins. Those often add tracking scripts, user identification systems, and entire JS frameworks on every page.
WPChat simply redirects customers to an external app and keeps your site light.
Frequently Asked Questions
Does WPChat work with WooCommerce out of the box?
Yes, WPChat works with WooCommerce straight away with no extra configuration needed to get the two working together.
You can control exactly which WooCommerce pages the button appears on directly from the WPChat settings.
Can I show the WhatsApp button only on product pages?
Yes, WPChat’s display rules let you choose exactly which pages your button appears on, including product pages only if that’s what you want.
See the placement guide earlier in this post for a full breakdown of which pages to target and why.
What if I’m not available to respond in real time?
The messages will still be there in your inbox, letting you reply whenever you’re free.
On top of that, WPChat also lets you set up offline hours. You can either hide the button completely or redirect chatters to another agent when you’re offline.
Can I track WhatsApp conversations that came from WooCommerce?
WPChat comes with in-built analytics that lets you see exactly how many conversations are taking place and how much you’re converting.
That way, you can tweak your chat button and constantly improve your performance.
Start Adding WhatsApp Chat to Your WooCommerce Store Now
Adding WhatsApp chat takes about ten minutes and can turn unanswered questions into completed orders.
Just install WPChat, set your availability hours, and place the button on your product and cart pages.
The whole process only takes a few minutes and you can start recovering sales you’re currently losing to silence.
Add WhatsApp to Your WooCommerce Store with WPChat!
More Online Marketing Tutorials and Guides
- How to Capture Leads Before They Leave Your Website
- WhatsApp Button Placements That Work: Where to Place them on Your Website
- How to Set Up WhatsApp Auto-Reply for Your Business (with Examples)
- WhatsApp Business Marketing: The Complete Beginner’s Guide


 - WPChat")
